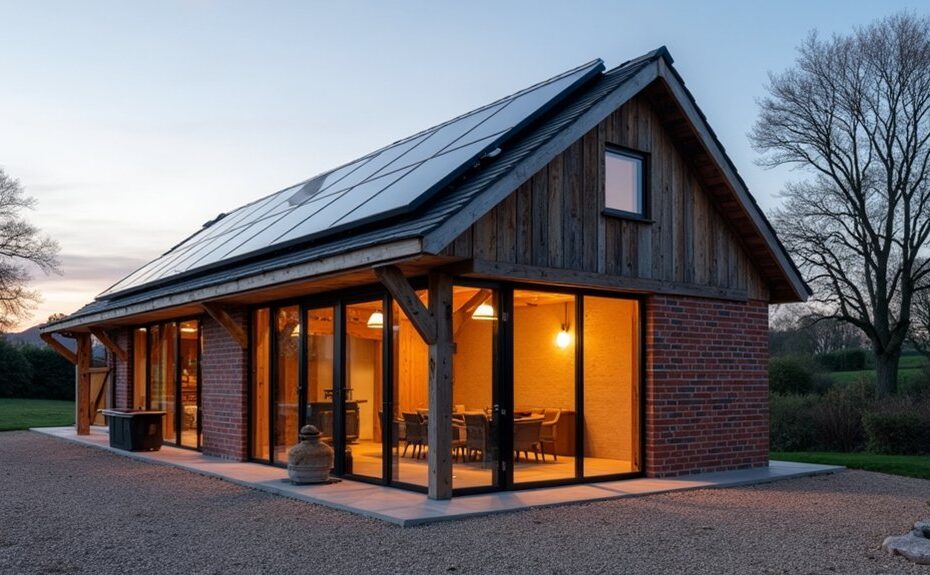
You can turn a redundant cattle shed into a warm, energy‑efficient home by first proving the frame, slab, and foundations are sound, then making the roof and cladding fully watertight with repaired sheets, renewed fixings, and proper drainage. You’ll add continuous insulation with thermal breaks, taped airtight layers, and a clear vapor strategy to stop damp from wrecking performance. Fit high‑performance windows and sealed doors, use MVHR and boost extract, then size a small heat pump to the new heat load—next you’ll see how to avoid common pitfalls.
Key Takeaways
- Survey the shed’s frame, slab, and foundations for corrosion, rot, and settlement before designing any conversion or added loads.
- Confirm planning permission, Class Q change-of-use limits, and Building Regulations early to align insulation, openings, and renewable systems with compliance.
- Make the envelope watertight first: repair roof/cladding, seal penetrations, and add gutters and drainage to keep moisture away from the structure.
- Create a continuous insulation and airtightness layer with thermal breaks, taped membranes, and vapour control to prevent cold bridges and condensation.
- Install high-performance windows/doors and controlled ventilation, ideally MVHR, to maintain indoor air quality while minimizing heat loss.
Check If Your Cattle Shed Suits Conversion
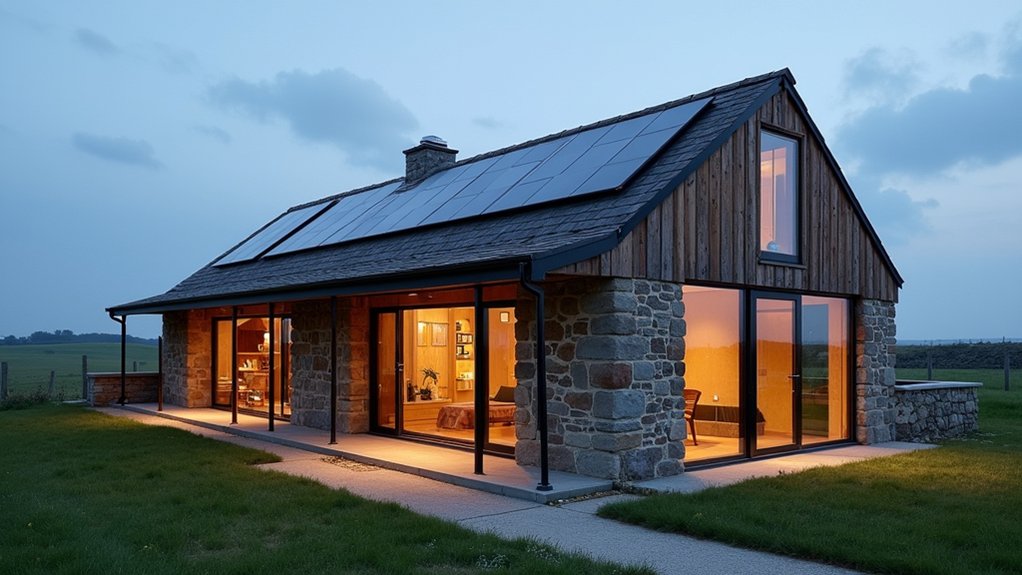
Before you sketch floor plans or price up insulation, you need to confirm the shed’s structure, fabric, and setting can support a warm, energy‑efficient conversion. Start with the frame: check steel portals for corrosion, timber for rot, and foundations for settlement. Assess the envelope—roof sheets, cladding, and existing openings—so you know what you can retain and where you’ll need airtight layers and thermal breaks.
Next, read the site. If the shed’s exposed, you’ll design for wind‑driven rain, cold bridging, and sheltered entrances. If it’s shaded, you’ll prioritise daylighting and moisture control.
Keep Cattle shed aesthetics only where they’re sound and easy to insulate. Finally, note residues, drainage falls, and ventilation legacy from Livestock accommodation standards, and plan remediation early.
Planning Permission and Building Regs for a Cattle Shed Conversion
Once you’ve confirmed the shed’s structure can work, you’ll need to map out whether Permitted Development rights apply and what change‑of‑use rules you must follow to make it a lawful home.
You’ll also need planning conditions to align with an energy‑efficient fabric upgrade—insulation build‑ups, airtightness, thermal bridging, and window/door specs all affect what you can keep, replace, or reclad.
Finally, you’ll bring the design into Building Regulations compliance so the finished envelope, ventilation, drainage, fire safety, and electrics perform safely and efficiently.
Permitted Development Rights
Although a redundant cattle shed can feel like a straightforward “shell swap,” you’ll need to pin down what you can do under Permitted Development (PD) and where full planning consent kicks in, because those rules shape everything from window openings and cladding choice to how you’ll hit airtightness and insulation targets.
Start by checking Zoning restrictions and any Historical preservation designations: they can limit external alterations, dictate materials, and trigger extra scrutiny on rooflines, openings, and boundary treatments.
Under PD, you may be able to keep the form while upgrading the fabric, but you’ll still need Building Regulations sign‑off for structure, fire, moisture control, ventilation, and thermal performance.
Use that framework to plan low‑carbon assemblies: breathable insulation, continuous air barriers, and thermally broken junctions that don’t compromise the original frame.
Change Of Use Rules
Because a cattle shed sits in an agricultural use class, you’ll usually need planning consent to change its use to a dwelling—even if Permitted Development covers parts of the physical conversion—so confirm early whether the building qualifies (and what conditions apply) under Class Q or whether you’re into a full planning application.
Start by mapping zoning restrictions: access, highway safety, flood risk, landscape designations, and nearby intensive farms can all block a residential use. If your shed sits within a conservation area or near listed assets, expect historic preservation scrutiny on openings, cladding, and rooflines, and budget for like‑for‑like materials where visibility matters.
Ask the planner how they’ll view solar, air‑source units, and new glazing; consent may hinge on discreet siting and minimal visual impact. Lock in a decision before you buy insulation, windows, or services layouts.
Building Regulations Compliance
Planning consent tells you whether you’re allowed to create a home; Building Regulations decide how you’ll make that home safe, durable, and genuinely warm. Even if zoning restrictions allow conversion, you’ll still need compliance sign‑off on structure, fire safety, ventilation, drainage, electrics, and sound.
Start with a measured survey of the shed’s frame and slab, then specify repairs in compatible materials so you don’t trap moisture behind new insulation.
Hit Part L by prioritising continuous airtightness, robust vapour control, and low‑thermal‑bridge details at eaves, openings, and floor edges.
Choose high‑performance windows, insulate the roof deeply, and design ventilation with heat recovery so you don’t lose gains.
If heritage considerations apply, justify discreet upgrades that preserve character while meeting performance targets.
Budget, Timescales, and Common Cattle Shed Pitfalls
Once you’ve confirmed the shed’s structure can take the conversion, you need to pressure‑test your budget and programme against the realities of agricultural buildings: uneven slabs, unknown drainage runs, and fabric that was never designed to be airtight or insulated. Build in contingency for floor make‑up, service reroutes, and targeted airtightness detailing, because these drive heat loss and cost.
Expect longer lead times for planning conditions, utility upgrades, and specialist trades familiar with vapour control layers, low‑carbon heating, and thermal bridge mitigation.
Common pitfalls include underpricing insulation thickness (and the lost internal area), forgetting cold junctions at steelwork, and assuming existing cladding performs.
Protect Cattle shed aesthetics by retaining honest materials where they help, but don’t let nostalgia block performance. Use Community engagement early to reduce objections that can stall schedules.
Make the Cattle Shed Structure Sound and Watertight
Before you add insulation or finishes, you’ve got to confirm the shed’s frame, slabs, and walls are structurally sound, because any movement will crack airtight layers and bleed heat.
You’ll check for rot, corrosion, failing footings, and overloaded spans, then prioritise repairs that keep as much of the existing material in service as possible.
Finally, you’ll make the roof and envelope watertight with durable fixings, sound flashing, and tight junctions, so your future thermal upgrades stay dry and perform.
Assess Structural Integrity
Because the warmest insulation won’t save a leaky shell, you’ll need to prove the shed’s frame and envelope can carry new loads and keep weather out.
Start with Foundation stability: check slab levels, settlement cracks, damp staining, and any signs of heave at edges and posts. Confirm drainage falls away so future airtight layers don’t trap moisture.
Next, map the load path from roof to ground. Inspect columns, beams, and connections for rot, corrosion, insect damage, or spreading joints, and measure any deflection.
Probe timber ends, scrape steel to bare metal at suspect spots, and note salt or ammonia attack typical of livestock buildings.
Prioritise material durability by identifying what can be retained, what needs sistering, and where engineering advice is essential for compliance and safe spans.
Repair Roof And Envelope
A sound frame only pays off if the roof and outer skin shed water and wind without hidden rot or drafts, so tackle weatherproofing next. Start with a close inspection after rain: trace staining, check purlins, and probe timber ends for softness.
For roof repair, replace failed sheets, re-seat ridge caps, and renew fixings with sealed washers; add a breathable membrane if you’re re-roofing to control wind-driven rain. Seal junctions at eaves, penetrations, and gable edges, then fit robust gutters and downpipes to move water clear of foundations.
Once watertight, upgrade the wall build-up: prioritize continuous envelope insulation, taped air barriers, and thermally broken battens. You’ll cut heat loss, prevent condensation, and protect new interiors long-term.
Insulation Strategy for a Moisture-Safe Cattle Shed Conversion
While a redundant cattle shed might look dry on the surface, its concrete slab, blockwork, and roof sheets often hold and release moisture in ways that can wreck standard insulation. You’ve got to build an insulation strategy that controls vapour movement, blocks capillary rise, and still delivers a continuous thermal envelope.
Start at the slab: add a capillary break and taped moisture barriers under any new floor build-up, then insulate with high-compressive EPS or foamed glass for durability and low lambda.
On walls, choose insulation materials that tolerate intermittent damp—mineral wool in a service cavity, or wood fibre with a smart vapour control layer—so the structure can dry inward when conditions shift.
At the roof, keep insulation continuous, protect it with a vapour retarder, and maintain ventilation above cold metal sheets.
Windows, Doors, and Airtightness (Without Losing Character)
Moisture-safe insulation only pays off if you stop uncontrolled air leakage and upgrade the weakest thermal links—usually the openings. Start by mapping drafts around frames, sills, and junctions, then rebuild each reveal with continuous tapes, compressible seals, and insulated closers. You’ll keep the shed’s rugged rhythm while cutting heat loss.
Let window design respect the original bays: deep-set units, slim sightlines, and divided lights can echo agricultural proportions, but choose high-performance glazing and warm-edge spacers.
Specify robust door materials—timber with insulated cores, steel with thermal breaks, or composite slabs—and fit adjustable thresholds and multipoint latches.
Detail airtight layers so they tie into the wall and roof membranes without gaps. Test early, then trim and line openings to protect seals.
Ventilation and Condensation Control for Year-Round Comfort
Once you’ve tightened up windows and doors, you must give moisture a controlled way out, or it’ll condense on cold steel, glazing edges, and timber junctions. In a cattle shed conversion, that risk rises where metal cladding meets new insulation, so you should pair continuous vapour control layers with taped laps and careful service penetrations.
Aim for steady, low-energy ventilation: a balanced system with heat recovery suits deep-plan bays, while through-vented openings can work if you manage drafts. Put boost extraction in kitchen and bathrooms, and run trickle rates elsewhere to protect air quality without wasting stored heat.
Use humidity sensors or timed controls so airflow follows real loads, strengthening moisture management. Keep insulation unbroken at eaves and around rooflights, and you’ll avoid cold bridges that trigger winter dripping and summer mustiness.
Low-Running-Cost Heating and Hot Water for the New Home
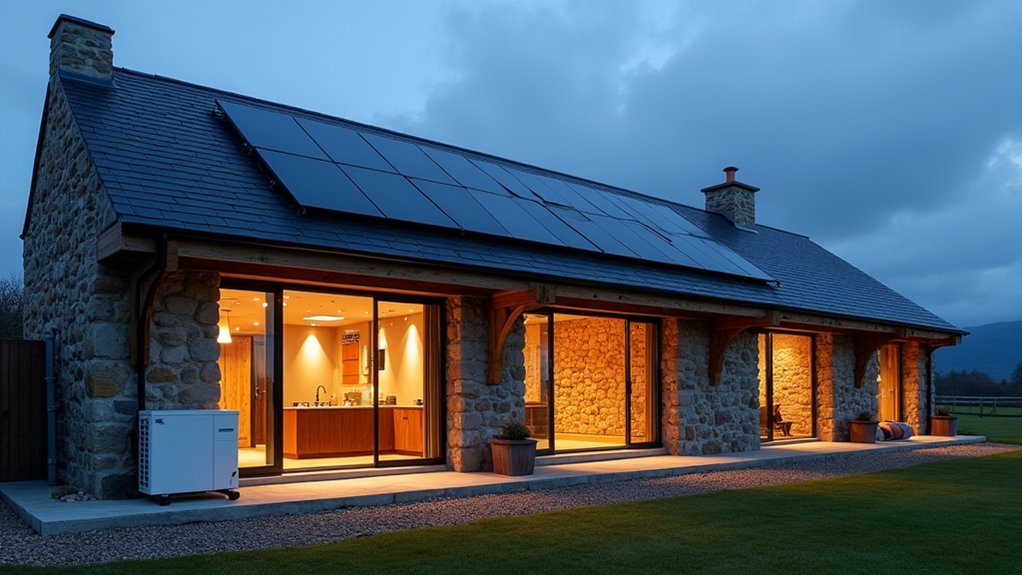
Good ventilation keeps the shed dry and the air healthy, but your heating and hot water system has to carry the comfort load without turning that hard-won airtightness into high bills.
Start by sizing to the new heat demand, not the old farm volume. A small air-to-water heat pump paired with low-temperature underfloor loops suits an insulated slab and keeps flow temps down. If you’re retaining existing concrete, add thin overlay panels to avoid waste and raise responsiveness.
For hot water, use a well-insulated cylinder with a heat-pump coil and a smart timer that targets off-peak hours. Add roof PV to drive Sustainable energy use, and keep immersion as backup only.
Choose controls that prioritise Renewable heating and weather compensation, so you don’t overheat rooms.
Frequently Asked Questions
How Do You Deal With Lingering Odours and Bacteria From Former Livestock Use?
You’ll think the smell could melt steel, but you’ll beat it: strip porous materials, pressure-wash and disinfect, then run ventilation systems hard. Seal floors, add odor neutralizers, and maintain low humidity with efficient, balanced airflow.
Can You Keep Original Feeding Troughs or Stalls as Interior Design Features?
Yes—you can keep Feeding troughs or stalls as Interior aesthetics if you clean, seal, and stabilise them. You’ll choose low-VOC finishes, isolate cold-bridging metal from insulated walls, and use reclaimed timber to maintain warmth.
What Insurance Issues Arise When Converting an Agricultural Building to Residential?
You’ll face coverage gaps, higher premiums, and stricter inspections; you’ll need zoning restrictions clearance and building permits. You must document structural changes, fire safety, and energy upgrades, and you should verify utilities, drainage, and materials.
How Do You Protect New Finishes From Rodents, Insects, and Nesting Birds?
You protect new finishes by combining Pest proofing methods: seal gaps with mesh, foam, and gaskets, fit door sweeps, cap vents. Choose Finishing material selection: closed-cell insulation, treated timbers, insect-resistant boards, tight linings.
Are There Grants or Tax Reliefs Available for Barn-To-Home Conversions?
Yes—you can often tap grants, loans, or tax reliefs, like catching sunlight in a lantern. Check local councils and national schemes for Financial incentives tied to insulation, heat pumps, and Regulatory compliance. You’ll need permits.