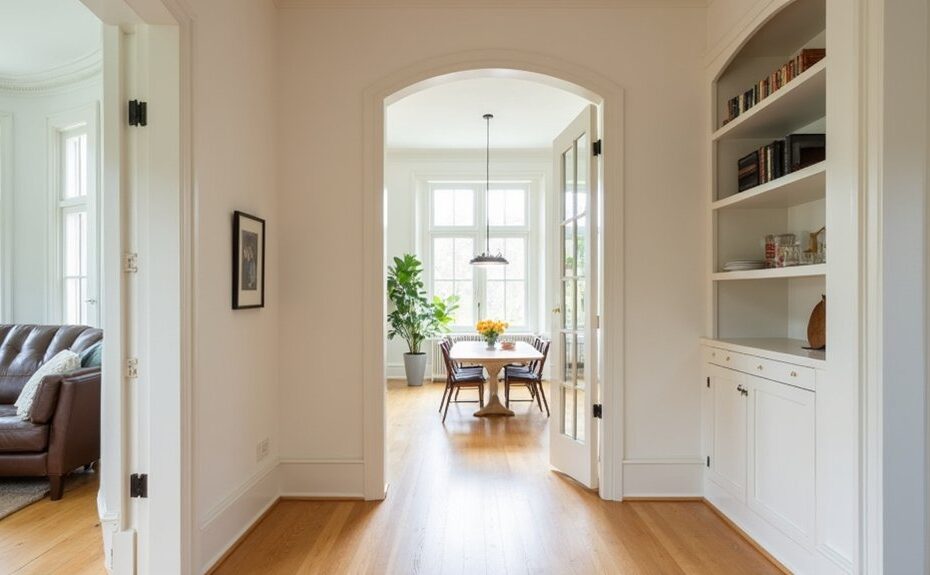
Nearly 60% of homeowners say their biggest frustration is a home that feels closed off, even when the square footage is fine. If you live in an older house, you can change that without moving walls everywhere. You start by mapping sightlines, then target a few high-impact tweaks—wider doorways, pocket or glass doors, and interior windows that share light while keeping privacy. The real shift happens when you choose the right spots…
Key Takeaways
- Widen frequently used doorways to improve sightlines, brightness, and flow, confirming load-bearing conditions before altering framing.
- Swap swing doors for pocket or sliding glass doors to save floor space and keep rooms visually connected.
- Add high interior windows with frosted or textured glass to borrow daylight while preserving privacy and optional ventilation.
- Simplify heavy built-ins and trim; use flat fronts and minimal hardware to reduce visual clutter and open up walls.
- Use cohesive finishes and layered warm lighting (2700–3000K) to unify rooms, brighten dark corners, and enhance spaciousness.
Plan First: Sightlines, Costs, and What Needs a Pro
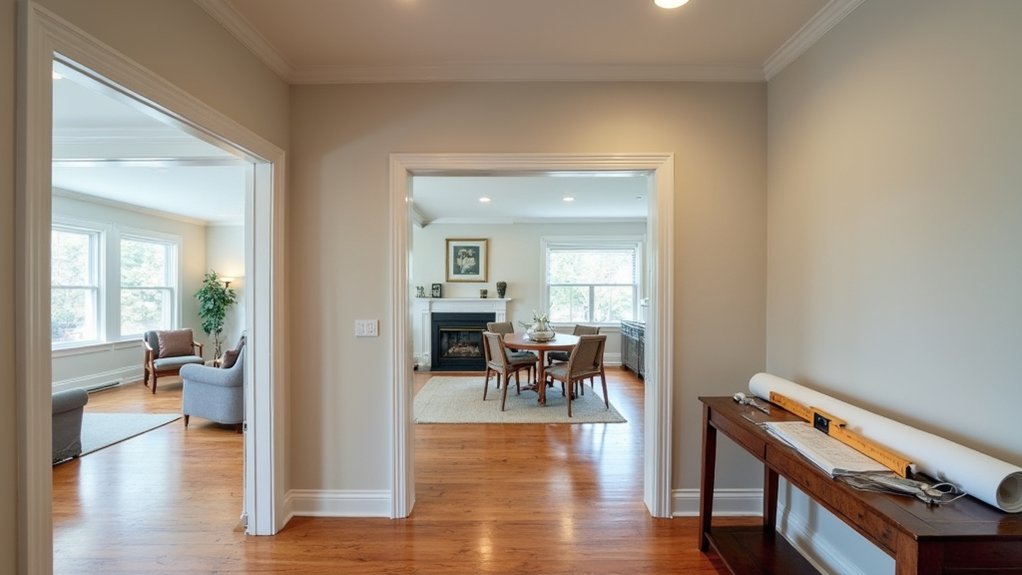
Next, run Budget considerations early: price finishes, patching, paint, and flooring shifts, plus a 10–15% cushion for surprises in older framing.
Decide what you can DIY versus what needs a pro—any wall that might be load-bearing, anything tied to electrical, plumbing, HVAC, or historic plaster repair.
Keep design consistency by repeating casing widths, aligning fixture heights, and matching sheen levels so the new work disappears.
Widen Key Doorways to Open Up an Older Home
Even if you keep every wall in place, widening a few key doorways can make an older home read as brighter and more connected by extending sightlines and improving flow. Target the passages you use most—kitchen to dining, hall to living, primary bedroom to bath—so the change feels intentional, not random.
Work with your contractor to confirm what’s load-bearing, then refine doorway framing so the opening lands symmetrically and clears furniture paths. Match trim profiles to adjacent casings, or simplify them for a cleaner edge that still respects the home’s era.
Upgrade door hardware at the same time: longer backsets, sturdier hinges, and aligned strike plates keep wider openings operating smoothly and quietly. You’ll notice better circulation, easier carrying, and a less segmented feel everywhere.
Replace Swing Doors With Pocket or Glass Doors
Widened openings help, but you’ll get even more usable floor area when you stop sacrificing corners and circulation paths to door swings. Swap tight-swinging doors for pocket doors in hall baths, pantries, or closets so furniture can sit closer and traffic flows cleanly.
If you can’t open a wall, choose a sliding glass door on a surface track; you’ll keep separation without blocking sightlines. Match hardware finishes to nearby trim so the change feels intentional, not patched.
Review your doorway styles: a flush pocket door reads minimal, while a framed glass slider can echo older millwork and protect your interior aesthetics.
Confirm wall cavities are clear of plumbing, wiring, and studs before you commit to framing changes.
Add Interior Windows to Borrow Light (and Keep Privacy)
You can make closed-off rooms feel brighter by adding interior windows where they’ll capture daylight from adjacent spaces and aim it toward the areas you use most.
Place them high on a wall, beside a doorway, or along a stair landing to keep sightlines controlled while widening the sense of volume.
If you need privacy, you can specify frosted, reeded, or textured glass that softens views but still shares light.
Strategic Interior Window Placement
One well-placed interior window can change how an older home feels by pulling daylight through walls that used to stop it cold. You get more natural light without removing the separation that makes rooms functional, and you can make tight halls read wider at a glance.
Start with window placement that follows your home’s brightest exposures. Aim openings from a sun-facing living room into a dim stair or interior corridor. Place the sill at eye level to extend sightlines, or higher to wash the ceiling and soften shadows.
Align the new window with existing trim heights so it looks original, not tacked on. Keep it off busy corners where furniture needs wall space, and size it to fit between studs when possible. You’ll brighten circulation zones and improve flow.
Frosted Glass Privacy Options
While clear interior windows open up sightlines, frosted glass lets you borrow daylight without putting every moment on display. You can add a transom over a bathroom door, a sidelight beside a bedroom entry, or a clerestory between hall and kitchen to pull light deep into the plan.
Frosted glass softens harsh contrast and reduces the “fishbowl” effect, especially in tight corridors and stair landings. Choose Privacy options by opacity: light-frost for glow, mid-frost for silhouettes, or heavy acid-etched for full concealment.
Consider reeded, fluted, or sandblasted patterns to match period trim and hide smudges. Keep frames slim, align head heights with existing doors, and specify safety glass where traffic is close. Add discreet operable vents for airflow too.
Simplify Built-Ins So Your Old House Feels Bigger
You can make your older home feel larger by simplifying heavy built-ins that visually crowd the room. Streamline cabinet faces with flat, consistent fronts and minimal hardware.
Then carve out a few open-shelving sections to create breathing space and lighter sightlines. You’ll keep the storage you need while the walls read cleaner, brighter, and less boxed in.
Streamline Cabinet Faces
Even if your old home has generous square footage, heavy cabinet faces and fussy built-ins can make the rooms feel visually crowded. To streamline them, you’ll want flatter door profiles, cleaner rails, and consistent reveals so your eye reads one calm plane instead of dozens of interruptions.
Swap ornate cabinet hardware for simpler pulls in a single finish, and place them consistently to tighten the grid. If panels are overly raised, consider refacing with Shaker or slab fronts, or skim-coating and repainting for a smoother silhouette.
Limit decorative accents like applied moldings, corbels, and beveled trims that cast busy shadows. Choose a light-reflective paint sheen and match the cabinet color to adjacent walls to reduce contrast. You’ll keep storage, but gain breathing room and a clearer sightline through the space.
Open Shelving Sections
Because older built-ins often read as one solid block, carving out a few open shelving sections can instantly lighten the room and extend the sightline. Remove select cabinet doors, or swap a couple of enclosed bays for recessed shelves, so your eye moves past the millwork instead of stopping at it.
Keep the proportions disciplined: align shelf heights with existing rails and stiles, and keep depths shallow (10–12 inches) to prevent visual weight. Paint the back panel the wall color for a seamless plane, or use a muted wallpaper to add vintage charm without crowding the space.
Mix shelving styles—one long run for books, a few shorter niches for ceramics—so you control clutter. Add warm, low-profile lighting and leave 20% empty so it reads airy and intentional.
Light It in Layers to Erase Dark Corners
While older homes often rely on a single overhead fixture, layering light instantly makes rooms feel wider, cleaner, and less segmented. Start with ambient light that fills the volume: a flush mount, recessed cans, or a bright ceiling fixture on a dimmer.
Add task lighting where you work—under-cabinet strips, a reading sconce, or pendants over a table—so surfaces look continuous, not shadowed.
Finish with accent lights to pull the eye outward: picture lights, uplights behind plants, or a slim floor lamp aimed at the ceiling. These lighting layers create deliberate dark corner solutions, soften harsh progressions, and highlight circulation paths.
Use warm LEDs (2700–3000K) and consistent beam spreads for a calmer, open feel.
Match Trim and Paint to Keep Rooms Flowing
If your eye keeps stopping at every doorway and baseboard, your paint and trim contrast is likely chopping the space into smaller pieces. To keep rooms flowing, pull trim and wall colors closer together: think warm white walls with a slightly deeper warm white trim, or a single color in two sheens. This kind of Color coordination reduces visual breaks and lets long sightlines read cleanly from hall to living room.
You don’t have to erase character—use Texture contrast instead of high-contrast color. Keep profiles and casings, but shift to satin trim against eggshell walls so light skims edges without outlining every opening.
In older homes, matching window and door trim across adjacent rooms also makes transitions feel intentional and expansive.
Frequently Asked Questions
Do These Changes Affect an Older Home’s Historical Designation or Compliance Requirements?
Yes, they can—minor tweaks may still trigger reviews, while major removals almost always will. You’ll protect Historical preservation by documenting finishes, and you’ll guarantee code compliance by confirming permits, egress, fire ratings, and accessibility.
What Permits Are Typically Required for Non-Structural Interior Alterations?
You’ll typically need a building permit for interior remodels, plus inspections under Building codes; you might also need zoning permits for egress, occupancy, or parking impacts. You’ll confirm locally, especially for kitchens, baths, and electrical.
How Can I Reduce Dust and Lead Paint Risks During Minor Renovation Work?
You’ll cut dust and lead exposure by sealing the work zone with plastic, using wet methods, and HEPA vacuums. Add Air filtration with HEPA scrubbers, follow Lead safe practices, and clean meticulously daily. Keep occupants away.
Which Alterations Most Improve Resale Value Without Over-Renovating the Home?
Want the biggest resale bump without overdoing it? You’ll win by refining flow with Open floor plans, updating kitchens/baths with Modern fixtures, boosting lighting, and revitalizing paint and trim, so buyers feel quality, not upheaval.
How Do I Match New Flooring Transitions When Opening up Adjacent Rooms?
You’ll match new flooring by leveling subfloors, aligning plank direction, and using Floor passage options like flush reducers or T-moldings. Apply color matching techniques: bring samples, check undertones in daylight, and coordinate sheen.