
You can turn an old shed or garage into a connected, code-compliant extension by confirming zoning, setbacks, lot coverage, easements, and any historic rules first. Get a structural review for sill rot, spans, roof loads, and foundation capacity, then budget for egress, tempered glass, smoke/CO alarms, fire separation, insulation, and air-sealing. Plan a direct, lit, slip-resistant access and a properly detailed connector, then size HVAC, add a subpanel, and map utilities. Keep going to see the smartest options.
Key Takeaways
- Verify zoning, setbacks, easements, and structural capacity before designing any connection or new use.
- Choose a low-intensity use first; bathrooms, kitchens, and bedrooms trigger higher costs for plumbing, ventilation, and egress.
- Plan access and connector type (breezeway, hall, walkway) to meet width, slope, landing, and fire-separation code requirements.
- Integrate MEP early: right-size HVAC, add a subpanel, trench utilities below frost depth, and keep plumbing runs short and protected.
- Match exterior finishes—siding, roofing, windows, trim, flashing, and colors—to make the outbuilding read as a seamless home extension.
Is This Outbuilding Conversion Worth It?
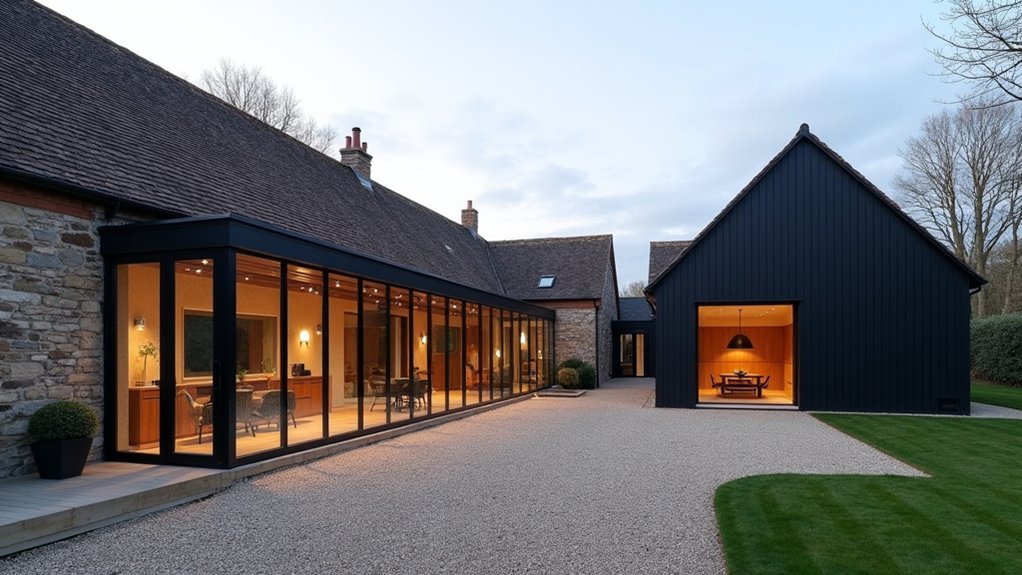
Before you pour money into drawings and permits, you should confirm the conversion actually pencils out for your site, budget, and long-term needs.
Start by verifying zoning, setbacks, lot coverage, and any easement conflicts that could block a connection to the main home.
Order a structural assessment: check sill rot, framing spans, roof loads, and foundation capacity for new openings.
Price code-required upgrades—egress, tempered glazing near doors, smoke/CO alarms, fire separation, insulation levels, and air-sealing—so you don’t under-scope.
Map utility runs and trenching limits; long distances can erase savings.
If Historical preservation applies, confirm what you can alter and still keep approvals.
Finally, confirm aesthetic consistency so exterior materials, rooflines, and fenestration align without costly custom work.
Choose the Right Outbuilding Conversion Use
Once you’ve confirmed the conversion can work on paper, match the outbuilding’s new use to your access needs, code triggers, and the smallest footprint that still functions. Pick low-intensity uses first—conditioned storage, workshop, gym, or hobby studio—because they usually require fewer plumbing fixtures and simpler ventilation, fire separation, and energy upgrades.
If you want a guest suite or office, budget space for a compliant bathroom, mechanical closet, and clear egress openings without overbuilding the plan.
Design for Storage optimization: built-ins between studs, overhead racks, and a defined utility wall keep floor area open.
Support Landscape integration by preserving drainage paths, keeping setbacks clean, and aligning windows, doors, and exterior finishes with the main home’s massing.
Plan Access, Permits, and a Connector
After you’ve matched the outbuilding’s use to a realistic footprint, map how people will reach it. Consider what permits the work will trigger, and whether you’ll connect it to the main house with a breezeway, enclosed hall, or covered walkway. Keep the route direct, well lit, and slip-resistant, with code-compliant widths, landings, and slopes so daily trips stay safe.
Next, confirm zoning, setbacks, lot coverage, and historic rules. Then, pull building and structural permits for any framing, new openings, or roof tie-ins. Treat a connector as conditioned or unconditioned space based on enclosure and fire-separation needs, and detail flashing to prevent water intrusion.
Coordinate Landscaping options to manage drainage and snow storage, and align Interior design choices with door swings and compact storage.
Add HVAC, Power, Plumbing, and Wi‑Fi
How will the outbuilding stay comfortable and functional year-round without overloading your home’s systems? Start by sizing loads and coordinating with your electrician and plumber.
For HVAC options, choose a ductless mini-split for efficient zoning, or a through-wall heat pump where space is tight; confirm required clearances, condensate disposal, and dedicated circuits.
Run a subpanel in the outbuilding with GFCI/AFCI protection where required, and bond/ground per code. Bury feeders and water lines below frost depth in approved conduit.
For Plumbing considerations, keep runs short, add cleanouts, trap primers if needed, and insulate or heat-trace vulnerable sections. Add a vented drain line or pump if gravity fall won’t work.
Extend Wi‑Fi with a wired Ethernet pull or outdoor-rated point-to-point bridge.
Match Siding, Roofing, Windows, and Trim
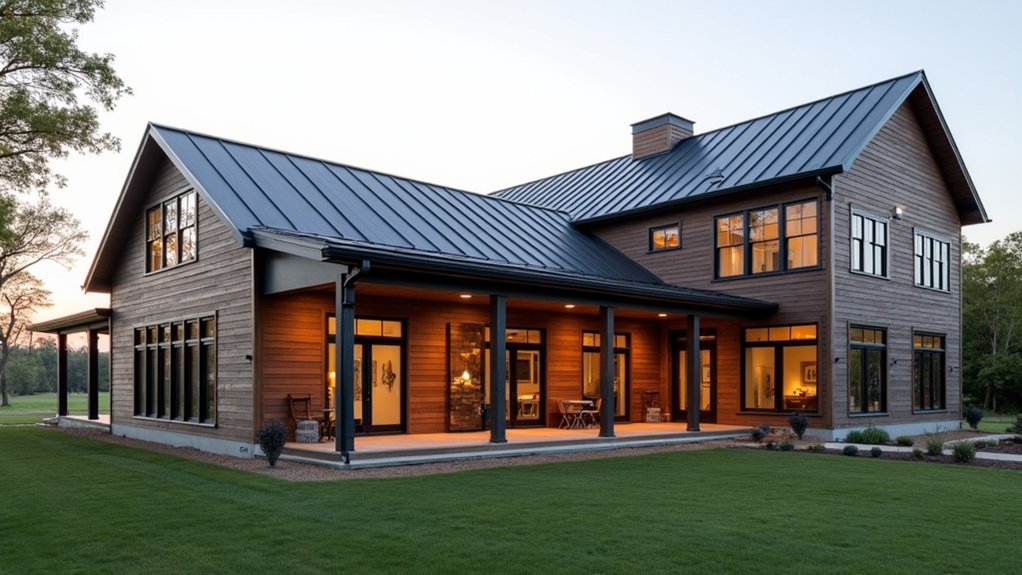
Although the outbuilding may function like an addition, it’ll read as a seamless extension only if you align the exterior “kit of parts” with the main house—siding profile and reveal, roofing material and pitch, window proportions and grille patterns, and trim thickness and corner details.
Start by matching lap exposure or board‑and‑batten spacing so courses line up at corners and progressions. Verify material compatibility: keep dissimilar metals separated, use approved flashings, and follow manufacturer nailing schedules and WRB lapping for water control.
Mirror roof pitch where feasible; if not, use a crickets and step flashing to meet code-required drainage.
Select windows with the same mullion rhythm, egress where needed, and tempered glass in hazardous locations.
Finish with consistent fascia depth, corner boards, and color to unify exterior aesthetics.
Frequently Asked Questions
What Insurance Changes Are Needed After Converting an Outbuilding?
You’ll need Insurance coverage and policy updates: report the new use, increased replacement cost, added square footage, wiring/plumbing changes, and occupancy. Confirm permits, code-compliant inspections, liability limits, and endorsement for rental/home office if applicable.
How Can I Soundproof the Connector and New Living Area?
You’ll prove the theory that tiny leaks ruin quiet: seal gaps with acoustic caulk and gaskets, then add Soundproofing techniques—resilient channel, double drywall, staggered studs—with dense insulation materials like mineral wool; meet fire/egress codes.
Will Converting Affect My Property Taxes or Assessed Home Value?
Yes—converting can raise taxes and assessed value. For Property tax implications, you’ll trigger reassessment when you pull permits, add square footage, and finish space. Home value assessment rises with code-compliant, habitable upgrades.
What Pest-Control Steps Are Best Before Enclosing the Structure?
Before you enclose it, nip pests in the bud: schedule Structural inspection, seal gaps with metal mesh and foam, remove debris, treat soil/wood per label, install termite shields, and plan ongoing Pest prevention monitoring.
How Do I Address Lead Paint or Asbestos During Renovation?
Test suspect surfaces before you disturb them; you’ll manage Lead hazards with EPA RRP-certified containment, HEPA cleanup, and proper disposal. For Asbestos removal, you’ll hire licensed abatement, follow local codes, and document clearance.