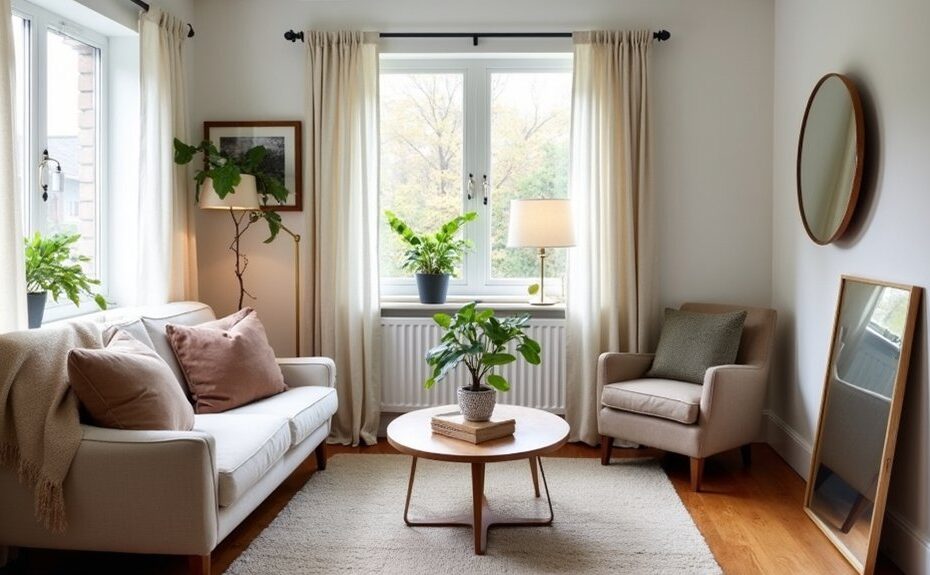
You can make your home look high-end on a tight budget if you spend your first $100 with intent. Start by fixing what gives “builder-basic” away: dated lighting, skimpy curtains, mismatched hardware, and cluttered shelves. Use paint to fake custom trim, swap in one statement fixture, and add texture with heavier textiles and layered warm bulbs. The key is scale and consistency—and one overlooked change can shift everything…
Key Takeaways
- Spend $50–$70 on one “hero” upgrade (mirror, art, curtains), then use the rest to unify small details like hardware and storage.
- Layer warm lighting (2700K–3000K) with lamps and dimmers, and hide cords with raceways for a cleaner, luxe look.
- Use paint to fake built-ins and highlight trim; crisp tape lines and satin or semi-gloss finishes instantly look custom.
- Swap builder-grade knobs and pulls for solid, matching metal hardware, installed straight and aligned for a bespoke finish.
- Style with fewer, larger pieces and correct proportions—full curtains, art at two-thirds sofa width, and repeated finishes to avoid clutter.
Start With a $100 High-Impact Plan
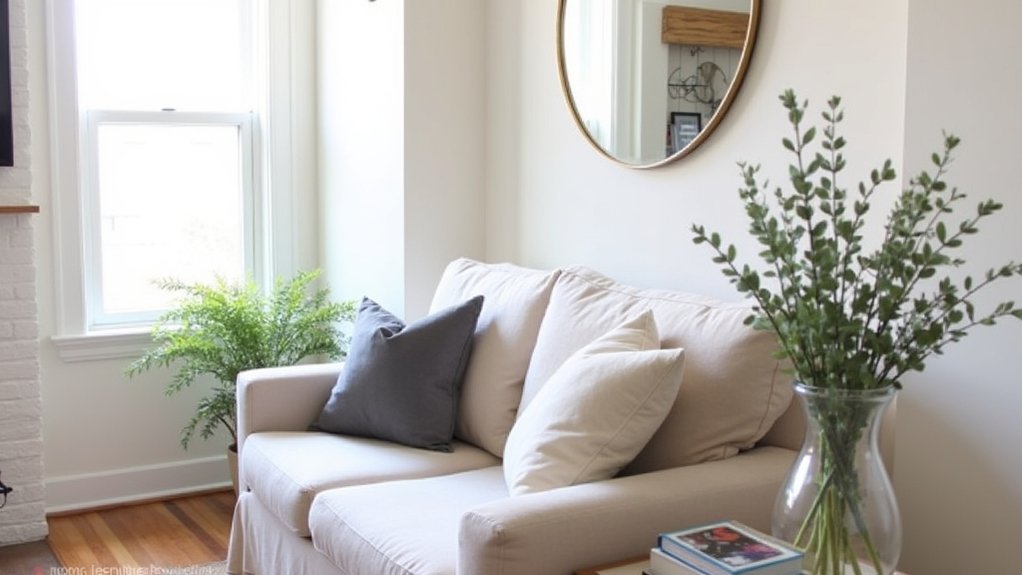
If you’ve only got $100 to work with, you’ll get the biggest payoff by treating it like a mini design budget—set a clear goal, pick one “hero” upgrade, and spend the rest on tight supporting changes.
Decide what reads “cheap” first: cluttered surfaces, mismatched hardware, tired textiles, or blank walls.
Put $50–$70 into one hero: a large art print, a modern mirror, or floor-length curtains in a solid, on-trend neutral.
Then use Budget shopping for the supports: matching pulls, a can of paint for a single focal area, and identical hangers or storage bins to streamline sightlines.
Finish with DIY decor: frame thrifted pages, wrap book spines, and style a tray with one sculptural object and greenery.
Upgrade Lighting for an Expensive Look
Why does a room with the same furniture suddenly look “designer” the moment you change the lighting? Because light controls mood, contrast, and where your eye lands.
Start by swapping harsh ceiling bulbs for warm LEDs (2700K–3000K) and add a dimmer for instant polish.
Layer Ambient lighting with two or three sources: a floor lamp to bounce light off a wall, a table lamp near seating, and a small plug-in sconce for height.
Then add one of-the-moment Statement fixtures—an oversized paper lantern, a brass globe pendant, or a sculptural flush mount—to create a focal point without new furniture.
Hide cords with adhesive raceways, use matching bulbs, and keep shades neutral for a cohesive, upscale glow.
Use Paint to Fake Built-Ins and Trim
You can fake the look of pricey built-ins with paint by blocking out “cabinet” shapes on the wall and finishing them with crisp, taped edges.
You’ll make trim feel intentional and high-end by choosing a contrasting sheen or color—think warm white walls with a deep, moody satin on the molding.
To sell the effect, add depth with subtle shadow lines using a slightly darker tone along the “inside” edges where real millwork would cast shade.
Paint Illusion Built-Ins
Although true built-ins can cost a small fortune, paint lets you fake the same custom look with clean lines, smart color blocking, and a little planning.
Start by measuring your wall and mapping “units” with painter’s tape: a base rectangle for cabinets, taller blocks for bookcases, and a thin band for a shelf line.
Choose a hue using color psychology: deep navy or forest green reads grounded and upscale, while warm greige feels calm and tailored.
Paint the blocks in a satin finish, then outline edges with a small angled brush for crisp corners.
Match your furniture arrangement to the illusion—center a console within the painted “cabinet,” flank it with baskets or art, and keep spacing symmetrical so it feels built-in.
Highlight Trim With Contrast
When your trim blends into the wall, a simple contrast paint job can make the whole room look more custom—like built-ins and millwork were planned from day one. Choose Color contrast that feels intentional: creamy walls with inky trim, warm greige with crisp white, or a muted “heritage” color on baseboards and door casings.
For clean trim highlighting, prep matters more than price. Degloss glossy trim, fill nail holes, and sand edges so the line reads sharp. Tape with painter’s tape, then press the edge with a putty knife to prevent bleed.
Use a durable semi-gloss or satin on trim and a flatter finish on walls so the trim pops. Paint doors to match trim for a cohesive, upscale frame.
Add Depth With Shadows
Once trim contrast frames the room, painted shadows can push that custom look even further—no carpentry required. Use shadow play to mimic built-ins, panel molding, or a thicker casing by painting a soft “drop shadow” line where real depth would fall.
Pick a paint 2–3 shades darker than your wall color in the same undertone. Tape a crisp rectangle for a faux inset panel, then, with a small angled brush, paint a 1/4-inch shadow along the lower and one side edge. Feather the inside edge with a barely damp brush so it reads like light, not a stripe.
For faux trim, run the shadow just inside the contrasting band. This depth illusion looks especially luxe in matte finishes and warm, layered neutrals.
Swap Hardware for a Custom, High-End Finish
If you want your space to read “custom” without paying for a remodel, start with the hardware you touch every day. Swap builder-grade pulls, knobs, and hinges for custom hardware in one finish to instantly elevate cabinets, doors, and even furniture.
Right now, warm brushed brass, satin nickel, and matte black look intentional; polished chrome reads more classic.
Measure your existing hole spacing (center-to-center) before you buy, and keep a cardboard template to drill cleanly. Replace mismatched screws with color-matched ones, and add backplates if old holes show.
For high end finishes on a budget, choose solid metal over hollow, and prioritize weight and tight tolerances. Finish by aligning everything with a level so it feels bespoke.
Add Luxe Texture With Budget-Friendly Textiles
Hardware sets the tone, but textiles add the layered, “finished” feel that makes a budget space look styled. Start with Textile layering: a neutral rug, then a smaller textured topper (jute plus a vintage-look kilim works). Swap flat curtains for linen-blend panels hung high and wide to fake taller ceilings.
Add a chunky throw in bouclé or waffle weave, then finish with two pillow sizes—one solid, one subtle texture—to keep it polished.
For Pattern mixing, stick to a tight palette (two colors plus a neutral) and vary scale: large stripe, medium geometric, small speckle.
Use washable slipcovers or pillow inserts with zip covers so you can rotate seasonally without re-buying. Shop off-price, remnants, and “designer-inspired” fabrics.
Style Shelves Like a Designer: Without Clutter
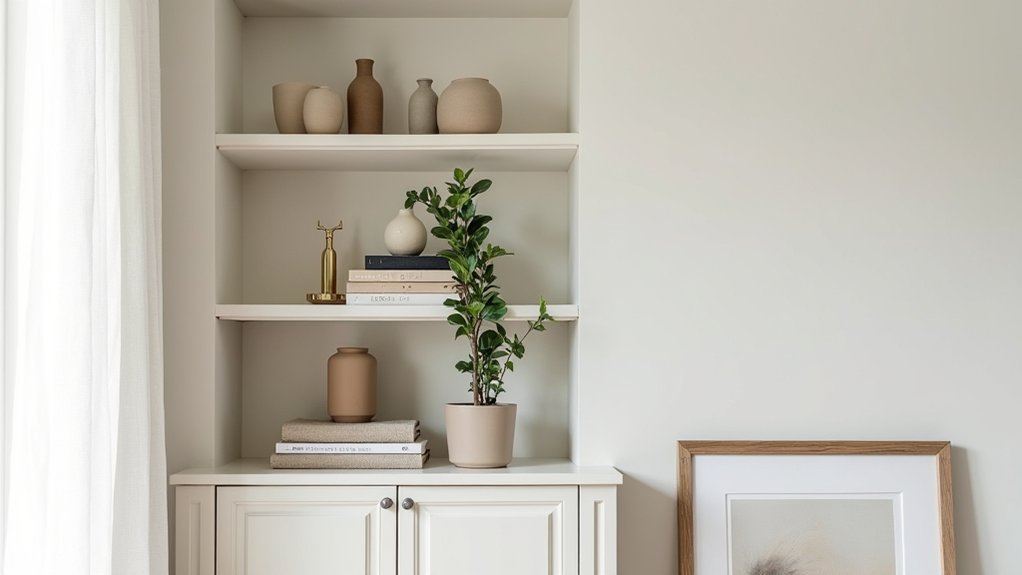
Although open shelving can turn messy fast, you can make it look designer by editing hard and styling in repeatable “sets.” Start with a quick reset: clear the shelf, wipe it down, and decide what actually lives there (no “maybe” piles).
Build three-item vignettes: a vertical stack (books or boxes), a sculptural object, and something organic (small plant or branch). Keep negative space like it’s a frame. Use color coordination to control visual noise: pick one neutral base, one accent, and repeat them across shelves.
Corral tiny items in a tray or lidded box so “Minimalist clutter” doesn’t sneak in. Vary heights, but align one edge (spines or containers) for a clean line. Finish with one personal piece, then stop.
Make Windows Look Expensive: Rods, Height, Hems
To make your windows look high-end on a budget, hang your curtain rods 4–6 inches above the frame (or closer to the ceiling) to visually stretch the room.
Choose full-length panels with tailored hems, and skip the puddle—clean, modern lines look intentional and expensive.
When your panels just kiss the floor and sit wider than the window, you’ll get that designer, custom-fitted finish without the custom price.
Hang Rods Higher
Even if you’re keeping the same curtains, raising the rod a few inches instantly makes the whole window look taller and more high-end. Mount it 4–6 inches above the frame, or halfway to the ceiling height for a designer look.
If you can, extend the rod 6–10 inches past each side so panels stack off the glass and you get maximum light. Choose simple brackets in matte black, brass, or warm nickel—finishes that trend upscale right now.
Use a level, hit studs or anchors, and keep both sides perfectly even.
This trick pairs well with smart storage solutions: vertical lines draw the eye up, making compact rooms feel calmer and less crowded. You’ll fake architecture without remodeling.
Tailored Hems And Panels
Why do some curtains look custom while others read bargain-bin? It’s usually the hem and the panel proportions. Aim for a “kiss” hem that barely grazes the floor, or a crisp 1/2-inch break for a tailored look. Skip puddling unless you’re committing to luxe linen and frequent steaming.
If your panels run short, add a contrast band at the bottom; it reads like custom tailoring and instantly lengthens the line. If they’re too long, hem with iron-on tape, then stitch the side edges for a cleaner drape.
Choose fuller coverage: two panels should span 2x the window width. Finish with subtle fabric embellishments—trim, border tape, or tonal ribbon—kept minimal and modern.
Pick Decor That Looks High-End (Scale + Materials)
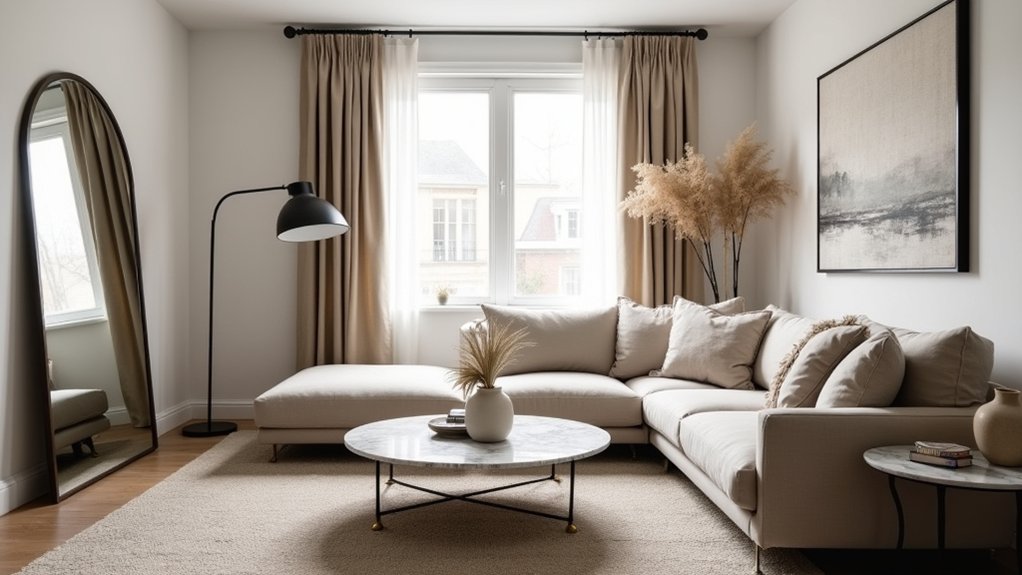
Although price tags can fool you, scale and materials almost always reveal whether decor reads high-end or bargain-bin. Start with Scale balance: choose fewer, larger pieces that anchor a room—an oversized mirror, a tall vase, or one substantial table lamp—rather than many small knickknacks.
Keep proportions intentional: art should span about two-thirds of a sofa, and lamps should sit at eye level when you’re seated.
Next, prioritize Material selection. Look for weight and texture: thick glass, ceramic, stone, linen, rattan, and real wood veneers over glossy plastic. Swap shiny chrome for brushed brass or matte black for a current, designer finish.
Finally, repeat one finish three times for cohesion.
Frequently Asked Questions
How Do I Decorate a Rental Without Losing My Security Deposit?
Stick to reversible upgrades: use Temporary wallpaper on accent walls, hang art with Removable hooks, add rugs and lamps, and avoid paint or nails. Document move-in condition, save hardware, and patch tiny holes before leaving.
Which Upgrades Add Value if I Plan to Sell Soon?
Want buyers to fall in love fast? Focus on fresh paint, updated lighting, and minor kitchen/bath hardware. You’ll boost curb appeal with tidy landscaping and a new door. Use Home staging to showcase space and flow.
How Can I Make Mismatched Furniture Look Cohesive?
You can unify mismatched pieces with color coordination: repeat 2–3 tones through pillows, throws, and art. Use furniture grouping: cluster items by function, anchor with a rug, then swap matching hardware and lighting.
What Are the Best Budget-Friendly Ways to Improve Acoustics?
You’ll improve acoustics cheaply by adding thick rugs, curtains, and bookcases. In my echoey rental, one rug cut reverb by 30%—like muffling a drum. Use Soundproofing solutions: door sweeps. Add DIY Acoustic panel designs.
How Do I Choose Finishes That Won’T Look Dated Next Year?
Choose timeless finishes by sticking to Neutral palettes, matte or satin sheens, and natural materials like wood and stone. Add personality with swap-friendly Vintage accents. Avoid overly specific patterns, prioritize classic hardware, and test samples in your lighting.