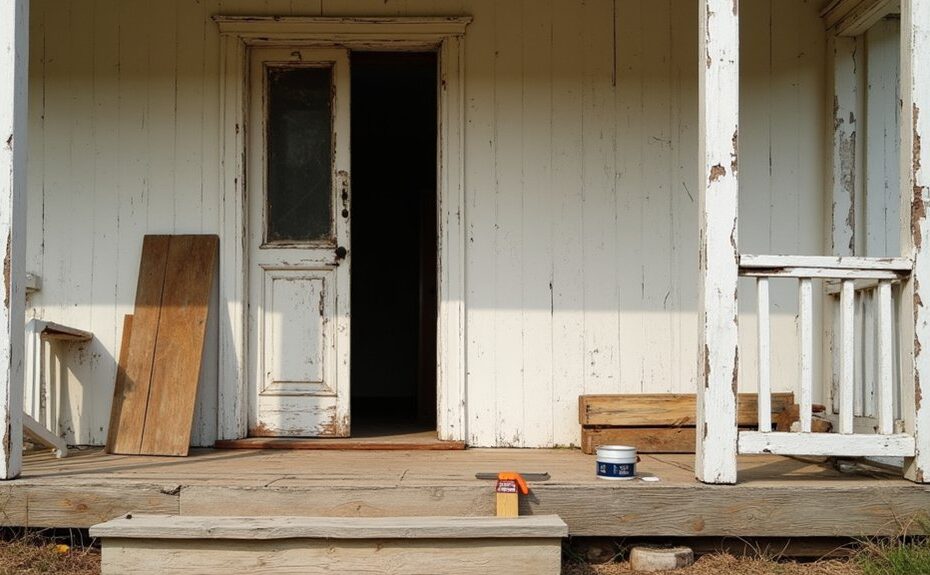
Start by inspecting your farm porch from below and above: look for frass, dark stains, sagging joists, loose rails, and hollow thuds underfoot, then probe suspect end grain with an awl. Map the rot to decide if you can splice in matching stock or need a full rebuild with new footings and rot-resistant wood. Stop water first with drip-edge flashing, regrading, and clear gutters. Replace decking crown-up, gap for drainage, and rebuild steps to original rise and run. Keep going to see how to shore posts, block framing, and paint for decades.
Key Takeaways
- Inspect annually for rot, loose boards, unstable railings, and joist damage like frass, stains, sagging, or hollow thuds underfoot.
- Probe suspect wood with an awl; replace crumbling end grain at treads, skirt boards, and post bases exposed to splashback.
- Fix water causes first: add flashing with drip edge, regrade soil away, clear gutters, and extend downspouts to prevent pooling.
- Decide repair versus rebuild by mapping rot, comparing costs, and weighing lifespan: repairs 10–15 years; full replacement can last 25–40 years.
- Replace decking and steps correctly: crown boards up with drainage gaps, use galvanized fasteners, match original rise/run, and prime, caulk, and paint.
Inspect Your Farm Porch for Rot and Safety Risks
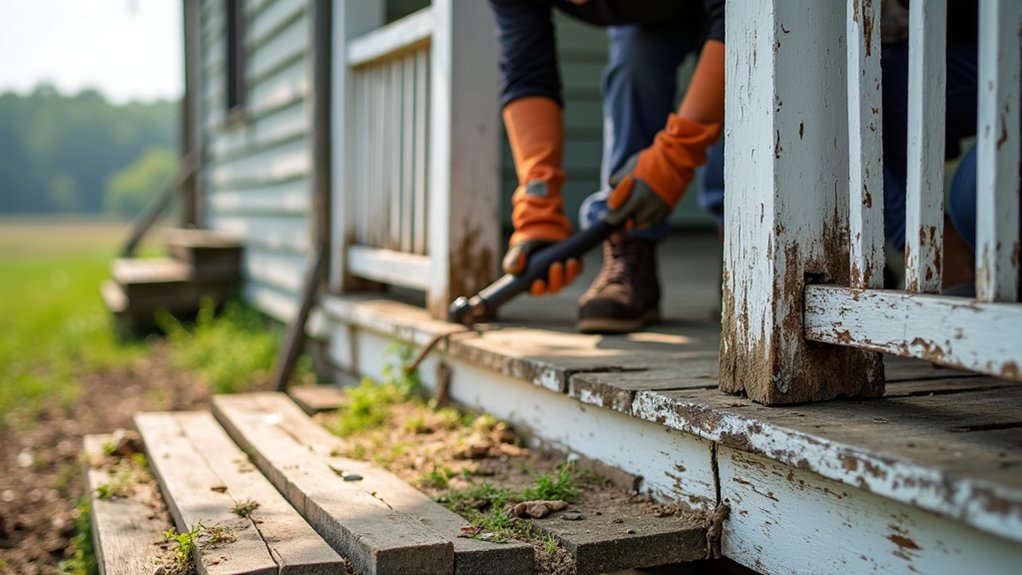
Before you lift a paint scraper or pry bar, walk the porch like a carpenter would: slowly, with your weight testing every board. Listen for hollow thuds, feel for spring, and note any dip at the sill.
Probe suspect spots with an awl—sound wood resists; rot yields and crumbles. Check end grain at stair treads, skirt boards, and post bases where splashback lingers.
Sight along the joists from below; powdery frass, dark staining, or sagging lines signal trouble.
Test railings by pushing hard; tight mortises shouldn’t rack. Look for rust-jacked nails and loose cut nails around Farm porch decor hooks and seasonal decorations mounts.
Mark hazards with chalk before you work.
Choose Farm Porch Repairs vs. Full Replacement
After you’ve mapped the rot, you’ve got to decide whether you can splice in sound, matching stock or whether the sill, joists, and decking are too far gone to save.
Price out both paths with period-correct materials and fasteners, then weigh that cost against the realistic service life you’ll get from each.
If repairs buy you decades without compromising structure, you’ll keep more original fabric; if they won’t, a full rebuild is the honest, lasting fix.
Assess Damage And Rot
Although a farm porch can look merely “tired” under peeling paint and wind-driven rain, you’ll want to judge what’s truly sound before you choose repairs or a full replacement. Start at the sill and work outward: probe posts, joist ends, and stair stringers with an awl; sound wood resists, while rot yields in crumbs.
Check the porch floor with a straightedge for sagging between joists, and look for dark staining at nail holes, where water wicks. Lift a few boards if you can—old cut nails and tongue-and-groove edges often hide decay.
Inspect the ledger against the house for soft spots and powdery frass. Note failed flashing and clogged gutters as seasonal maintenance tasks.
Save Farm porch decor decisions until structure’s firm.
Compare Costs And Lifespan
Once you’ve mapped the rot, you can weigh repairs against a full rebuild by putting real numbers and years on the table.
For localized sill or tread decay, you can scarf in sound heartwood, peg it, and prime end grain; that’s often one‑third the outlay and buys 10–15 years if you keep paint tight and water shedding.
A full replacement costs more in labor and millwork, but it resets hidden failures in joists, posts, and mortises and can run 25–40 years with proper flashing.
Your Cost comparison should include disposal, jacking, and new footings.
In Material options, clear pine matches period work but wants upkeep; rot‑resistant fir, cedar, or treated framing under painted pine reduces future patching.
Fix Water Flow With Flashing and Drainage
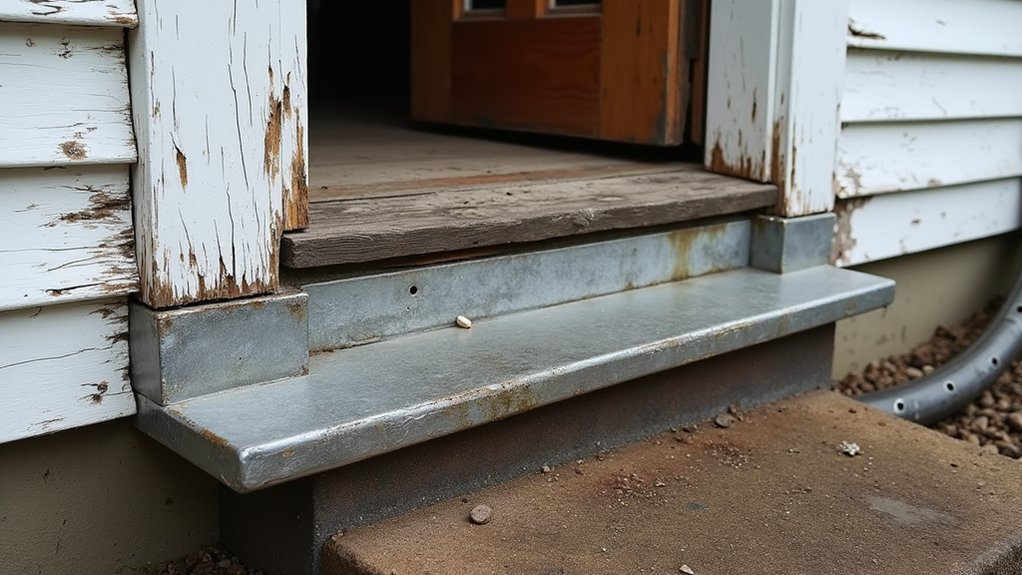
When rain keeps finding its way under the sill or along the porch ledger, you can’t paint or patch your way out of trouble—you’ve got to redirect the water. Start by pulling the skirt board or a course of siding so you can slip in metal flashing, bent with a crisp drip edge. Lap it shingle-style, bed the top edge in linseed-oil putty or modern sealant, and tack it with cut nails so it stays flat.
Next, manage water runoff at the ground. Regrade so the soil falls away, then add a shallow gravel trench to carry splash and meltwater off. Keep gutters clean, extend downspouts, and set a simple leader to daylight.
These drainage solutions stop rot before it starts.
Shore Up Farm Porch Footings, Posts, and Framing
Once you’ve corrected runoff, you’ll check the porch’s footings by probing the soil for softness, frost heave, and settled piers that have slipped out of level.
You’ll shore and plumb the posts with temporary bracing, then reinforce them with sound bases, proper fasteners, and rot‑resistant repairs that suit an older farm build.
Finally, you’ll tighten the framing by reworking loose beam‑to‑post and joist connections—adding blocking, bolts, or hangers only where they don’t fight the original joinery.
Assess Footings And Soil
Before you lift a hammer, get down at the porch line and read the ground and supports like a carpenter would’ve a century ago: probe the soil with a steel rod for soft pockets, check that each pier or stone pad bears on firm earth below the frost line, and sight the posts for plumb and twist.
Scrape away leaf mold so you can judge soil stability, then tap masonry with a hammer to hear hollow, spalled faces. For footing inspection, look for washouts, undermined edges, and fresh silt lines that mark seasonal flow.
Slip a thin rule under pads; daylight means settling. Check grade: water should fall away from the house. Note ant galleries, rot odor, or powdery frass near bearing points, and mark every suspect spot for later correction.
Reinforce Porch Posts
How do you stiffen a tired porch without jacking it crooked or crushing old fibers? You start by relieving weight gently: set a stout screw jack on a wide plank, lift only until the post just unseats, then slip in temporary cribbing.
Probe the post bottom with an awl; if it’s punky, cut it square and splice in a rot‑resistant dutchman with exterior glue and through‑bolts. If the post is sound but wobbly, add a sister post alongside, bedded on a treated block and shimmed plumb with cedar wedges.
Clamp, bolt, and cap the pair with a tight wood collar so Decorative trim still fits. Rehang Seasonal decorations only after the post holds firm, in wind too.
Repair Framing Connections
When a porch starts to rack and creak, the trouble often sits in the joints—not the boards—so you’ll get more stiffness by repairing the framing connections than by adding new trim. Jack the sagging corner just enough to close gaps, then block and crib it solid.
Probe beam ends, post shoulders, and ledger bearing with an awl; you’re hunting punky wood and loosened pegs. Pull old cut nails, drill for 3/8-inch oak treenails, and draw-bore the mortise-and-tenon back tight.
Where rot steals bearing, sister the joist with matching species, scarfed long, and bolt with square washers for a period look. Re-seat the ledger with flashing and through-bolts, not lag screws.
These repairs respect historic preservation while giving you room for creative design in the rail and floor layout.
Replace Farm Porch Boards and Rebuild Solid Steps
Although the porch framing may still feel firm underfoot, weather‑cupped boards and soft step treads have to go if you want a safe, square entrance again. Pull fasteners with a cat’s paw, then pry boards gently so you don’t split the joist edges.
Snap a chalkline to keep new decking straight; set boards crown‑up, leave a thin gap for drainage, and drive galvanized cut nails or exterior screws into each joist.
For steps, strip to sound stringers. If they’re checked, replace them with 2x stock laid to the original rise and run; use a framing square and gauges.
Fit treads tight, add a riser, and brace. Good porch maintenance keeps seasonal decoration from hiding hazards.
Prime and Paint the Farm Porch to Last
After you’ve laid true boards and rebuilt sound steps, lock that work in with primer and paint that suit old farm wood. Sweep, then wash with mild soap and a stiff brush; let it dry a full day.
Set nails, fill checks with exterior putty, and sand to feather edges. Brush on an oil-based or bonding primer, working end grain and seams first so moisture can’t creep under. Caulk only where boards meet trim, not between floor boards.
Follow with two thin coats of porch and floor enamel, brushing with the grain and keeping a wet edge. Add Decorative accents with a darker tread stripe or simple stenciling.
Plan Seasonal maintenance: touch up worn paths each spring, and keep leaves from holding dampness.
Frequently Asked Questions
How Much Does a Typical Farm Porch Restoration Cost per Square Foot?
You’ll pay $25–$75 per square foot. Rain pounds in 40 inches yearly, scouring boards. Plan for Porch paint, roof repair, hand-scraped millwork, and true-linseed priming; you’ll spend more if sills or joists rot.
Do I Need a Building Permit for Porch Repairs or Replacement?
You’ll often need a permit if you replace structural porch elements, change dimensions, or alter stairs, railings, or footings; minor in-kind repairs may not. Check Historic preservation rules, and document your DIY restoration with matching materials.
Which Wood Species Best Matches Historic Farm Porch Materials?
You’ll match historic farm porches best with old-growth heart pine or Douglas fir; they’re strong as iron. For Choosing durable wood, use clear vertical grain. For Historic wood matching, mirror local species and tight ring patterns.
Can I Restore a Porch in Winter, or Must It Be Warm and Dry?
You can restore in winter, but you’ll need warmth, dryness, and planning. Track Seasonal weather considerations: cure times, frost, humidity. Use tarps, heaters, and dehumidifiers; add Interior insulation options to stabilize temperatures, protect glue and paint.
How Do I Prevent Termites and Carpenter Ants After Rebuilding?
You stop them before they arrive: seal end grain, keep sills dry, and vent crawlspaces. Apply Termite resistant treatments to framing; then practice Carpenter ant prevention by removing damp wood, caulking joints, and screening gaps.