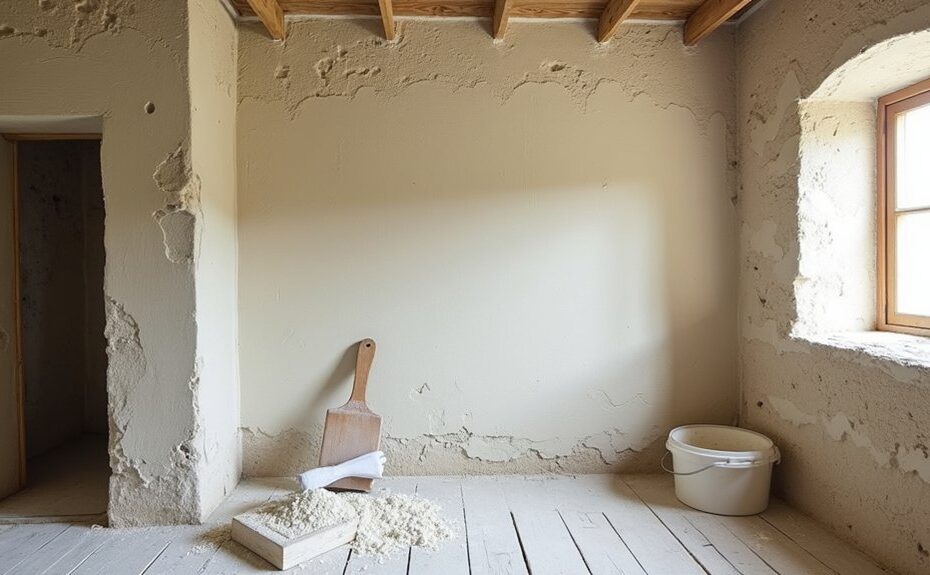
Start by mapping cracks and tapping for hollows; a crisp ring means sound bond, a dull thud means lost key. Cut small inspection windows, brush off powder, and note any salt bloom or blistering. Stop damp first by fixing gutters, flashings, and blocked air bricks, and stripping vinyl paints so walls can dry. Match the original lime and sand grading, then reattach with lime grout or cut back and patch in thin keyed coats, curing slowly. Keep going to see the telltale details that make repairs disappear.
Key Takeaways
- Diagnose failure by mapping cracks, tapping for hollows, and opening small inspection windows to check laths, coats, and salts.
- Stop damp first: fix gutters, flashings, and drainage; open air bricks; remove cement collars and impermeable paints to let walls breathe.
- Match original materials by analysing samples for lime richness and sand grading; choose compatible lime (putty or NHL) and avoid cement blends.
- Reattach sound plaster with lime grout and mechanical fixing; cut back loose areas to squared, sound edges before rebuilding.
- Rebuild in thin keyed coats (scratch, float, finish), cure slowly with misting and protection, then finish with limewash after full curing.
Diagnose Lime Plaster: Cracks, Hollows, Salts

Before you mix a batch or lift a trowel, you need to read the plaster the way an older plasterer would: by its failures. Map cracks with a pencil: hairlines often show shrinkage in fat-lime work, while stepped or widening cracks suggest movement across laths or masonry joints.
Sound the surface with knuckles or a wooden mallet; a crisp ring means bond, a dull thud marks hollows and lost key. Cut small inspection windows to confirm lath condition and the coat sequence.
Brush off powder and taste the grit between fingers to judge Lime plaster composition—lime-rich, well-carbonated, or over-sanded and weak. Note salts as fluffy bloom, crust, or blistering; mark their pattern for Historical preservation records and later matching of repairs.
Stop Damp Before Repairing Lime Plaster
Because lime plaster breathes and wicks, it will faithfully carry any damp problem to the surface, so you need to stop the moisture at its source before you patch a single crack.
Start outside: clear gutters, repair downpipes, and extend discharges away from footings. Check flashings, verge mortar, and cracked render that funnels rain into the wall.
At ground level, lower raised paths, remove cement collars, and open blocked air bricks so the base can dry.
Inside, strip vinyl paints and gypsum skims that trap moisture, and improve ventilation around chimneys and hearths.
Brush off salts, then let the masonry dry slowly with gentle heat and airflow.
Only then will your work respect Lime plaster aesthetics and historical accuracy, and last.
Pick a Lime Plaster Mix That Matches
Once you’ve stopped the damp, you need a plaster mix that behaves like the old work, not just one that looks similar. You’ll match the binder and aggregate by copying the lime-richness, sand grading, and any hair or fines so the new coat keys in and cures at the same rate.
Then you’ll choose the right lime type—non-hydraulic lime putty for most historic interiors, or a mild NHL where exposure demands it—so strength and permeability stay in balance.
Match Binder And Aggregate
If you want a repair that disappears into the old work, you’ve got to match the original binder and aggregate, not just the color. Start by taking small samples from sound areas and looking at them with a hand lens: note grain size, grading, and any brick dust, shell, or hair.
Binder compatibility matters because an overly strong or tight mix can shear at the join, trap moisture, and print through as a hard edge. For aggregate selection, copy the original sand’s sharpness and particle range; don’t substitute uniform builders’ sand if the historic mix used well-graded pit sand.
Wash and sieve your sand to match the fines. Replicate fiber type and length, and keep ratios consistent across coats.
Choose Appropriate Lime Type
Matching sand, fines, and fibers gets you close, but the lime itself sets the repair’s strength, suction, and breathability.
Start by identifying what your wall was meant to do: soft and sacrificial, or tighter and weather-resisting. If the original Historical mortar was fat lime, choose lime putty for base and finish coats; it stays workable, draws gently, and hardens through Lime carbonation, so keep it damp and protected from wind.
Where exposure or salts demand quicker set, use a feebly hydraulic lime (NHL 2) rather than jumping to strong mixes that trap moisture. Reserve higher grades (NHL 3.5) for very exposed work only.
Never blend cement in “for safety”; it changes pore structure and failure mode.
Reattach Loose Lime Plaster (or Cut Back)
Before you patch, you’ve got to judge the plaster’s soundness: tap for a crisp ring versus a hollow drum and look for detached edges and key failure.
If the lime is still coherent, you can reattach it by gently consolidating and securing it back to the lath so the old work keeps doing its job.
If it’s friable or the keys are gone, cut back cleanly to firm material with squared edges, ready for a compatible lime repair.
Assess Plaster Soundness
How do you tell whether old lime plaster can stay or must go? Start with Historic plaster analysis: read the wall like a layered record.
Tap with your knuckle or a wooden mallet; a clear, sharp ring suggests sound keys, while a dull thud hints at detachment.
Watch for hairline crazing versus stepped cracks that follow lath lines.
Probe gently with a thin spatula at edges of damage; firm resistance and gritty cohesion indicate Lime plaster durability, while powdering, friable faces, or persistent damp salts mean the binder’s failing.
Check junctions at beams, chimneys, and external walls where movement and moisture concentrate.
Note bulges, hollow zones, and prior cement patches that trap water.
Mark boundaries for later decisions.
Reattach Or Cut Back
Once you’ve mapped the hollow and cracked zones, decide whether you can save the plaster by reattaching it to the lath or whether you must cut back to sound work and rebuild.
If the keys are mostly intact, drill small holes, mist the void, then inject lime-based grout to re-bond; lightly prop or screw-and-washer until it grabs. Keep mixes soft and vapour-open to preserve historical accuracy.
If the keys are broken, laths rotten, or edges friable, cut back to firm plaster with a sharp knife, undercutting slightly for a mechanical lock. Rake clean, dampen, and rebuild in thin coats: scratch, float, finish.
Match sand grading and lime type for color matching. Feather edges, avoid gypsum fillers, and cure slowly.
Patch Lime Plaster in Coats to Prevent Cracks
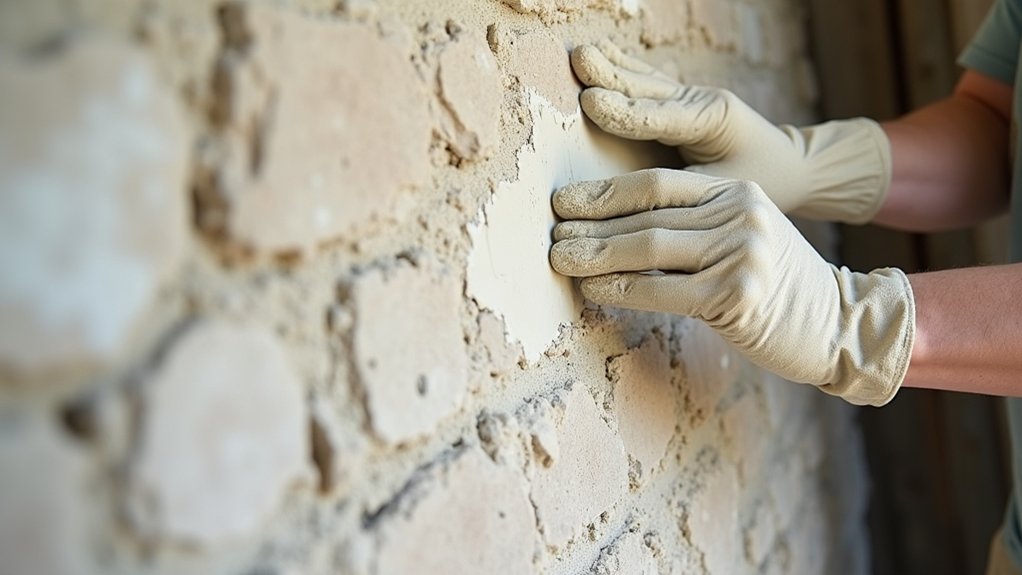
Although lime plaster seems forgiving, it’ll crack if you try to make one thick patch do the work of three. Build your repair the way rural craftsmen did: in thin, keyed coats that share shrinkage and move with the wall.
Brush the edges clean, dampen the background, and press in a coarse base coat, well haired if the original was. Scratch it lightly to give the next coat a mechanical bond, and keep the patch slightly proud.
Once it firms, add a second, finer coat, floating it level with the surrounding plane. Finish with a skim that matches the old aggregate and trowel marks so Lime plaster aesthetics stay consistent and historical accuracy doesn’t suffer.
Keep each coat modest and even; you’re controlling stress, not just filling a void.
Cure and Finish Lime Plaster for a Hard Set
After you’ve laid the last coat, the real work shifts to curing: lime won’t harden by drying, but by slow carbonation, so you’ve got to keep the patch cool, damp, and protected from sun and wind.
Mist it lightly for several days, then cover with damp hessian or paper; re-wet as it pales. Don’t rush heat or dehumidifiers—rapid drying powders the face and invites shrinkage.
When it’s firm, you can close the surface with a wooden float, then a lightly damp sponge to lift fines and even the suction.
For Historical authenticity, match the original sheen: burnish for a tighter finish, or leave it open for limewash.
Add decorative finishes only after full cure, when the plaster no longer feels cold to the touch.
Frequently Asked Questions
Do I Need Listed-Building Consent Before Restoring Lime Plaster?
Yes, you’ll often need listed-building consent if you alter fabric or finishes; you won’t if you’re like-for-like repairs. Ask conservation officers. Keep historical accuracy, respect lime’s environmental benefits, and match aggregate, coats, and breathable curing.
How Do I Estimate the Total Cost of a Lime Plaster Restoration?
Like a medieval ledger, you’ll build cost estimation by measuring repair areas, counting coats, and timing skilled trowel work. Add material pricing for lime, sand, hair, laths, scaffolding, and contingencies for drying delays.
What Tools and Safety Gear Are Essential When Working With Lime?
You’ll need hawk, trowels, float, mixing paddle, buckets, sponge, and stiff brush. Wear Protective clothing, gloves, goggles, respirator; guarantee Proper ventilation. Work with lime’s caustic burn risk; wash splashes fast.
Can Lime Plaster Be Applied Over Old Paint, Wallpaper, or Gypsum Skim?
You can’t reliably apply lime plaster over paint, wallpaper, or gypsum skim; check Lime plaster compatibility first. Strip to sound mineral substrate, then use Surface preparation techniques: wash, key, dampen, and apply appropriate bonding coat.
How Do I Find a Qualified Lime Plasterer in Rural Areas?
In rural areas, you’ll find a qualified lime plasterer through conservation directories and local heritage groups—80% of defects come from incompatible repairs. Ask for proven lime plaster techniques, and portfolios using traditional building materials on similarly aged walls.