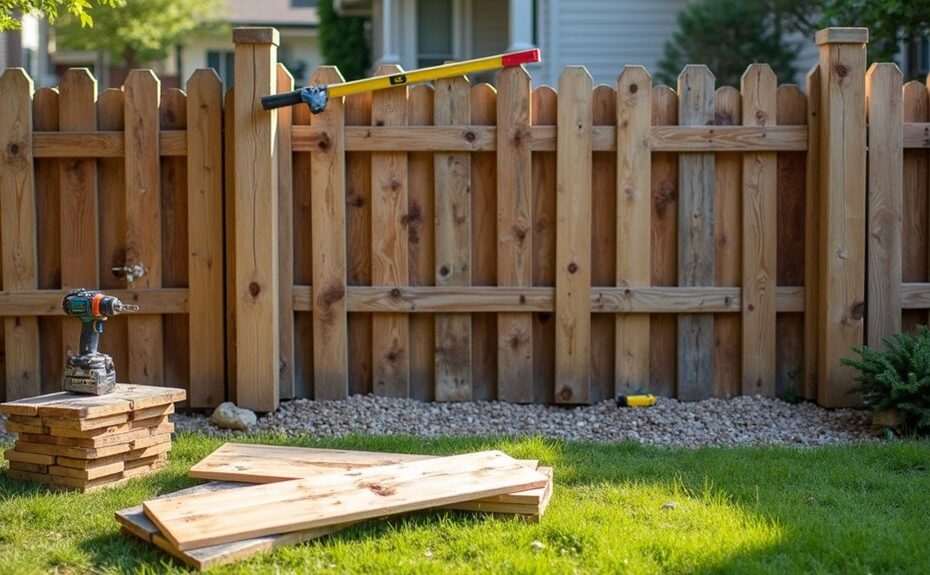
After one winter storm, you might find a fence bay racked like a door that won’t close, even though the rails look fine. You start by spotting cracked panels, loose fasteners, and posts that shift under hand pressure. You set a string line, check plumb and level, and keep gloves and eye protection on before you pull hardware. But the key decision comes next: is that post worth stabilizing, or is it already failing below grade…
Key Takeaways
- Inspect each bay to pinpoint failure in panel, fixings, or post by checking lean, flex, rot at grade, and loose hardware.
- Replace posts when rot exceeds 25% section loss, deep checks appear, or footings move; don’t rehung panels on weak timber.
- Use a string line and reference marks to set new panels plumb, level, and square with proper bottom clearance for drainage.
- Fasten panels with corrosion-resistant brackets and exterior-rated screws or bolts, rechecking alignment every few fixings to avoid twist.
- Strengthen loose posts with repair spikes or structural braces, then reset footings with tamped gravel and concrete, curing before rehanging panels.
Spot Broken Panels and Weak Fence Posts
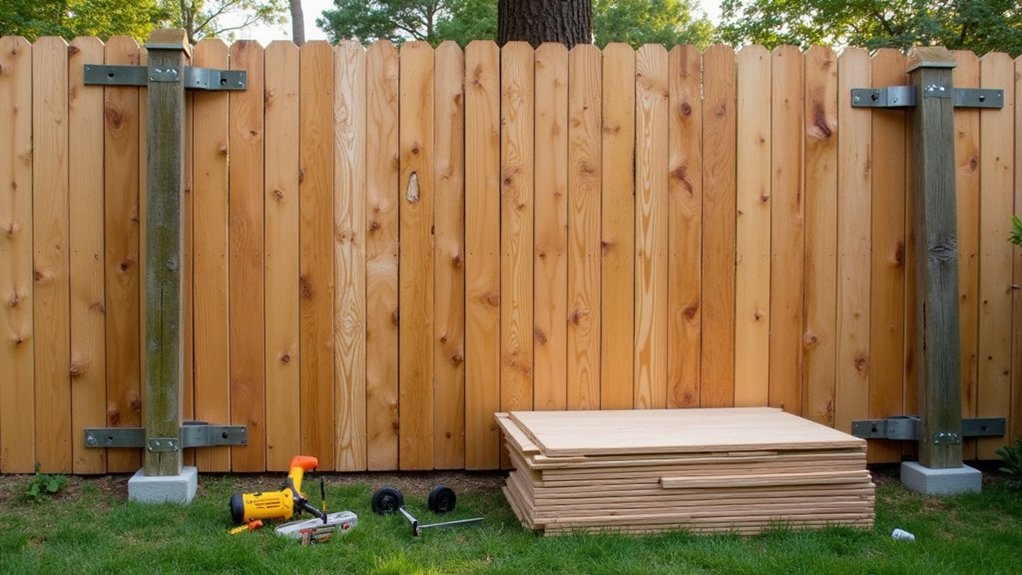
Before you buy replacement panels or mix concrete, you’ll need to confirm what’s actually failed: the panel, the fixings, or the post.
Wear gloves and eye protection, then check each bay in calm weather. Sight along the fence line for bowing, leaning, or racking.
Push the panel mid-span; excessive flex, split rails, or popped nails indicates panel failure.
Inspect fixings: loose brackets, corroded screws, and elongated holes mean the connections are compromised.
Probe posts at ground level with a screwdriver; soft timber, fungal staining, or crumbling concrete collars signal weakness.
Check for post twist by aligning a level on two faces.
Record defects bay-by-bay to plan Fence maintenance without harming garden aesthetics.
Decide: Repair the Post or Replace It
Before you hang a new panel, you’ve got to confirm the post can safely carry load and resist racking forces.
Probe at grade and below for rot, splits, insect damage, and loose footing, and stop work if the post shifts under hand pressure.
If the core is sound and the base is stable, you can reinforce and repair it; if rot or cracking compromises strength, you’ll replace the post.
Assess Post Structural Integrity
Even if the panel damage looks minor, you should verify each adjacent post can still carry lateral loads and stay plumb under tension. Lock out gates, wear gloves and eye protection, and clear the work zone before testing.
Check alignment with a 4-foot level on two faces, then confirm post-to-rail connections haven’t loosened by applying controlled push–pull force at midspan.
Probe movement at the base by rocking the post; any measurable sway suggests lost embedment or inadequate bracing.
Inspect fasteners for shear, elongation, or pullout, and verify rail ends seat fully without gaps.
If the post holds plumb under load and connections remain tight, repair may preserve fence aesthetics and maintain wildlife barriers.
If it deflects or can’t be stabilized, replace it.
Identify Rot And Damage
Although the post may look serviceable from a distance, you need to confirm it hasn’t lost section strength from rot, insect activity, splits, or impact damage before you decide to repair or replace it. Put on gloves and eye protection, then probe at ground line with an awl or screwdriver; soft fibers, voids, or a musty smell indicate decay.
Check for frass, pinholes, and galleries that suggest insects. Sight down the post for bowing, then inspect faces and corners for longitudinal splits, crush marks, or fastener tear-out.
Tap with a hammer; a dull thud can signal internal rot. Verify that panel fixings haven’t loosened and that sharp edges won’t compromise wildlife safety.
Mark defects so your fix preserves garden aesthetics.
Choose Repair Versus Replacement
Once you’ve mapped the rot and mechanical damage, decide whether the post can safely carry wind loads and panel weight with a targeted repair or whether replacement gives you the only reliable outcome.
If decay is limited to the outer sapwood or above grade, you can sister the post, add a steel post spur, or epoxy-consolidate after drying.
If you can probe more than 25% section loss, find deep checks, or see post movement at the footing, replace it.
Prioritize safety: treat the post as a structural member and don’t rehang panels on marginal timber.
Match new components for material compatibility with existing rails, fasteners, and preservatives.
Also consider Fence aesthetics: a mismatched post profile or finish will telegraph the repair.
Tools and Materials for Fence Panel Replacement
Before you pull a damaged panel, stage the right tools and materials so you can work safely and keep the fence line square. Wear gloves, eye protection, and boots; use hearing protection if you’ll cut timber.
Bring a drill/driver with bits, impact-rated screws, galvanized nails, a pry bar, hammer, and adjustable wrench for brackets. Pack a level, string line, tape, and square to hold alignment while you fasten.
Keep clamps to steady rails, plus a saw for trimming, a post spade for clearing debris, and a utility knife for felt or caps. Stock treated rails, exterior-grade screws, corrosion-resistant brackets, and wood preservative.
If you’re doing Fence painting or adding decorative lattice, stage primer, exterior paint, and stainless fixings.
Measure the Bay and Choose the Right Panel
Because panel bays rarely measure exactly what’s printed on the label, you should measure the clear opening between posts at the top, middle, and bottom, then use the smallest figure as your working width to avoid binding and racking.
Check height too, measuring from gravel board or ground to rail line, and note any slope.
Confirm post faces are plumb with a level; if they’re not, plan for packers or minor trimming, not forced fitting.
When choosing the right tools, use a tape, square, and calipers for clip or slot dimensions, and wear cut-resistant gloves.
Prioritize selecting compatible panels by matching thickness, rail spacing, fixing method (arrises, clips, or brackets), and treatment class.
Verify the panel’s wind rating suits the site exposure.
Remove a Broken Fence Panel Cleanly
With your bay measurements confirmed and the replacement panel selected, focus on removing the failed panel without stressing the posts or adjacent bays.
Put on gloves, eye protection, and boots, then clear plants and debris around the base.
Check for nails, screws, brackets, or clips at both posts and along any gravel board.
Support the panel’s weight with a prop or helper before you release fixings.
Back out screws with the correct bit; for nails, use a flat bar and a wood block to protect the post face.
If rails are split, cut the panel into manageable sections with a saw, keeping the blade clear of cables and concrete.
Stack sharp offcuts safely.
This prep helps later Fence painting and preserves Decorative fencing details nearby.
Install a New Fence Panel Straight and Level
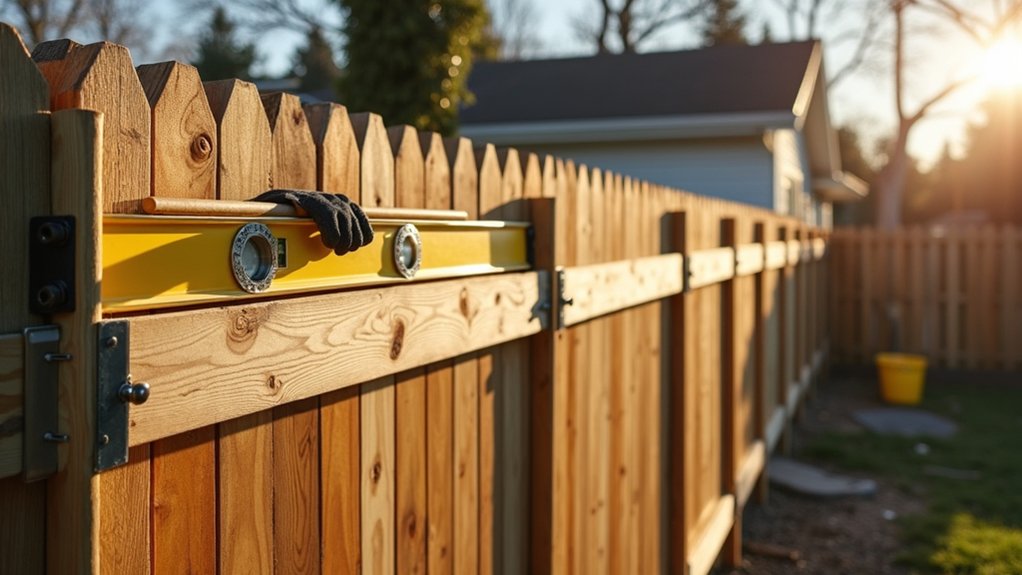
Check the posts and brackets for sound wood, correct spacing, and plumb, and replace any bent hardware before you lift the new panel into position.
Set the panel in the brackets, then use a level and straightedge to align it flush and even, keeping your hands clear of pinch points.
Drive the fasteners to spec, then recheck level, post plumb, and all fixings for tightness before you release support.
Prepare Posts And Brackets
Before you hang the new panel, prep the posts and brackets so the section sets straight and stays tight under load.
Start with Post preparation: wear gloves and eye protection, then scrape off mud, rot flakes, and old fasteners. Probe timber with an awl; if it crushes easily, sister or replace the post before continuing. Check that each post is plumb enough for hardware to seat flat, and sand high spots that would twist brackets.
For bracket installation, mark bracket heights to match the panel’s rails, then predrill to prevent splitting. Use exterior-rated structural screws or through-bolts, not drywall screws. Apply corrosion-resistant washers, and keep hardware clear of end grain.
Tighten fasteners evenly, recheck for movement, and seal any exposed cuts with preservative.
Level And Align Panel
Once the brackets and posts are solid, set the new panel on temporary blocks and bring it into position so you can control height and squareness without straining your back or fingers. Wear gloves and eye protection, and keep hands clear of pinch points as you slide the panel between posts.
Check the top rail with a 4-foot level, then adjust block thickness until it reads true. Measure diagonals corner to corner to confirm the panel’s square, especially on Decorative fencing where misalignment shows fast.
Use a string line along the fence run to match neighboring panels, and sight down the rails to catch twist. Verify ground clearance for drainage and future Fence staining access.
Mark reference lines on posts for consistent placement before you lift the panel away for fitting.
Secure And Recheck Fasteners
After you’ve confirmed the panel sits plumb, level, and square on your reference lines, fasten it to the brackets with exterior-rated screws or bolts and snug them in a balanced pattern so the frame doesn’t rack. Drive fasteners until heads seat flush; don’t crush wood fibers.
If you’re using bolts, add washers and lock nuts, then torque evenly.
Recheck plumb and level after every two fixings, because a slight pull can twist rails. Confirm bracket screws bite solid material, not split edges; relocate if needed.
Inspect each joint for gaps that could trap water and accelerate rot before Fence staining. Verify any decorative accents don’t interfere with bracket alignment or prevent full contact.
Finally, shake-test the panel, then retighten to spec and cap exposed hardware ends.
Strengthen a Loose Fence Post (Spikes, Brackets, Concrete)
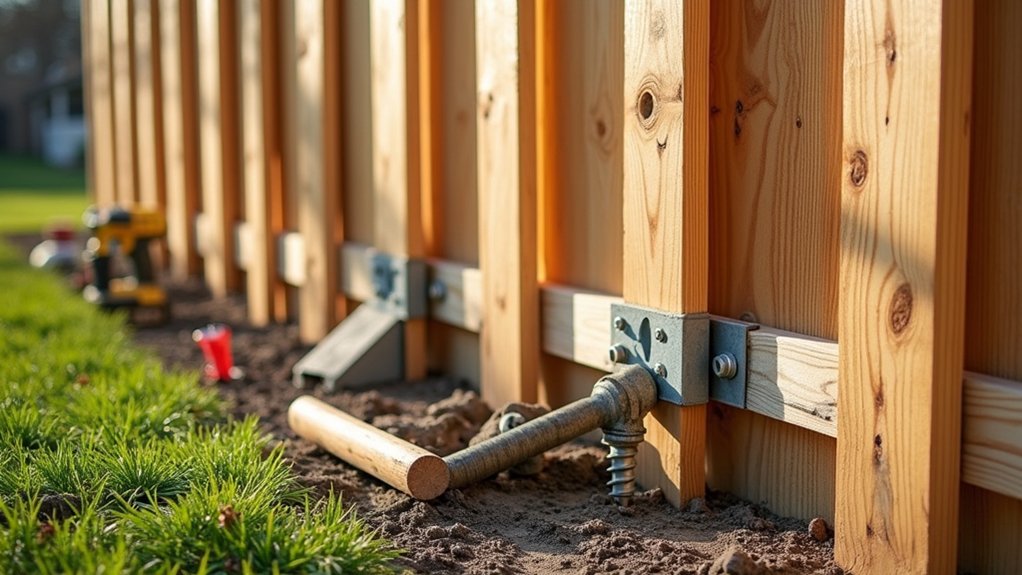
If your fence post wobbles but still has solid wood, you can usually restore stiffness without a full replacement by adding ground spikes, structural brackets, or fresh concrete.
Wear gloves and eye protection, then check for rot at grade and probe with an awl.
For spikes, drive two galvanized repair spikes tight to opposite faces, keeping them plumb, and bolt through predrilled holes.
For brackets, set an L- or T-brace at the base and fasten with exterior-rated structural screws, not drywall screws.
If the footing’s loose, dig around the post, tamp gravel, and pour new concrete to just below grade, sloped away for drainage.
Let it cure before rehanging panels.
Touch up with fence stain and reinstall decorative caps afterward.
Prevent Leaning Posts and Broken Panels Long-Term
A tightened post won’t stay straight for long unless you reduce the forces that made it move in the first place. Start by improving drainage: regrade soil to shed water, add gravel at the base, and keep mulch off the post to limit rot and soil erosion. Set panels with a small ground gap so moisture and debris don’t load the bottom rail.
Control wind load by keeping panel spans within manufacturer limits and adding mid-rails on long runs. Inspect fasteners annually; replace bent screws with structural-rated hardware and tighten brackets before they wallow out holes.
For metal components, prioritize rust prevention: wire-brush bare spots, apply zinc-rich primer, and topcoat. Wear gloves and eye protection, and mark utilities before any digging.
Frequently Asked Questions
What Does Replacing Fence Panels Typically Cost per Bay?
You’ll typically pay $60–$200 per bay installed, depending on labor and region. For Cost comparison, assess Fence material options (wood, composite, metal), bay width, and fixings. Verify post integrity, utilities, and PPE.
Do I Need Planning Permission to Replace a Fence Panel?
Usually you don’t need planning permission; 90% of UK fences fall under permitted development. Check height limits for garden privacy, and verify boundary rules. Choose safe fence material options, and confirm listed-building or highway-adjacent restrictions.
How Long Should a New Fence Panel and Post Last?
You should expect a new fence panel to last 10–20 years and a post 15–30, depending on Fence material durability. You’ll extend service life with Post reinforcement techniques, proper footing depth, preservative, inspections.
Can I Replace Panels in Winter or During Heavy Rain?
Yes, you can, but you’ll face slick, soggy Seasonal challenges. Follow Weather considerations: check forecasts, work in mild windows, wear grip PPE, avoid power tools in downpours, brace panels securely, and stop if winds worsen.
What Fence Panel Styles Best Reduce Wind Damage?
Choose hit-and-miss, slatted, or louvered panels; they bleed pressure and reduce uplift. Use Wind resistant materials like steel frames or treated timber. For Fence maintenance, you’ll tighten fixings, inspect rot, and check post stability regularly.