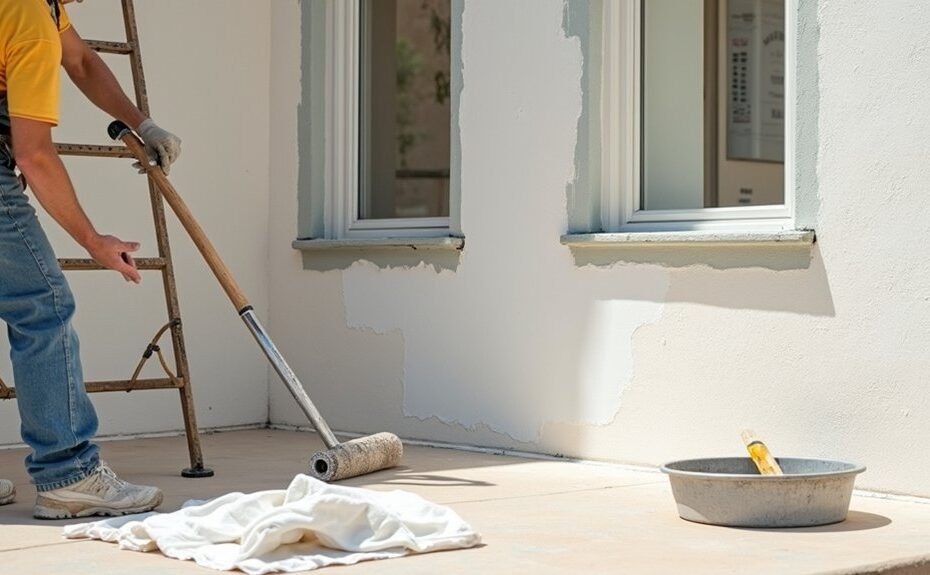
You won’t get durable exterior paint unless you start with a careful inspection. Check siding and trim for soft spots, open joints, and stains that signal moisture, and don’t skip probing suspect wood. Wash grime off, treat mildew, and let surfaces dry before you scrape loose paint and feather rough edges. Repair cracks, rot, and failed caulk, then match primer and paint to the material and weather. Next, you’ll set up for clean, safe application…
Key Takeaways
- Inspect siding, trim, and masonry for cracks, rot, loose fasteners, and moisture; repair defects before any paint work begins.
- Clean thoroughly and treat mildew with approved cleaner; let surfaces dry completely and improve airflow to prevent regrowth.
- Remove failing paint by scraping to sound edges, feather-sanding smooth, then vacuum and wipe dust so coatings bond properly.
- Recaulk gaps and patch voids with exterior-grade filler; sand flush to stop water intrusion and create a uniform surface.
- Prime for the substrate and paint in dry 50–90°F weather; apply two thin coats top-down, maintaining a wet edge.
Inspect Exterior Walls for Damage and Moisture
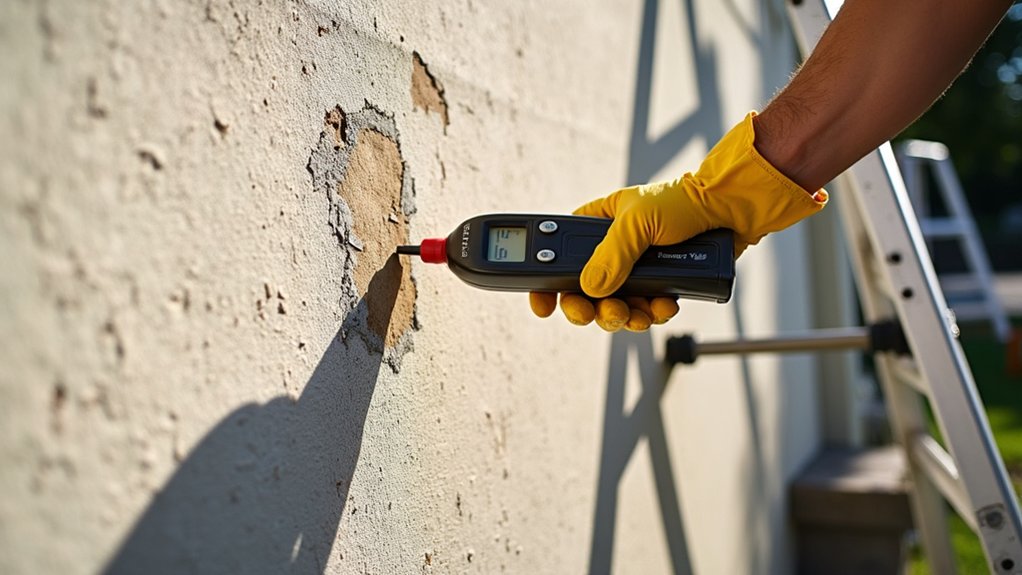
Before you open a paint can, walk every exterior wall and inspect it closely for defects and moisture that could ruin adhesion. Start at grade level and work up, checking exterior wall materials for cracks, spalling, rot, loose siding, failed caulk, and popped fasteners.
Probe suspect wood with an awl; mark soft spots for repair. Look for staining, efflorescence, bubbling, and peeling that signal moisture intrusion behind the surface. Inspect around windows, doors, penetrations, and flashing lines where leaks begin.
Use a moisture meter on wood and masonry; don’t paint if readings stay high after dry weather. Verify gutters and downspouts discharge away from walls.
Wear gloves, eye protection, and a respirator when disturbing old coatings.
Wash Exterior Walls and Treat Mildew First
You’ll start by pressure washing from the top down with a wide-angle tip, keeping the nozzle moving and clear of windows, vents, and people. Then you’ll rinse thoroughly so no grit or detergent stays behind.
If you spot mildew, you’ll treat it before painting by applying a proper exterior mildew cleaner, letting it dwell per the label, and scrubbing as needed.
You’ll wear eye protection and gloves, protect nearby plants and outlets, and let the wall dry completely before you move on.
Pressure Wash and Rinse
How clean is your siding really when you’re about to paint it? Start by protecting plants, outlets, and fixtures with plastic, then shut windows and doors. Wear eye protection, gloves, and non‑slip footwear, and keep the ladder off the spray path.
Set the washer to a low-to-medium PSI with a 25–40° tip, then test on an inconspicuous area so you don’t gouge wood or drive water behind siding.
Work top to bottom in controlled passes, holding the wand 12–18 inches away. Focus on seams, trim edges, and soffits where grime clings.
Finish with thorough water rinsing until runoff looks clear, then let surfaces dry completely before any further prep.
Remove Mildew With Cleaner
Even if the siding looks clean after rinsing, mildew can linger in shaded seams and keep new paint from bonding. Put on gloves, eye protection, and a respirator, then wet nearby plants and cover outlets.
Mix approved cleaning solutions—either oxygen bleach or a 1:3 household bleach-to-water blend with a little detergent—never ammonia. Apply bottom-up with a pump sprayer or soft brush so you don’t streak.
Keep the surface damp for 10–15 minutes, scrubbing laps, trim joints, and under eaves where spores hide. Rinse thoroughly, then repeat on stubborn spots.
Let walls dry completely before priming; trapped moisture feeds regrowth. For mildew prevention, improve airflow, trim vegetation, and plan a mildew-resistant primer and topcoat.
Scrape Peeling Paint, Then Sand Edges Smooth
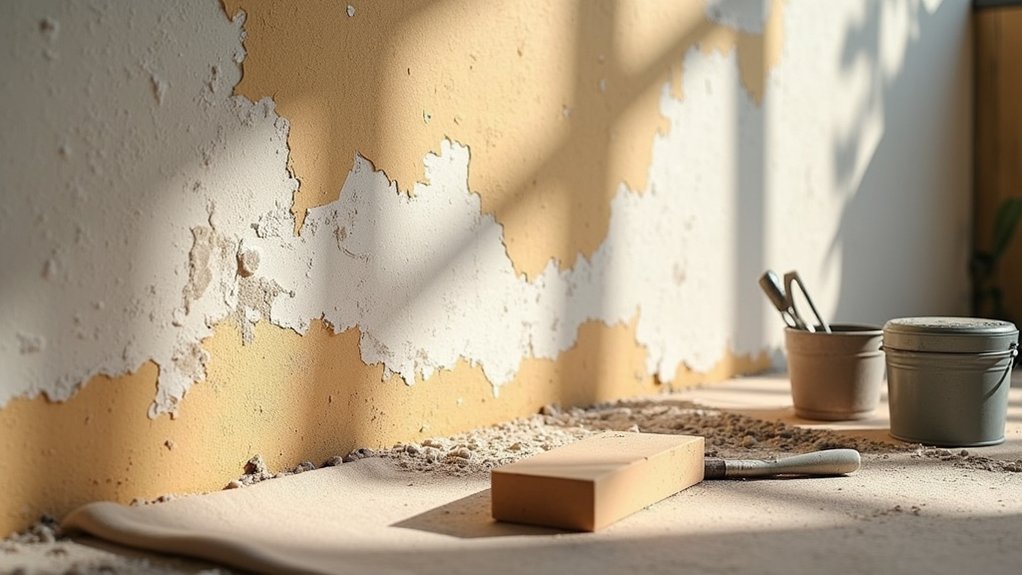
After the wall’s clean and dry, you’ll inspect it in raking light and mark every spot where paint lifts, blisters, or sounds hollow when tapped.
You’ll put on eye protection and a dust mask, then scrape each area back to a firm, sound surface without gouging the siding.
Next, you’ll sand the scraped edges to feather them smooth so the shift disappears and the new coat won’t telegraph ridges.
Identify Loose Paint Areas
Before you touch primer or paint, you’ll need to hunt down every spot where the existing coating has lost its bond. Work in bright, angled light and scan siding, trim, and end grain for curling edges, bubbles, hairline cracking, or chalky patches that rub off on your glove.
Put on eye protection, a respirator, and gloves, then test suspect areas with a light pass from a putty knife or your fingernail. If the film lifts, flexes, or sounds hollow when tapped, mark it with painter’s tape so you don’t miss it later.
Keep your painting tools organized—knife, tape, flashlight, and a stiff brush—and document locations before paint color selection so repairs don’t change sheen or coverage.
Scrape To Sound Surface
Now that you’ve flagged every loose or hollow‑sounding patch, remove all peeling paint back to a firm, well‑bonded edge so your primer and topcoat don’t fail at the first temperature swing.
Put on eye protection, gloves, and a dust mask, and lay a drop cloth to catch chips.
Use controlled scraping techniques: hold a sharp carbide scraper at a low angle, pull with steady pressure, and stop when the blade rides onto a sound surface.
For tight profiles, switch to a narrow putty knife or shave hook, keeping your other hand clear of the cutting path.
Collect debris as you go, and bag it promptly, especially if the home may have lead paint.
Vacuum dust with a HEPA unit afterward.
Feather Sanded Edges Smooth
Once you’ve scraped back to a solid edge, feather the shift so the primer and finish coats don’t telegraph a hard ridge.
Put on eye protection and a respirator, then choose 80–120 grit for initial edge smoothing. Sand from intact paint toward bare wood or masonry, keeping the pad flat so you don’t gouge. Use light, overlapping strokes and widen the transition zone until you can’t feel a step with your fingertips.
Switch to 150–180 grit to refine the blend; that’s your feather sanding pass. Vacuum dust, then wipe with a damp cloth or tack rag, and let it dry fully.
If you expose shiny, hard paint, scuff it so primer bonds. Inspect under raking light and resand any ridges.
Repair Rot, Cracks, and Failed Caulk Outdoors
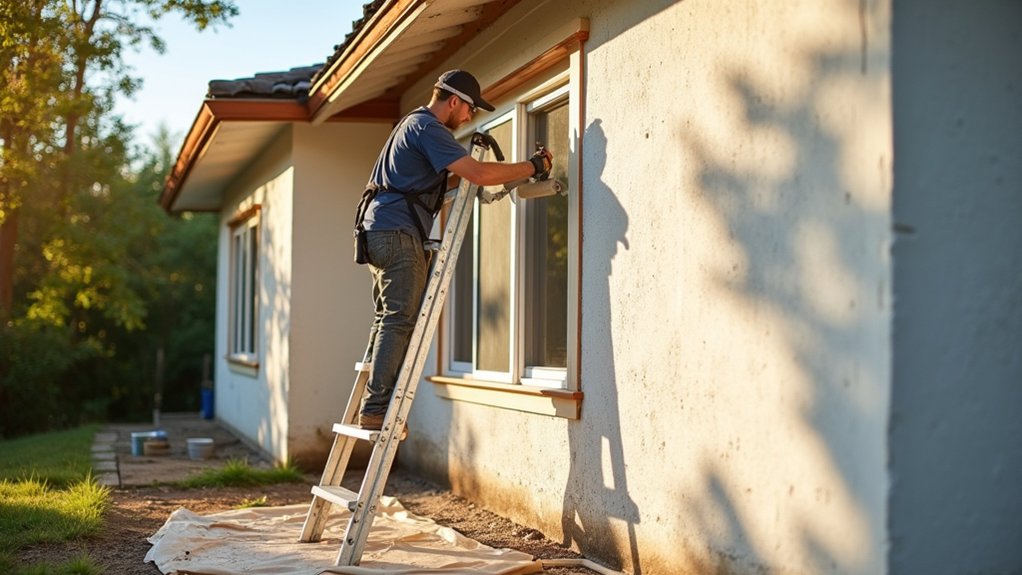
Although fresh paint can hide a lot from the curb, it won’t stop water from exploiting rot, cracks, or failed caulk, so you’ve got to fix those defects first. Put on gloves, eye protection, and a respirator, then probe suspect trim with an awl; if it sinks, you’ve found wood rot. Cut back to sound wood, keep your blade pointed away from your body, and let the area dry.
For small voids, pack in exterior-grade filler in thin lifts, then sand flush when cured. Chase cracks in stucco or masonry with a wire brush, vacuum dust, and trowel in compatible patch.
For caulk repair, scrape loose bead, wipe clean, tape edges, then tool a continuous, watertight joint. Let repairs cure fully.
Choose Primer and Exterior Paint by Surface Type
Where do you start when every exterior surface seems to demand something different? Begin with strict surface preparation, then match primer and topcoat to what you’re painting.
On bare wood, use an exterior bonding or stain-blocking primer; choose 100% acrylic latex for flexibility and UV resistance.
On weathered cedar or tannin-rich woods, prioritize stain-blocking primer to prevent bleed-through.
For masonry, stucco, or brick, pick an alkali-resistant masonry primer and breathable exterior paint so moisture can escape.
On metal, remove rust, then use a rust-inhibitive primer and a direct-to-metal exterior enamel if rated for your climate.
For previously painted surfaces, identify oil versus latex before paint selection, and wear gloves and a respirator when sanding dust.
Apply Exterior Paint for Even, Long-Lasting Coverage
Before you open a can, set yourself up for uniform coverage by controlling conditions and your workflow: paint when surfaces are dry and temperatures fall within the manufacturer’s range (typically 50–90°F). Avoid direct midday sun and high wind, and start in the shade so the film doesn’t skin over too fast.
Stir thoroughly, then box paint for consistent Color selection across walls.
Use the right paint tools: a 3/8–1/2-inch nap roller for siding, an angled sash brush for cut-ins, and an airless sprayer only if you’ve masked and back-rolled.
Work top to bottom, maintaining a wet edge and loading the roller evenly to prevent lap marks. Apply two thin coats, respecting recoat times.
Keep ladders stable, wear eye protection and a respirator when spraying, and stop if dust or insects contaminate wet paint.
Frequently Asked Questions
How Long Should Exterior Paint Cure Before Heavy Rain or Washing?
You should let exterior paint cure 24–48 hours before heavy rain, and 7 days before washing. Check Paint drying time and Weather precautions: keep surfaces above 50°F, dry, and sheltered; stop if storms threaten.
What Temperature and Humidity Range Is Best for Outdoor Painting?
In a nutshell, you’ll paint best at 50–85°F with 40–70% humidity. Check Weather conditions, avoid dew, frost, or strong winds, and use stable shade to improve paint durability, preventing blushing and poor adhesion.
Should I Use a Brush, Roller, or Sprayer for My Siding Type?
You’ll choose based on siding: use a brush for trim and rough spots, a roller for flat lap, and a sprayer for large, smooth areas. Compare brush vs roller, sprayer vs traditional; mask, ventilate, eye/respiratory PPE.
How Often Should Exterior Walls Be Repainted in Different Climates?
You’ll repaint every 5–10 years: 4–6 in harsh sun/coastal salt, 6–8 in humid/freeze-thaw zones, 8–12 in mild climates. Prioritize Color selection and paint durability; inspect annually, ladder safely, and address peeling early.
Do I Need Permits or HOA Approval to Change an Exterior Paint Color?
You often need permits or HOA approval to change an exterior paint color. Check local codes, submit Color selection details and paint samples, and get written approval before work. Follow lead-safety rules and document everything thoroughly.