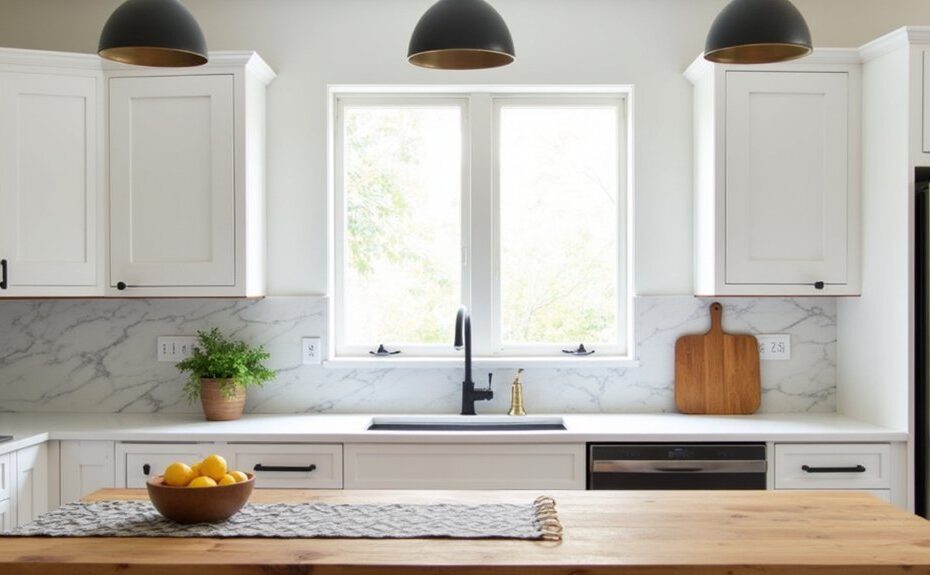
Like a fresh haircut, the right kitchen upgrades can change everything without touching the layout. You start with high-impact swaps that don’t steal space: slim pendants or a linear bar in warm-white light, matching cabinet pulls in matte black or brushed nickel, and a modern high-arc pull-down faucet that looks intentional. Add a peel-and-stick backsplash with a current pattern to pull it together—then you’ll notice what still feels off…
Key Takeaways
- Add a peel-and-stick or slim-tile backsplash to instantly modernize walls and visually tie the kitchen together.
- Upgrade lighting with slim fixtures and 3000K high-CRI LEDs, plus under-cabinet strips for bright, shadow-free prep space.
- Swap knobs and pulls for matching finishes and longer, low-profile handles to make cabinetry look updated without replacing it.
- Replace the faucet with a high-arc pull-down sprayer to improve function and create a sleek focal point at the sink.
- Refresh countertops using refinishing kits or stone-look overlays, then add washable runners to soften and style narrow walkways.
Choose High-Impact Kitchen Upgrades First
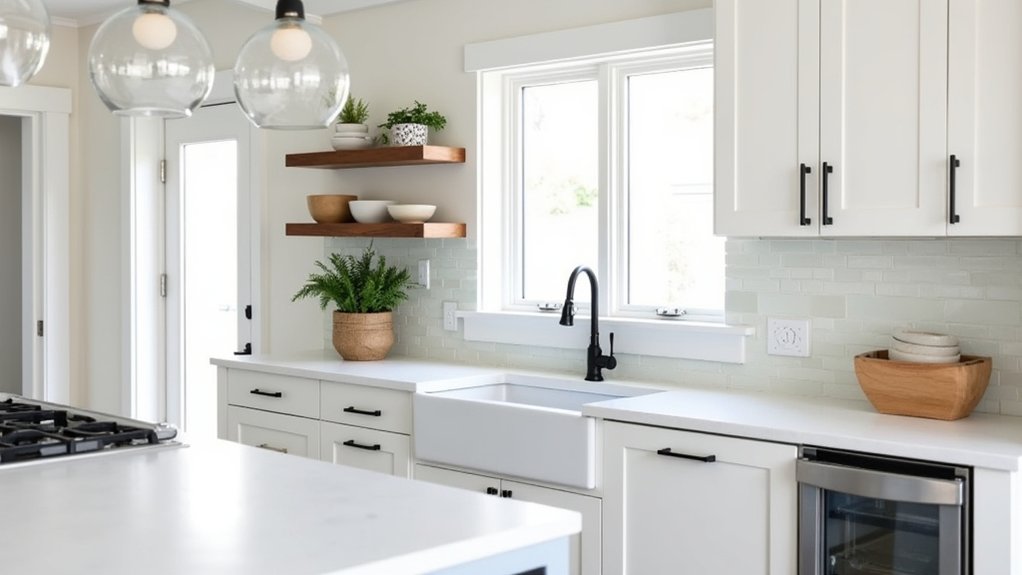
If you want your kitchen to feel updated fast, start with the upgrades that change what you see and touch every day. Focus on surfaces and lighting: a peel-and-stick backsplash in a slim grout-line pattern, a modern faucet with a pull-down sprayer, and warm 3000K LED under-cabinet strips that reduce shadows on tight counters.
Refresh worn countertops with a stone-look overlay or a refinishing kit, and add a washable runner to define narrow galley walkways.
Use Budget planning to rank items by visibility per dollar and measure twice so every piece fits your footprint. Choose products designed for DIY installation, with adhesive backing, plug-in wiring, and minimal tools, so you can finish in a weekend.
Swap Kitchen Hardware (Finish, Size, Cost)
Because hardware sits at eye level and in your hand dozens of times a day, swapping knobs, pulls, and hinges delivers a “new kitchen” feel for a relatively small spend.
Start by matching finish to your faucet and appliances: brushed nickel stays timeless, matte black reads modern, and warm brass adds vintage-leaning polish.
In tight kitchens, choose slimmer profiles and low-projection cabinet pulls so aisles don’t feel pinched.
Scale matters: longer pulls (5–8 inches) visually widen drawers and reduce a “busy” look on shaker fronts.
Keep spacing consistent across doors and drawer handles for a tailored grid.
Budget smart: basic zinc sets can cost $2–$6 each, while solid brass or leather accents run $10–$30+.
Reuse existing holes when you can, or use backplates to cover misdrills.
Update Kitchen Lighting (Fixtures + Bulb Temp)
New hardware updates what you touch; lighting updates what you see, and it can make the same cabinets and counters look sharper instantly. Swap dated flush mounts for a slim semi-flush, globe pendant, or linear bar that fits your ceiling height and island scale.
In small kitchens, choose low-profile fixtures and clear glass to keep sightlines open. Layer Ambient lighting with task: add under-cabinet strips or puck lights to cut shadows at prep zones.
Then fix the mood with bulb temperature—2700K feels cozy, 3000K reads clean, and 3500K can look crisp without going icy. Pick high-CRI LED options so food and finishes look true.
Put everything on dimmers, and match color temps across fixtures for a polished look.
Add a Kitchen Backsplash (Tile vs Peel-and-Stick)
While cabinets and counters usually stay put, a backsplash gives your kitchen an instant “finished” edge and can visually connect everything from hardware to lighting.
If you cook hard and want long-term performance, choose ceramic or porcelain: Tile durability handles heat, splatter, and daily wiping, and grout color lets you steer the look from crisp to vintage.
Go for stacked subway, zellige-look gloss, or slim mosaics to add texture without crowding a small wall.
If you’re renting, testing a bold color, or working around outlets and tight corners, lean on peel and stick versatility.
Modern panels mimic stone, terrazzo, or ribbed tile, and you can trim with a utility knife for clean lines.
Keep patterns scaled to your wall size so the room stays balanced.
Upgrade the Kitchen Faucet and Sink (Sprayer, Depth)
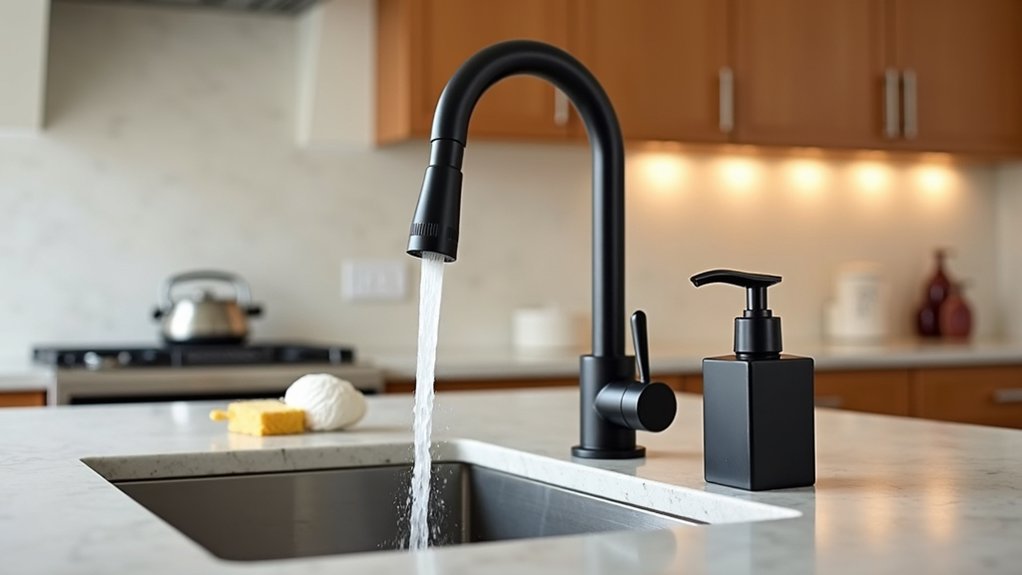
Even if you don’t touch the cabinets, swapping in a modern faucet and a better-fitting sink can make the whole work zone feel more current and more efficient.
Choose a high-arc pull-down model with a docking sprayer so you can rinse corners, fill tall pots, and keep the silhouette clean. Look for water efficient fixtures with a 1.5–1.8 GPM rating and a pause button to cut splashing in tight layouts.
For the sink, go deeper (9–10 inches) to hide dishes and reduce countertop clutter, but measure cabinet clearance and disposal height first.
Single-bowl undermounts maximize usable space; a low-divide double bowl keeps separation without sacrificing room.
Consider eco friendly materials like recycled stainless steel or composite quartz for durability and quieter washing.
Frequently Asked Questions
Do These Upgrades Increase Home Resale Value More Than Fresh Paint?
Often, yes—Kitchen lighting and Appliance upgrades can boost resale more than fresh paint because buyers notice function and efficiency. You’ll get the best return when you choose sleek fixtures, ENERGY STAR models, and compact layouts.
How Can I Stage My Kitchen Upgrades for Listing Photos and Showings?
Stage like a spotlight on a runway: declutter counters, hide cords, and add one sleek tray. Use warm Kitchen lighting, swap to daylight bulbs, and highlight Appliance updates. Keep stools tucked, towels crisp, surfaces streak-free.
What Permits, if Any, Are Required for Minor Kitchen Cosmetic Updates?
You usually don’t need permits for paint, cabinet hardware, shelving, or swap-in fixtures, thanks to permit exemptions. But check local building codes: electrical rewiring, new circuits, plumbing moves, venting, and structural changes often require permits.
How Do I Choose Upgrade Styles That Match an Open-Concept Living Area?
Choose upgrade styles by echoing your living area’s finishes and palette: use color coordination across cabinets, walls, and textiles. Prioritize furniture integration with matching wood tones, slim profiles, and consistent hardware for seamless, spacious flow.
What Are the Best Ways to Protect Countertops and Floors During DIY Work?
You’ll protect countertops and floors best by testing the theory that damage starts with drifting grit: tape down Protective coverings, add felt pads, and build Dust barriers with plastic and painter’s tape; vacuum often, wipe daily.