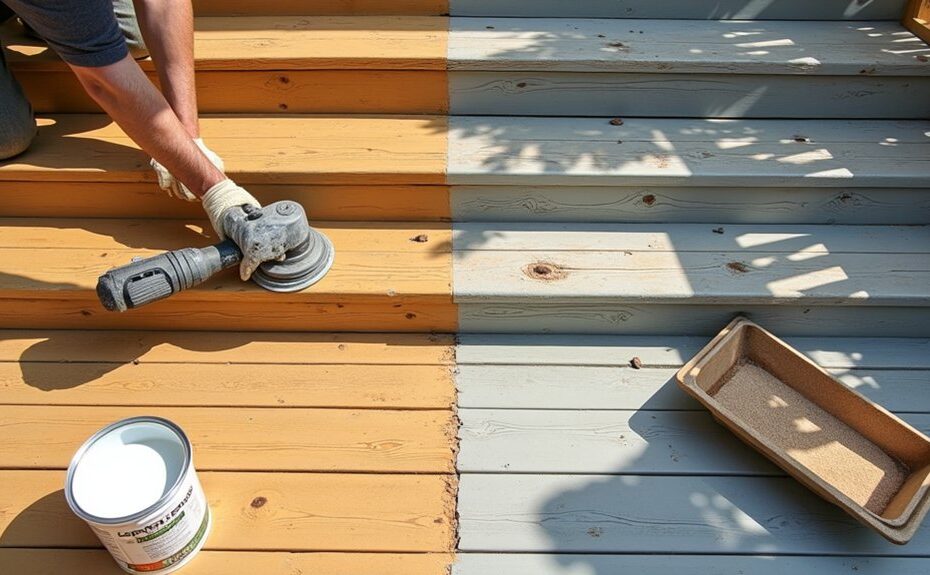
Your weathered deck can turn into a splinter factory in no time if you ignore it. Start by inspecting every board and joist for rot, soft spots, and loose fasteners, then mark anything that needs replacement. Strip grime and failing coatings with a deck cleaner or controlled pressure washing, and let it dry fully. Tighten rails, reset screws, and sand with the right grit to remove hazards. Next, you’ll choose a stain or sealer—but the order matters.
Key Takeaways
- Inspect joists, ledger, boards, rails, and stairs with an awl; replace any rotted, cracked, or loose components before refinishing.
- Remove failed paint or stain by scraping or stripping, then clean with deck cleaner and a stiff brush or low-pressure wash.
- Let the deck dry completely; trapped moisture causes peeling finishes and can accelerate rot and slippery mildew growth.
- Refasten loose boards and rails with exterior-rated screws and bolts, replace corroded hardware, and ensure railing posts don’t sway.
- Sand splinters and cupping, vacuum dust, then apply a penetrating stain or sealer with back-brushing; maintain with regular sweeping and inspections.
Inspect a Weathered Deck: Rot, Loose Boards, Replace?
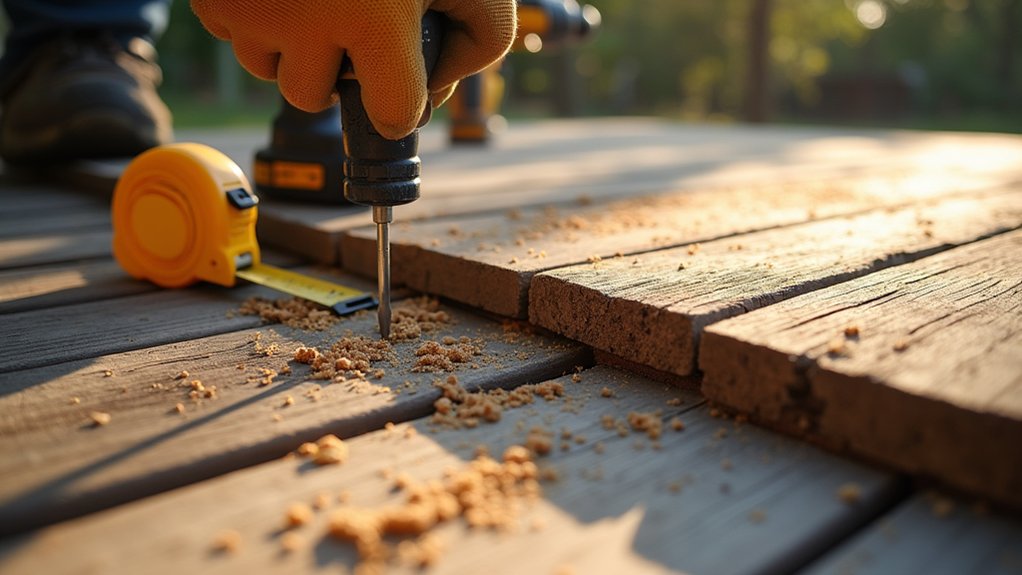
Before you clean or refinish anything, inspect the deck for structural damage and fastener failure.
Wear gloves, eye protection, and a dust mask, then probe joists, beams, posts, and ledger with an awl; if it sinks easily or wood crumbles, you’ve got rot and you should replace the member.
Check every board for cupping, deep splits, and soft spots near knots and fasteners.
Rock boards with your foot; if they move, drive new exterior-rated screws into sound framing or replace the board.
Verify railing posts don’t sway, and confirm stair stringers and treads feel rigid.
Look for popped nails, corroded brackets, and missing hangers.
De-energize deck lighting, inspect fixtures and conduit, and remove decorative accents that hide damage.
Clean Weathered Decking and Remove Old Coatings
Start by strapping on gloves, eye protection, and a respirator. Then strip any failed stain or paint with the appropriate chemical stripper or scraper so you’re back to sound wood.
Rinse and deep-clean the deck boards with a deck cleaner and stiff brush (or a pressure washer set to a safe, low-pressure fan pattern) to remove grime, mildew, and loose fibers.
Let the surface dry fully before you move on, because trapped moisture will ruin the next coating.
Strip Failed Coatings
How do you know it’s time to strip a deck? When the finish flakes, peels, or powders, it’s already compromised coating durability and reduced weather resistance. Confirm failure by scraping a small area: if the film lifts cleanly or exposes patchy stain layers, plan a full strip.
Protect yourself first: wear gloves, eye protection, and a respirator, and cover nearby plants and siding. Choose a stripper matched to the existing coating (water-based acrylic, oil stain, or paint). Apply it evenly with a brush or pad, keeping a wet edge.
Dwell for the label time, then lift softened film with a pull scraper, working with the grain to avoid gouges. Collect residue and dispose per local rules.
Deep Clean Deck Boards
Once you’ve stripped the failed finish, deep-clean the boards to remove embedded dirt, mildew, and stripper residue so the next coating can bond properly. Put on gloves, eye protection, and a respirator, then wet nearby plants and cover outlets.
Choose a cleaner matched to your deck board material: oxygenated bleach for wood, manufacturer-approved wash for composites. Apply with a pump sprayer, keep the surface wet 10–15 minutes, and scrub along the grain with a stiff nylon brush. Don’t use wire brushes that tear fibers.
Rinse thoroughly with a garden hose; if you pressure-wash, stay under 1,200 psi, use a 40° tip, and keep 12 inches away to prevent gouging. Let boards dry 48 hours; weathering factors affect drying time.
Repair Boards, Screws, Nails, and Wobbly Railings
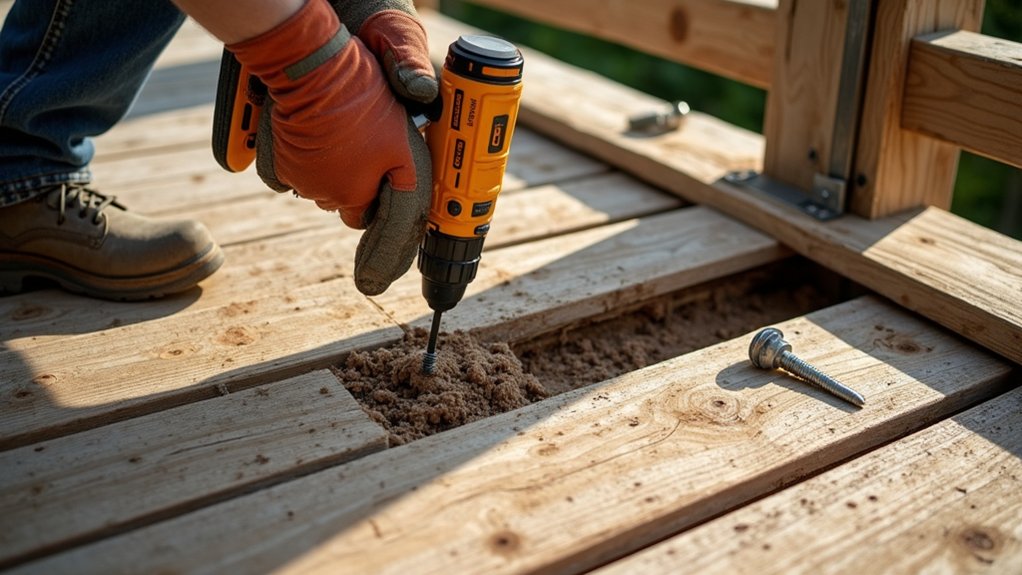
Before you refinish anything, tighten up the deck’s structure so new stain or paint doesn’t hide problems you should fix. Walk the surface and mark soft, split, or cupped boards. Probe suspect areas with an awl; if it sinks easily, plan deck board replacement and inspect joists below for rot.
Next, reset fasteners. Drive protruding screws flush, and replace stripped or corroded ones with exterior-rated deck screws of equal or greater length. Pull popped nails and refasten; don’t just hammer them back. Countersink only enough to avoid trips.
For railing stability, grab each post and rail and shake hard. Tighten through-bolts, add washers, or replace lag screws with carriage bolts. Replace cracked balusters immediately, and verify top-rail height meets code.
Sand Weathered Decking (Grit Guide + Edges)
With repairs and fasteners locked down, sand the decking to remove gray fibers, flatten raised grain, and give stain or paint a clean mechanical bite. Wear a P100 respirator, eye protection, and hearing protection, and check for protruding metal before Deck sanding.
Start with 60–80 grit on a random-orbit floor sander for cupped or splintery boards; switch to 100 grit to erase swirl marks. Don’t over-sand softwood; you’ll dish between earlywood and latewood.
Vacuum dust, then inspect with raking light. For edges and corners, use a 5-inch random orbit or detail sander: match edge grit to your final pass (typically 100). Hand-sand lightly with the grain to blend.
Keep cords clear and control the sander’s kickback.
Stain or Seal Weathered Decking (Choose + Apply)
After you finish sanding and vacuuming, choose a penetrating deck stain or clear sealer that matches your wood species, exposure, and the look you want, then apply it under dry, mild conditions for reliable adhesion.
Pick oil or water-based products per label; verify compatibility with prior coatings.
Review color options: transparent to show grain, semi-transparent for UV shielding, or solid for maximum hide; test on a hidden board.
Protect yourself with gloves, eye protection, and a respirator if required. Mask siding and hardware.
Stir, don’t shake, to avoid bubbles.
Use proper application techniques: brush into end grain and cracks, then back-brush after rolling or spraying.
Maintain a wet edge, coat in board-length passes, and wipe puddles to prevent gloss and slipperiness.
Follow recoat and cure times exactly.
Maintain Your Restored Deck for Traction and Rot Prevention
Once the finish cures, set a simple maintenance schedule that keeps the surface grippy and the framing dry.
Weekly, sweep grit, then rinse; algae needs a mild oxygen bleach and a stiff brush, not high pressure that erodes fibers.
Monthly, check traction: add a non-skid additive to a refresher coat on high-traffic zones, stairs, and ramps.
Seasonally, inspect fasteners, end grain, and flashing; re-caulk ledger penetrations and replace popped screws before water pumps into joists.
Keep drainage working: clear gaps, and confirm your deck design sheds water away from the house.
Adjust furniture arrangement so feet don’t trap moisture; use pads and lift planters on stands.
After storms, remove wet mats and debris fast.
Frequently Asked Questions
How Long Should I Wait After Rain Before Starting Restoration?
Wait 24–48 hours after rain; extend to 72 hours in shade. Step 1: confirm boards read under 15% moisture. Step 2: perform Deck cleaning. Step 3: allow full drying before Sealant application.
Is Restoring Decking Diy-Friendly, or Should I Hire a Professional?
You can DIY restoration if you’re comfortable with deck maintenance; hire a pro for structural damage, lead paint, or steep access. Inspect, replace fasteners, then use controlled power washing, sand, and apply sealer.
What’s the Safest Way to Restore Decking Around Pets and Children?
Use pet safe cleaners first, rinse thoroughly, and let boards dry 48 hours. Sand dust-controlled, vacuum, and keep kids/pets offsite. Apply low-VOC deck sealants with ventilation, cure per label, then inspect for splinters.
How Do I Prevent Mildew From Returning in Shaded Areas?
You prevent mildew from returning in shaded areas by testing the theory that moisture lingers: measure dampness, then increase airflow, trim plants, clean quarterly with oxygenated cleaner, rinse, dry fast, and apply mildew-resistant sealer.
What’s the Typical Cost Range to Restore a Weathered Deck?
You’ll typically pay $2–$8 per sq ft to restore a weathered deck. First, you’ll Power washing with PPE. Next, you’ll sand repairs. Finally, you’ll apply Deck staining, ensuring dry wood and safe ventilation.