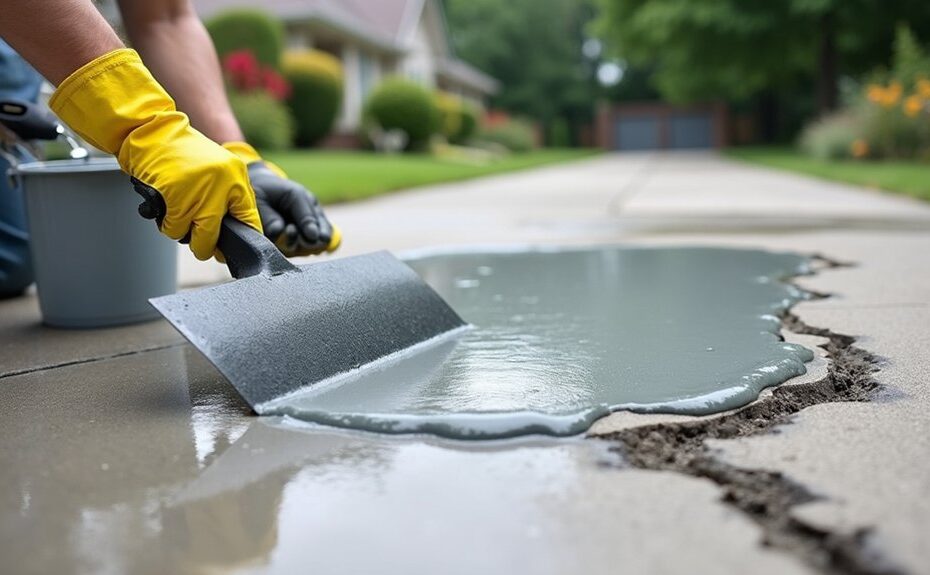
Your driveway is a frontline shield, and weather keeps testing its weak points. You start by diagnosing damage—scaling, spalls, soft spots, and cracking—so you don’t seal in failures or waste material. You decide whether you can resurface, spot-repair, or if the base is compromised and needs replacement. You then choose a compatible overlay and prep it safely with cleaning, profiling, and full dry time. The next step is where most projects succeed or fail…
Key Takeaways
- Inspect the full driveway, chalk-marking cracks, spalls, and heaves, then photograph and note puddling after rain to spot drainage problems.
- Resurface only when damage is superficial and the base is stable; repair isolated deep cracks or settlement, and replace if widespread movement persists.
- Choose a concrete overlay for strength and fuel resistance, or an asphalt overlay for flexibility where temperature swings and minor settlement occur.
- Clean thoroughly, remove oils and loose material, then profile the surface properly—etch concrete if required, but abrade asphalt and remove fines.
- Patch defects with polymer-modified mortar, apply overlay at proper thickness and slope, cure fully, then seal with thin coats rated for the material.
Diagnose Weather Damage on Your Driveway
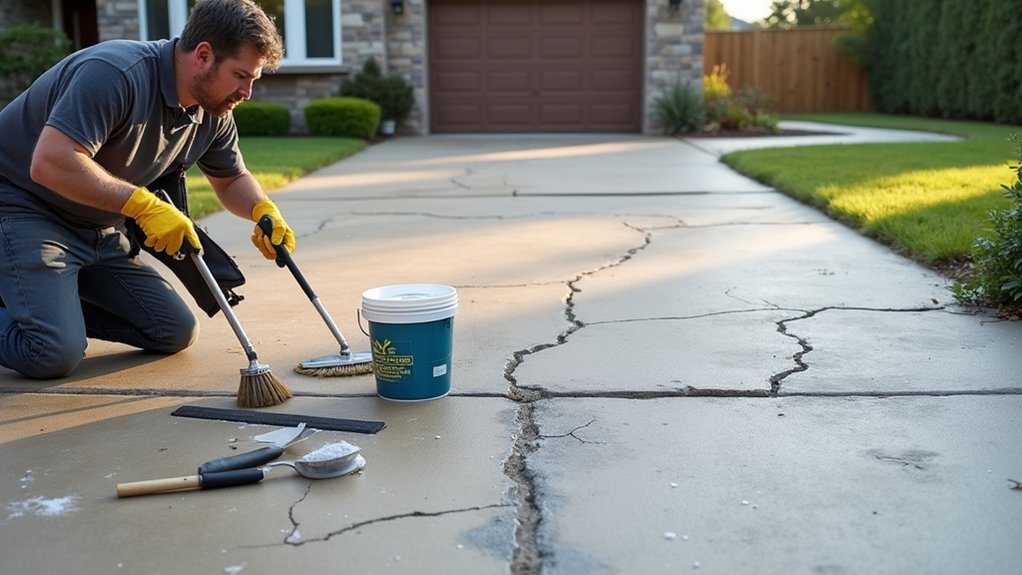
Before you plan repairs, inspect your driveway systematically to pinpoint weather-driven failure modes and prevent a slip or trip hazard. Walk the full slab in good light, mark cracks, spalls, and heaved joints with chalk, and photograph each area for baseline tracking.
Check edges and control joints for raveling, and probe soft spots that indicate freeze–thaw scaling or subgrade saturation. After rain, map puddles and flow paths to confirm poor drainage or settlement; standing water accelerates surface breakdown.
Look for oil-darkened zones that shed sealers and trap moisture. Identify root lift near trees and salt damage near garages.
For Seasonal maintenance, log changes each season and recheck after storms. Note which weatherproofing techniques you’ll need based on exposure and drainage.
Decide: Resurface, Repair, or Replace?
Now that you’ve mapped cracks, spalls, heaved joints, and drainage patterns, use what you found to choose the least invasive fix that still restores load capacity and eliminates trip hazards.
If defects are superficial, stable, and the base is sound, resurface to seal the surface and improve traction.
If you’ve got isolated deep cracks, localized settlement, or edge breakup, repair those areas first: rout and seal, patch spalls, stabilize joints, and correct minor grading so water can’t reenter.
Replace when you see widespread base failure, pumping, repeated heaving, major delamination, or long sections with differential movement—resurfacing won’t hold and becomes a safety liability.
Do a quick cost analysis including downtime, drainage work, and landscape integration around borders, slopes, and adjacent hardscape.
Choose a Driveway Resurfacing Method (Concrete vs Asphalt)
Although both systems can restore traction and protect a sound base, you’ll get very different performance from a concrete overlay versus an asphalt overlay, so match the method to your driveway’s movement, moisture exposure, and expected loads.
Choose a concrete overlay when you need higher compressive strength, tighter surface tolerances, and better resistance to fuel drips. It suits rigid slabs with minimal flex and supports heavy vehicles if joints are stable.
Choose an asphalt overlay when the existing pavement already moves with temperature swings. It’s more forgiving over minor settlement and offers faster return to service.
For freeze‑thaw or poor drainage, prioritize a system with proven bond and low permeability to reduce spalling and soft spots.
Balance driveway aesthetics with skid resistance and material longevity.
Prep for Driveway Resurfacing (Clean, Etch, and Dry)
If you want a resurfacing layer to bond instead of delaminate, you’ve got to prep the driveway like you’re building the adhesion system, not just “cleaning it up.” Strip off dirt, oils, curing compounds, and loose aggregate with a pressure washer and a degreaser formulated for concrete/asphalt, then mechanically profile the surface (acid etch for concrete only, never asphalt) to hit the overlay manufacturer’s target texture.
Control runoff and wear eye/skin protection; acids and detergents burn. For concrete, neutralize etch residue and rinse until rinse water runs clear. For asphalt, skip etching and focus on abrasion, vacuuming fines, and removing petroleum spots.
Don’t start crack filling until the slab or mat is fully dry—trapped moisture causes blistering and future driveway sealing failures. Use a moisture test (plastic sheet or meter) and wait for dry, warm conditions.
Apply and Protect: Patch, Overlay, Then Seal for Durability
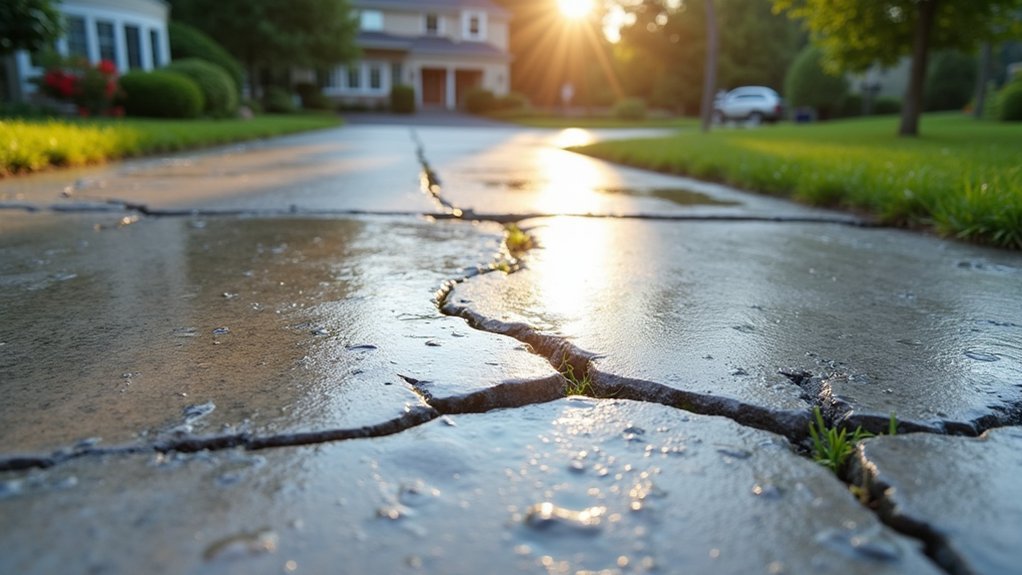
With the surface clean, profiled, and fully dry, you can build a repair stack that survives freeze–thaw and traffic: patch defects, place the overlay at the right thickness, then lock it down with a compatible sealer.
Start with surface patching using a polymer-modified repair mortar; trowel it tight, feather edges, and keep minimum patch thickness per label to avoid debonding. Wear gloves, eye protection, and a respirator when mixing.
After it cures, spread your resurfacer or asphalt overlay in lifts that match product limits, maintaining slope for drainage. Don’t overwater mixes or you’ll weaken the matrix.
Finish with seal coating only after full cure; choose a sealer rated for your base, and apply in thin, even coats to improve abrasion resistance.
Frequently Asked Questions
How Much Does Driveway Resurfacing Typically Cost per Square Foot?
You’ll typically pay $3–$10 per square foot for driveway resurfacing, depending on material options. For cost comparison, expect asphalt $3–$7, concrete overlays $4–$10. Choose slip-resistant finishes and guarantee proper drainage to prevent hazards.
How Long Should I Wait Before Parking on a Newly Resurfaced Driveway?
Like a sundial, wait 24–48 hours before parking; extend to 72 in cool, humid weather. After driveway crack repair and before driveway sealing, confirm firm cure, avoid turning wheels, and keep loads light.
Can I Resurface My Driveway in Cold or Rainy Weather?
You can’t reliably resurface in cold weather or rainy conditions; you’ll risk poor bonding, washout, and delayed curing. Schedule dry days above product minimums, protect edges, and tarp quickly if showers threaten.
Will Resurfacing Change My Driveway’s Color or Overall Appearance?
Yes, resurfacing can change your driveway’s color and overall appearance. Nearly 70% of curb appeal comes from exterior surfaces. You’ll get color options and aesthetic improvements; select UV-stable coatings, test samples, and apply non-slip sealers.
Do I Need Permits or HOA Approval to Resurface My Driveway?
You might need permits or HOA approval. Check local Permit requirements for resurfacing thickness, drainage, and setbacks. Submit HOA approval forms early. If you alter slope or tie into sidewalks, pull permits to avoid safety hazards.