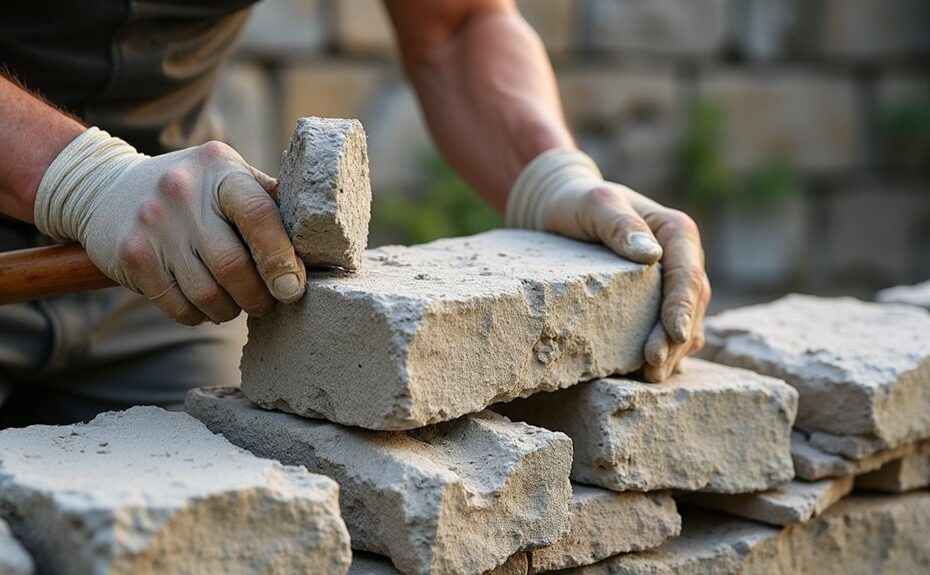
Start by identifying your wall type and documenting stone geology, tooling, joints, and past patches. Check for urgent risks: leaning, loose stones, bulges, active cracks, and damp clues like salts, tide marks, and algae, then trace moisture to its entry point before you seal anything. Use breathable, compatible lime mortar and finishes, avoiding hard cement that traps water. Stabilise and rebuild only where needed, repoint by hand in compacted lifts, and replace only truly failed stones. Next, you’ll see the key steps in detail.
Key Takeaways
- Assess wall type, stone condition, and historic details; photograph and map cracks, bulges, past repairs, and moisture staining before work begins.
- Identify and fix moisture sources first—drainage, leaks, rising damp, or condensation—so repairs don’t trap water and accelerate decay.
- Use breathable, compatible materials: lime mortars, limewash or mineral paints; avoid hard cement pointing and dense renders.
- Stabilize and rebuild only where necessary, packing tight hearting and adding through-stones or stainless ties sparingly while checking alignment.
- Repoint by hand in thin compacted lifts, keep joints protected and gently damp during curing, and replace only failed stones with well-matched units.
Identify Your Stone Wall Type Before Repairs
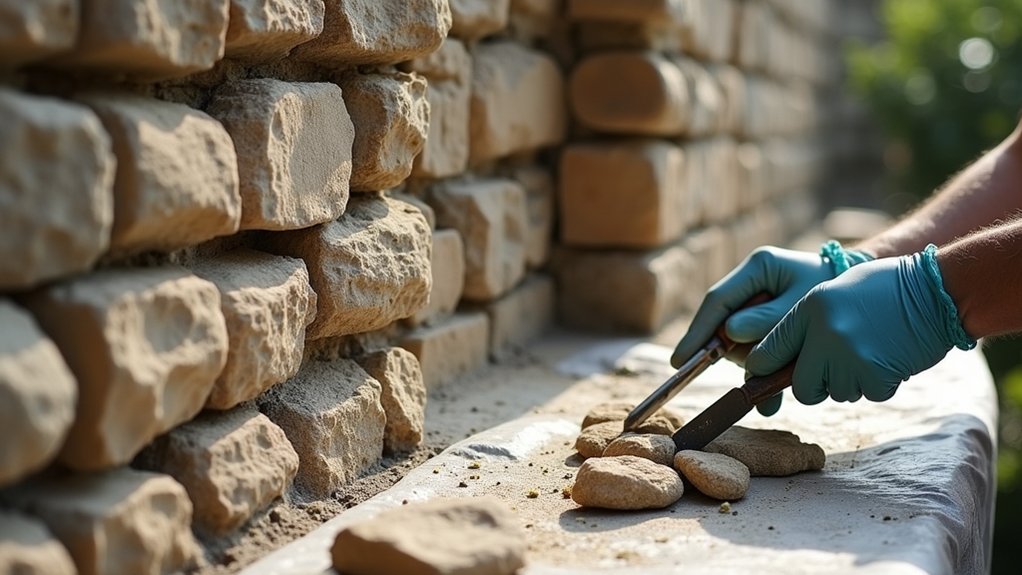
Before you pick up a chisel or mix any mortar, you need to identify what kind of traditional stone wall you’re dealing with, because each type relies on different mechanics to stay stable and sheds water in its own way. Start by confirming whether you’ve got dry-stone, lime-mortared rubble, ashlar, or a faced wall with a rubble core.
Note stone geology, coursing, joint width, and whether through-stones tie the thickness. Check if the wall was built as a retaining, boundary, or structural element, since load paths differ. Record tooling marks, mortar color, and past pointing profiles to protect Historical significance.
Then map repairs, replaced units, and cement patches that can trap moisture. Finally, set aesthetic considerations: matching stone size, texture, and bedding orientation so new work reads as honest, not intrusive.
Check for Urgent Risks, Cracks, Bulges, and Damp
Start by checking for urgent structural red flags—fresh movement, loose stones, failing lintels, or outward lean—so you can make the area safe before you touch the fabric.
Then you’ll assess cracks and bulges methodically, noting width, length, direction, and any recent change to distinguish surface loss from active movement.
Finally, trace damp to its entry point by following staining, salts, and wet patches back to defective cappings, open joints, poor drainage, or trapped moisture from hard cement repairs.
Identify Structural Red Flags
Although a traditional stone wall can look stable at a glance, you’ll spot urgent problems sooner if you assess it systematically for structural red flags—active cracks, outward bulges, loose or displaced stones, and damp patterns that signal trapped moisture.
Start with safety: check for leaning sections, recently fallen rubble, or stones that rock under light hand pressure; cordon off risks before you investigate further.
Trace water routes by looking for tide marks, salt bloom, algae, and wet mortar joints, noting where drainage or ground levels push moisture inward.
Inspect junctions at openings, copings, and corners for separations, missing pinning stones, or failed bedding.
Document everything with dated photos and a sketch, because historical significance and aesthetic considerations demand minimal, well-targeted intervention only.
Evaluate Cracks And Bulges
Even if the facework looks tidy, you should treat any crack or bulge as a potential stability issue until you’ve checked whether it’s active, load-related, or water-driven. Photograph it, measure width, and mark dates so you can monitor change without guesswork. Note stepped cracking, open joints, or displaced stones, and probe gently for loose core material.
Check bulges by sighting along the wall and using a straightedge; map extent and any lean. If movement seems recent or rapid, support the area and stop heavy work nearby. Record previous repairs, especially hard cement pointing, since it can concentrate stress.
Keep interventions minimal, compatible, and reversible, respecting the wall’s Historical significance while planning Weatherproofing techniques later.
Trace Damp Entry Points
Because water almost always exploits the weakest point first, trace damp methodically before you repoint or rebuild: follow staining, algae, salts, and soft mortar to their highest visible limit, then work outward to likely sources such as failed copings, open head joints, eroded bedding, defective flashings, or ground levels bridging the base.
Check interiors too: map tide marks, musty pockets, and blistered limewash, then compare with exterior defects. Test gently with a moisture meter, but confirm by touch and visual texture; stone may read “wet” from salts.
Note Environmental factors: prevailing wind, driving rain, shade, blocked gutters, and splashback from hard paving.
Identify Moisture sources separately—rising damp, leaks, condensation—so you don’t trap water with dense mortars or sealants.
Photograph, sketch, and date findings.
Know What Stone Wall Repair Needs a Professional
When your stone wall shows structural movement rather than surface wear, you should bring in a professional so you don’t lock in damage with the wrong fix. Treat bulging faces, stepped cracking, dropping lintels, or outward-leaning returns as warning signs that loads are shifting.
If stones sound hollow, rock under hand pressure, or show fresh gaps after rain or frost, don’t patch and hope.
You should also call an expert when you suspect foundation settlement, failed through-stones, hidden voids, or ongoing water-driven erosion behind the face. These issues demand careful inspection, temporary support, and controlled dismantling and rebuilding where needed.
Consider DIY pitfalls: you can trap moisture, misalign stones, or over-tighten repairs. Weigh cost considerations against losing historic fabric and paying twice for corrective work later too.
Pick Compatible Lime Mortar and Breathable Materials
Choose a lime mortar whose strength and flexibility match the original fabric, so you don’t force stress into softer stones.
You’ll verify compatibility by checking aggregate type, binder ratio, and set characteristics.
Then selecting breathable stones and finishes that won’t trap moisture.
If you keep the wall vapor-open, you’ll reduce salt damage, frost spalling, and long-term decay.
Match Lime Mortar Strength
How do you match lime mortar strength without damaging historic stonework? Start by identifying what’s there: sample the existing joints, note hardness, color, aggregate size, and any cracking or edge spalling.
Do wall moisture testing before you specify mortar; damp, salt-laden walls need gentler mixes to avoid pushing stress into the stone.
Set your target as “weaker than the masonry, strong enough for exposure.” Choose lime type and aggregate accordingly, and adjust binder-to-sand ratio in small steps.
During lime mortar mixing, keep water consistent and record batches so results stay repeatable. Make test panels in discreet areas, let them cure, then check fingernail scratch resistance and cohesion.
If the mortar outperforms the stone, dial it back.
Ensure Wall Breathability
Matching strength gets you only halfway; you also need the repair to let the wall move moisture the way it always has. Choose lime mortar that’s vapor-permeable and compatible with your stone and existing pointing, avoiding cement-rich mixes that trap damp and force salts to crystallize in the masonry.
For moisture control, keep finishes breathable: use limewash, mineral paints, and open-textured renders rather than acrylic coatings or waterproof sealers. Check that replacement stones and bedding don’t introduce dense, impermeable bands. Maintain capillary paths by raking joints clean and repointing flush without over-compaction.
Back this up with ventilation improvement: clear air bricks, reopen blocked flues where safe, and avoid sealing internal faces with gypsum or vinyl. You’re aiming for steady drying, not complete exclusion of water.
Stabilise Bulges and Rebuild Loose Stonework Safely
Although a bulge or loose section can look like a simple reset, you’ll stabilise it safely only by controlling movement before you disturb any stones. Set up exclusion zones, then shore the face with adjustable props and timber spreaders so loads transfer to firm ground. Photograph, measure plumb, and mark stones for accurate reinstatement that supports Historical preservation.
Remove only what’s unstable, working from the top of the defect downward. Keep each lift small, and bag fines for reuse. Rebuild with the original stones, matching bed faces and interlock; don’t “pretty up” by flipping weathered faces inward.
Recreate the hearting with well-graded stone, tightly packed, and insert through-stones or stainless helical ties only where needed for Wall reinforcement. Check alignment frequently and stop if movement resumes.
Repoint Stone Walls Without Trapping Moisture
Before you rake out a single joint, confirm the wall can still breathe, because repointing that’s too hard or too tight traps moisture and accelerates decay. Use a hand chisel and plugging tool, not an angle grinder, and stop once you reach sound lime mortar. Brush and vacuum dust, then lightly mist the joint so the new mortar bonds without flash-drying.
Choose a lime-based mix compatible in strength and permeability, matching aggregate size and colour for Historical accuracy and aesthetic continuity. Pack mortar in thin lifts, fully compacted, and finish slightly recessed or flush to shed water without sealing the face.
Protect from sun, frost, and wind, and keep it gently damp for slow carbonation. Check for hairline shrinkage and touch in promptly.
Replace Stones and Match the Original Finish
Once you’ve stabilised the joints, assess any failed stones and replace only what you must, because unnecessary swapping erases evidence of the wall’s history and can destabilise adjacent masonry. Confirm failure by tapping for hollows, checking lamination, and probing for deep friability. Cut out only the defective unit, not surrounding sound work.
Prioritise stone selection that matches geology, density, and porosity, so weathering rates stay even. Reuse on-site stone first; if you source new, choose similar bedding orientation and size, then dry-fit to keep joints tight.
Set the stone on compatible lime mortar, fully bedded, with minimal packing shards. For finish matching, replicate tooling, arrises, and surface texture, and avoid grinding that leaves fresh, bright faces. Mist-cure gently.
Frequently Asked Questions
Do I Need Planning Permission to Repair a Traditional Stone Wall?
You don’t usually need planning permission for like-for-like repairs; it’s the gatekeeper only if you alter height, materials, or appearance. Check conservation regulations, listed status, and local rules, then document methods and consult planning early.
How Much Does Professional Stone Wall Restoration Usually Cost per Square Metre?
You’ll usually pay £150–£400 per m² for professional stone wall restoration, depending on access, stone type, and lime work. For cost estimation and budget planning, include scaffolding, repointing depth, and discreet matching repairs.
What Is the Best Time of Year to Repoint Stonework Outdoors?
Aim for spring or early autumn—you’ll dodge Seasonal weather tantrums like a stone wall’s moody diva. You’ll get ideal timing: mild temperatures, low frost risk, moderate humidity. You’ll protect mortar curing, limit salt migration, prevent cracking.
How Can I Remove Paint or Cement Render Without Damaging the Stone?
Start with gentle tests: use steam or low-pressure water and soft brushes for Removing paint. For Cement removal, carefully chip with hand tools, avoid power grinders. Keep surfaces damp, work slowly, stop if stone spalls.
How Long Should Lime Mortar Cure Before Painting or Applying Finishes?
You should wait 4–8 weeks before painting; longer in damp or cold conditions. Let lime mortar’s curing process complete: keep it lightly misted, protected from sun and frost, and guarantee steady ventilation.