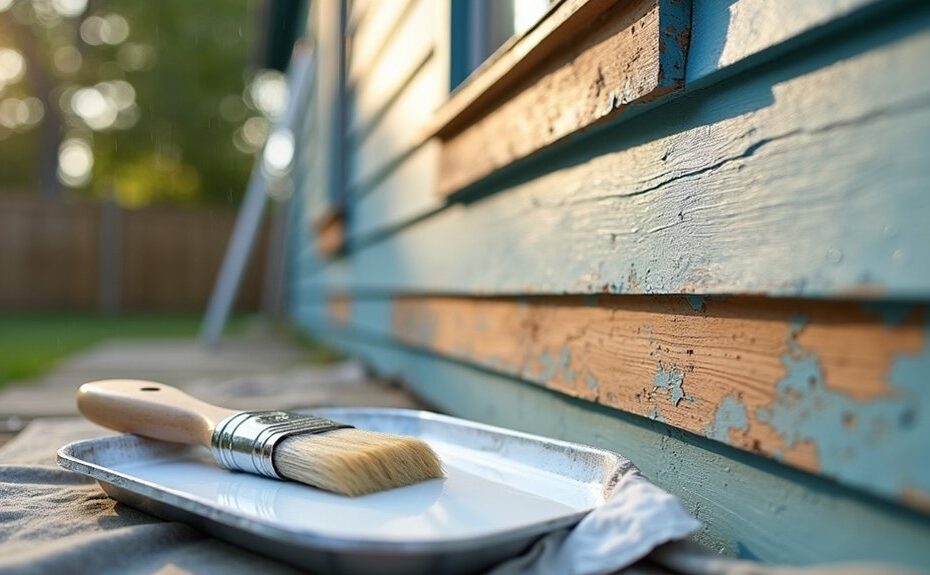
By coincidence, the next sunny stretch often shows up right after you notice peeling paint and dark mildew on your exterior trim. You’ll start by deciding what’s sound enough to repaint and what you must replace, then you’ll wash with detergent and a mildewcide while protecting plants, skin, and lungs. After you scrape, sand, repair rot, and seal joints, primer choice becomes the make-or-break step—and that’s where most failures begin…
Key Takeaways
- Inspect wood for rot, failed caulk, and loose joints; replace pieces if decay exceeds 1/4 inch or profiles are compromised.
- Clean thoroughly, treat mildew, and rinse gently; let wood dry completely to prevent trapped moisture and paint failure.
- Scrape and sand all loose or blistered paint to a smooth feathered edge; repair minor rot with epoxy or splice new wood.
- Prime bare wood and repaired areas with a high-adhesion, stain-blocking exterior primer compatible with existing coatings; spot-test if unsure.
- Apply two thin topcoats in shade at 50–85°F, avoid dew for 24 hours, and maintain annually by spot-priming chips and re-caulking gaps.
Inspect Exterior Woodwork: Repaint or Replace?
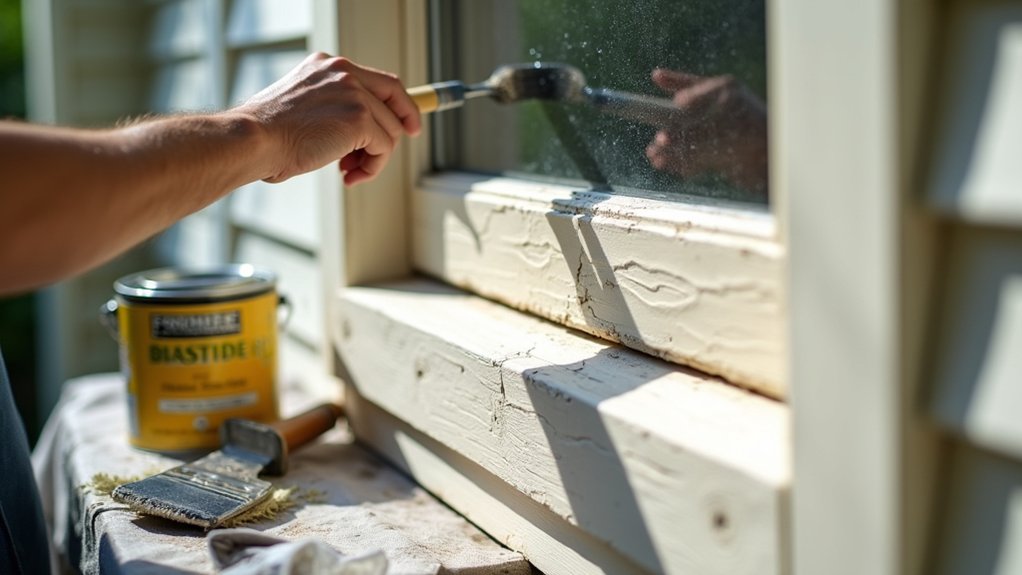
Before you buy paint or set up ladders, inspect every piece of exterior woodwork to decide whether it’s sound enough to repaint or far enough gone to replace. Work from stable ground, wear eye protection, and probe suspect areas with an awl.
Sound wood feels firm, resists puncture, and shows tight grain; failed wood feels spongy, crumbles, or exposes deep checking that follows the grain. Look for open joints, failed caulk lines, lifted fasteners, and end-grain rot at sills, trim bottoms, and horizontal ledges.
Measure decay depth: if rot extends past 1/4 inch or compromises profiles, replace the component. If damage is localized, you can splice repairs.
Choose color schemes and decorative finishes only after confirming substrates can hold coatings reliably.
Wash Exterior Wood and Kill Mildew
Once you’ve confirmed the wood is worth saving, wash every exterior surface to remove chalk, dirt, and loose organic film, then treat any mildew so it can’t grow through the new coating.
Start with Wood cleaning: wet the siding, then scrub with a stiff nylon brush and a detergent solution, working bottom-up to prevent streaking. Rinse thoroughly with low pressure so you don’t drive water behind trim or raise grain.
For Mildew removal, apply an EPA-registered exterior mildewcide or a 3:1 water-to-bleach mix (never mix bleach with ammonia). Keep the surface wet for 10–15 minutes, scrub, then rinse.
Wear gloves, eye protection, and a respirator if needed, and protect plants with pre-wetting and tarps. Let wood dry fully.
Scrape or Strip Failing Exterior Paint
After the wood dries, remove every bit of paint that’s loose, blistered, alligatored, or peeling so the new film can bond to sound substrate. Wear eye protection, gloves, and a P100 respirator, and follow lead-safe rules on pre-1978 coatings.
Start with a carbide scraper and stiff putty knife; pull with the grain and keep edges sharp to avoid gouging. For stubborn layers, switch to controlled paint removal: a chemical stripper rated for exterior use or an infrared/low-temp heat tool, keeping temperatures below lead fume thresholds.
Collect debris on poly sheeting, bag it, and vacuum with a HEPA unit. Preserve intact feathered edges to support Color matching later, and stop at firmly adhered paint.
Sand, Repair Rot, and Caulk Wood Joints
When you’ve scraped back to solidly bonded paint and bare wood, sand the changeover zones smooth, fix any rot, and seal open joints so moisture can’t get behind the new coating. Wear eye protection and a P100 respirator, then feather edges with 80–120 grit, finishing with 150 for trim profiles. Vacuum dust and wipe with a damp rag so abrasives don’t contaminate repairs.
Probe suspect areas with an awl; if fibers crumble, cut back to sound wood. Consolidate minor decay with epoxy consolidant and rebuild with epoxy filler, shaping to original contours after cure. For deep damage, splice in new stock.
Caulk only non-moving seams under 1/4 inch using paintable exterior sealant; tool it smooth. Mask Wood stain and decorative accents to keep them clean.
Choose an Exterior Wood Primer That Bonds
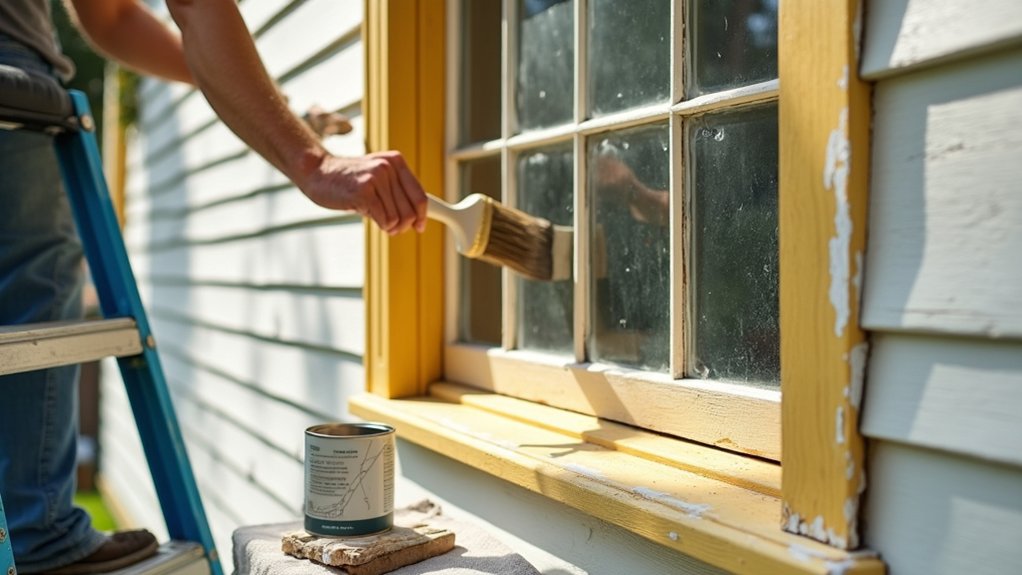
With the surface feathered, rot repairs cured, and joints caulked, lock everything down with an exterior wood primer that grips both bare wood and the remaining sound paint. Choose a high-adhesion, stain-blocking exterior primer rated for weather exposure; use alkyd for tannin-rich woods, or acrylic bonding primer where flexibility matters.
Verify compatibility with any existing coating by checking manufacturer labels and doing a small test patch. For safety, wear gloves, goggles, and a respirator when sanding dust or solvent fumes are present, and provide ventilation.
Before primer application, remove all chalk and rinse residue so you don’t seal in contaminants. Use a tinted primer when color matching is critical, but keep film thickness per spec to avoid cracking.
Pick Exterior Paint and Sheen for Durability
Because exterior woodwork cycles through sun, rain, and seasonal movement, you’ll get the longest service life by choosing a premium 100% acrylic exterior paint and a sheen that matches the wear: use satin or low-luster on most trim for better washability and moisture resistance. Reserve semi-gloss for high-touch areas like doors and handrails, and avoid dead-flat finishes outside because they chalk and hold dirt.
Check the label for UV inhibitors, mildew resistance, and flexibility so the film moves with wood without cracking. For color coordination, match undertones to shingles, brick, and metal flashing, and verify with large sample boards viewed in sun and shade.
Choose eco-friendly options by selecting low-VOC, low-odor paints, and confirm compatibility with your primer system and local temperature/humidity limits.
Paint, Cure, and Maintain Exterior Woodwork
Your paint choice and sheen set the baseline, but application and cure timing determine whether the coating actually survives weather and wood movement.
Paint in shade, 50–85°F, and avoid dew within 24 hours.
Stir, don’t shake, to limit bubbles; box cans for Color matching.
Brush into joints, then lay off; keep a wet edge to prevent lap marks.
Apply two thin coats at the manufacturer’s mil thickness, respecting recoat windows.
Use gloves, eye protection, and a respirator when sanding between coats; collect dust.
Let paint cure fully before washing or reinstalling hardware; cure may take 7–30 days.
Choose ventilation options: open windows, fans, or outdoor drying racks.
Inspect annually; spot-prime chips and caulk failures.
Frequently Asked Questions
How Much Does Repainting Exterior Woodwork Typically Cost per Square Foot?
You’ll typically pay $2–$8 per square foot to repaint exterior woodwork. Cost factors include prep, repairs, height, access, and labor rates. Paint types affect durability and VOC exposure—use PPE, contain dust, and ventilate.
What Weather Conditions Are Unsafe for Exterior Painting Beyond Temperature and Rain?
Avoid painting during high humidity levels (above ~70–80%), heavy dew/fog, strong wind exposure that carries dust or overspray, or direct harsh sun. You’ll risk poor adhesion, flashing, lap marks, and unsafe ladder handling.
Should I Test Old Exterior Paint for Lead Before Starting Work?
Yes—you should test; ignoring Lead testing is a “brilliant” way to gamble with paint safety. Use an EPA-recognized kit or lab XRF. If positive, follow RRP containment, PPE, wet methods, HEPA cleanup.
Do I Need a Permit or HOA Approval to Repaint Exterior Trim?
You might need Permit requirements or HOA approval to repaint exterior trim; it depends on local codes and covenants. Check your city’s building department and HOA guidelines, confirm color/material limits, and document approvals before starting.
How Often Should Exterior Woodwork Be Repainted in High-Uv Coastal Climates?
You should repaint exterior woodwork every 3–5 years in high-UV coastal climates, sooner if checking appears. Prioritize paint durability, verify Color matching, and inspect annually; wear PPE, manage lead risks, and stabilize loose substrate.