
You’ll start by having a structural engineer verify joist spans, bearing, and connections for 30–40 psf live loads, then reinforce with sistered lumber/LVL, blocking, or mid-span beams as needed. You’ll pull permits and meet egress, stair/guard, and fire-rating requirements with interconnected smoke/CO alarms and protected penetrations. Keep it bright by placing living zones at exterior walls, adding gable windows and well-flashed operable skylights, and building a tight, vented or code-approved compact roof with high-R thin insulation. Next, you’ll refine wiring chases, lighting, and finishes.
Key Takeaways
- Hire a structural engineer to verify joists, bearings, and roof framing, then reinforce with sistering, beams, posts, and upgraded hangers.
- Get required building, zoning, and trade permits, and meet egress, stair, guardrail, and fire-separation requirements for legal habitation.
- Plan layout around daylight: keep living areas on bright exterior walls, use low or glazed partitions, and place kitchen/baths in darker cores.
- Upgrade insulation and moisture control with vented or code-approved unvented roof assemblies, continuous air sealing, and smart vapor retarders.
- Add light strategically with gable windows and high operable skylights, using proper flashing, curb mounts, and compatible metals to prevent leaks.
Can Your Hayloft Be Converted Safely?
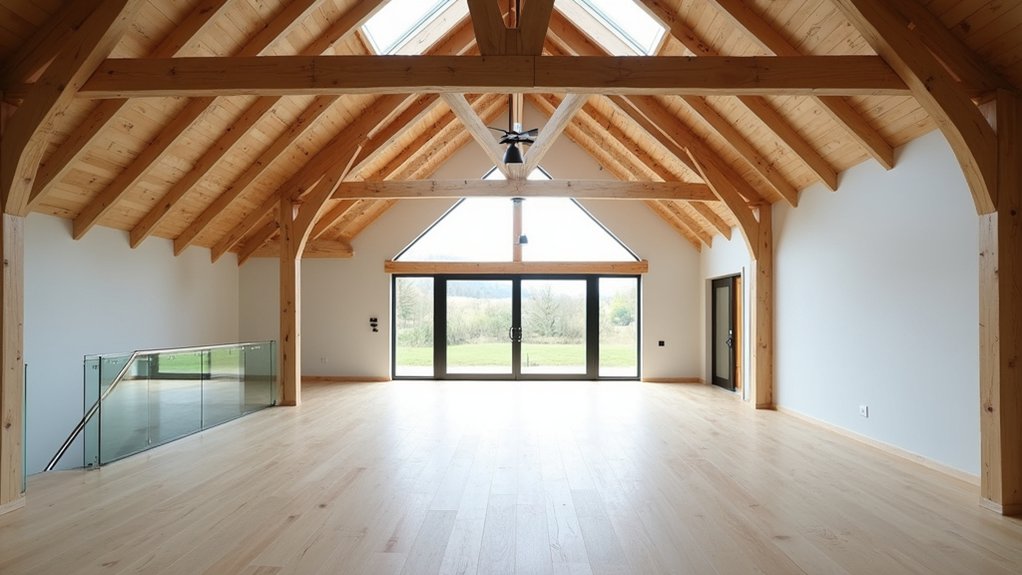
Before you sketch floor plans or price out skylights, you need to confirm the hayloft can safely carry modern live loads and meet basic code requirements. Start by having a structural engineer evaluate joist sizing, spans, bearing points, and connections; haylofts often were designed for distributed hay, not concentrated furniture.
Probe for rot at sill plates, insect damage in beams, and racking in the frame. Check roof framing for uplift ties and deflection, especially if you’re adding insulation and new finishes.
Plan reinforcements with material-compatible methods—sistered lumber, steel flitch plates, or discreet posts—so you support Historical preservation rather than erase it. Address moisture with ventilation and capillary breaks.
Then you can chase natural lighting without compromising the structure.
What Permits, Egress, and Fire Code Apply?
Once the structure pencils out, you’ve got to make the conversion legal and safe under your local building department’s rules, which usually means permits tied to a change of use plus specific egress and fire-protection upgrades.
Start with a Permits overview: zoning approval, building permit, electrical, plumbing, HVAC, and sometimes septic or well sign-off, plus engineered drawings for altered framing.
You’ll need compliant egress: a code-sized stair, proper handrails/guards, and bedroom-grade egress windows or doors with required clear openings and sill heights.
Fire safety regulations often trigger smoke/CO alarms on interconnected circuits, a fire-rated separation to attached barn areas, protected penetrations, and possibly sprinklers if square footage, height, or access demands it.
Use rated gypsum, intumescent sealant, and labeled doors where required.
How Should You Plan a Bright Loft Layout?
Although haylofts tend to feel cavernous, you can plan a bright, modern layout by treating daylight and circulation as the “structural grid” for every decision: place the main living zone along the best exterior wall exposure, keep partitions low or strategically pulled back from windows, and align the stair landing with a clear sightline to glazing so light carries deep into the floor plate.
Keep required egress paths straight and unobstructed, and size clearances for door swings and guardrails. Use glazed or slatted dividers where you need separation without losing borrowed light.
Set kitchen and bath cores in the darker center, then run continuous, light-toned flooring to reduce visual breaks. Fine-tune furniture placement to preserve circulation, and use Decorative accents—metal, linen, pale wood—to bounce light.
Do the Joists and Floor Need Reinforcing?
Before you finish the layout, you’ll verify the existing joists can meet residential live-load and deflection limits (check span, size/species/grade, spacing, and bearing).
You’ll look for red flags like sagging, bounce, cracked or notched members, split ends at bearings, and undersized connections.
If the numbers or field conditions don’t pencil out, you can reinforce by sistering joists, adding LVL/flitch beams, installing mid-span beams or posts, tightening the subfloor with glued-and-screwed plywood, and upgrading hangers to rated hardware.
Assess Existing Joist Capacity
If you’re planning to turn a hayloft into a modern living space, you’ve got to verify the existing joists can handle residential live loads—not just the dead weight they’ve carried for decades.
Start with Joist inspection: measure joist depth, width, spacing, species, grade stamps, and span between bearing points, and note notches, holes, or alterations.
Then run Load calculations against your local code: many jurisdictions assume 30–40 psf live load for sleeping areas and 40 psf for living areas, plus dead loads from subfloor, finishes, and partitions.
Confirm bearing on posts/walls and check connections, hangers, and ledgers for rated hardware.
If the math’s tight, plan sistering, adding beams, or reducing span before you design finishes.
Identify Signs Of Sagging
After you’ve confirmed the joists pencil out on paper, walk the loft and look for real-world sag that signals overstress or long-term creep. Sight along each joist and the finished floor; a visible dip, especially midspan, warrants measuring.
Stretch a tight stringline or use a laser level, then note the deviation; compare it to typical serviceability limits (often around L/360 for floors, per many codes). Check for “dished” plank subfloor, cupped boards, and wavy base lines that telegraph movement beneath your Vintage charm and Rustic appeal finishes.
Inspect bearing points: crushed fibers at ledgers, gaps at posts, or shim stacks that suggest settlement. Listen for squeaks and watch for drywall cracking below—both can track deflection trends.
Reinforcement Options And Methods
Although the hayloft floor may feel “solid enough” underfoot, you should treat any change in use—from light storage to conditioned living space—as a structural load upgrade and match the joists and subfloor to modern dead-load, live-load, and deflection targets in your local code.
Start by verifying species, span, spacing, and notches, then size reinforcement accordingly. You can sister joists with new lumber or LVL, or add a flitch plate if headroom is tight. Reduce spans by installing a beam and posts down to proper footings, not just slab-on-grade.
Add solid blocking or cross-bridging to improve load sharing and Structural integrity. Upgrade decking with glued-and-screwed tongue-and-groove plywood/OSB; your Material selection should match moisture conditions and fire-resistance needs.
How Do You Insulate Without Losing Headroom?
To insulate a hayloft roofline without stealing headroom, you’ll spec thin, high-R assemblies—like closed-cell spray foam, rigid polyiso, or high-density mineral wool—sized to your rafters and local energy code.
You’ll keep the roof dry by pairing smart venting (continuous soffit-to-ridge or an unvented, code-approved “compact roof”) with a correctly located air barrier.
You’ll also control vapor with a smart membrane or Class II vapor retarder where required, then tape and seal every seam so moisture can’t hitch a ride into the assembly.
Thin High-R Insulation
When you’re insulating a hayloft with low rafters, every inch you add to the roofline steals usable headroom, so you’ve got to buy R-value with smarter assemblies—not thicker ones.
Specify closed-cell spray foam in the rafter bays for high R per inch, then add a thin layer of rigid polyiso or high-density EPS under the rafters to break thermal bridging.
Tape seams and stagger joints so the board layer acts as a continuous thermal layer while keeping your ceiling plane tight and level.
In cold climates, confirm your assembly meets the IECC-required R-value for ceilings and controls condensation risk with proper ratios.
Use slim furring or hat channel to create a service chase without deep drops.
You’ll preserve Traditional aesthetics and Rustic charm by keeping beams exposed where possible.
Smart Venting And Vapor Control
Because a low-slope hayloft roof can’t tolerate guesswork, you’ll control moisture with an assembly that either vents continuously or stays fully unvented—and you’ll choose vapor control that matches it.
With Smart venting, keep a clear 1–2 inch vent channel above insulation, connect soffit-to-ridge paths, and baffle every bay so cellulose or batts can’t choke airflow; hit code net-free vent area and add airtight drywall or a taped membrane below.
If you can’t vent reliably, go unvented: install enough continuous exterior rigid insulation to keep the roof deck warm, then fill the cavities with fiber; seal all seams and penetrations.
Use a smart vapor retarder or Class II layer as needed, and avoid interior polyethylene unless your climate demands it.
Where Should Windows and Skylights Go?
Even if you keep most of the loft’s exterior intact, you can transform the interior by placing glazing where it captures consistent daylight and respects the barn’s structure. Start with Window placement on gable ends to limit rafter cuts and preserve shear panels; align openings between posts and below collar ties.
Favor north or east windows for soft light; size south glazing with overhangs to control summer gain. Keep sill heights code-compliant for fall protection, and specify tempered glass where required.
Dial in Skylight location between rafters, not through them, unless an engineer signs off. Use curb-mounted units on low-slope roofs, integrate ice-and-water membrane, and flash with compatible metals to avoid galvanic corrosion.
Put operable skylights high to vent heat.
How Do You Run Electrical and Lighting Cleanly?
Although a hayloft’s exposed framing begs you to staple wires wherever they fit, you’ll get the cleanest (and most inspector-friendly) result by planning circuits and lighting as a coordinated layout: run branch wiring in accessible chases along eave kneewalls, behind new service panels, or inside shallow furring strips. Keep cables set back from nailing surfaces (or protect them with steel nail plates), and use proper junction boxes with covers—no buried splices.
Separate lighting and receptacle circuits, size breakers to load, and use AFCI/GFCI where required. For fixtures, center runs on framing bays, drop with listed whip, and mount boxes to solid blocking.
If you preserve rafters for Historical preservation, keep wiring concealed and align switch heights for aesthetic consistency. Label every circuit, and leave pull strings in chases for future upgrades.
Which Modern Finishes Keep It Light and Durable?
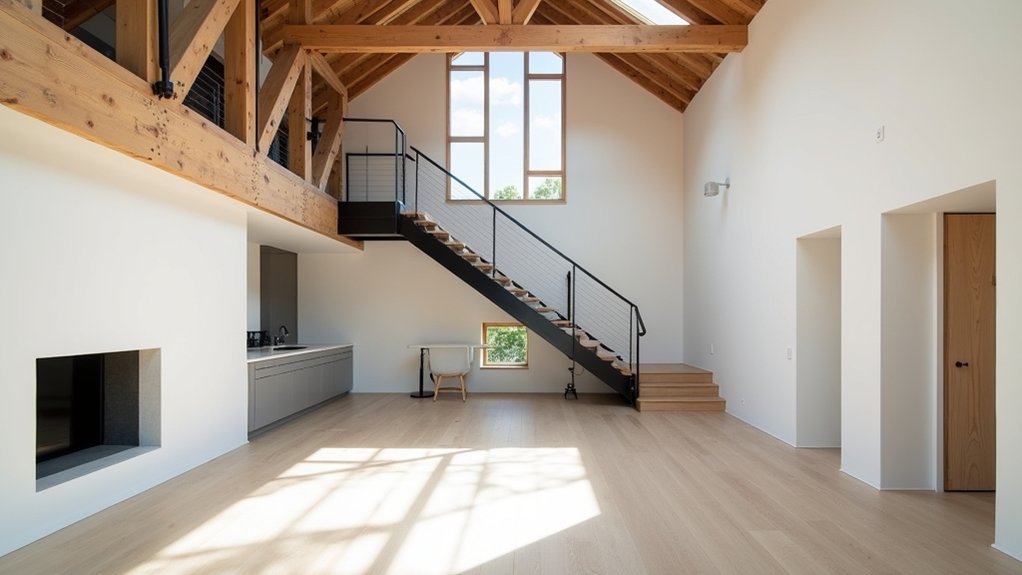
When you want a hayloft to read bright and modern without feeling fragile, choose finishes that bounce daylight, tolerate seasonal movement, and meet fire and moisture requirements for habitable space.
Use matte, high-LRV paint on drywall or intumescent-coated tongue-and-groove to satisfy ignition-barrier rules while keeping glare down.
Pick engineered oak or sealed concrete with low-VOC waterborne finish; both handle humidity swings better than raw pine.
For walls near baths or wet bars, install paperless mold-resistant gypsum and a Class III vapor retarder paint where your climate zone allows.
Keep Rustic charm with limewashed timbers sealed in a clear, fire-rated coating.
Balance Vintage fixtures with powder-coated steel, tempered glass, and washable eggshell trim for durability.
Frequently Asked Questions
How Much Does a Hayloft Conversion Typically Cost per Square Foot?
You’ll typically pay $150–$350 per sq ft; I once watched a $220/sq-ft build feel like refactoring legacy code. You’ll budget more for Historical preservation, Structural reinforcement, code upgrades, insulation, glazing, and MEP.
How Long Does a Full Hayloft Conversion Usually Take From Start to Finish?
You’re usually looking at 4–9 months start to finish, depending on permits, structural repairs, and inspections. Keep Barn aesthetics while upgrading Loft insulation to meet code, manage moisture, and coordinate MEP rough-ins.
Can You Add Plumbing for a Bathroom or Kitchenette in the Hayloft?
Yes, you can add Bathroom plumbing and a kitchenette installation if you route supply/drain lines to a proper stack, vent per code, protect framing, reinforce joists, and use moisture-rated membranes and firestopping.
How Do You Handle Heating and Cooling in an Open Loft Space?
You’ll handle heating and cooling by zoning: mini-splits, destratification fans, and a sealed insulated envelope. Test the theory that “open lofts can’t balance temps” with load calcs; coordinate interior decor, lighting design, and code-compliant venting.
Will Converting a Hayloft Increase Property Value or Affect Insurance?
Yes, you’ll often boost value if you document Historical preservation, pull permits, and finish to code. Insurance may rise; you’ll need Structural reinforcement reports, fire-rated assemblies, wiring, and engineered framing for underwriters.