
After one wet winter, you step onto your patio and it’s slick with green growth between the pavers. You can’t treat it like simple dirt, because moss, algae, and lichen respond differently and some products can etch stone or harm pets. You’ll need gloves, eye protection, and a plan to contain runoff before you scrub or spray. Start with a fast ID check, because the next step depends on what’s actually living there…
Key Takeaways
- Identify whether growth is moss, algae, or lichen, and note sun exposure and surface type to choose the safest, most effective treatment.
- Prep safely: wear gloves, eye protection, and non-slip shoes, and protect plants, doors, vents, and nearby surfaces from runoff and overspray.
- Hand-remove moss from joints with a stiff brush and scraper, then sweep and bag debris to prevent slips and re-spreading.
- Apply a stone/masonry-safe biocide per label, test a hidden spot first, and avoid acids on calcareous stone or harsh oxidizers on dyed pavers.
- Lightly pressure-wash with a 25–40° tip at 1,200–1,800 PSI, let dry completely, then seal with a breathable sealer and maintain drainage.
Check Your Patio: Moss, Algae, or Lichen?
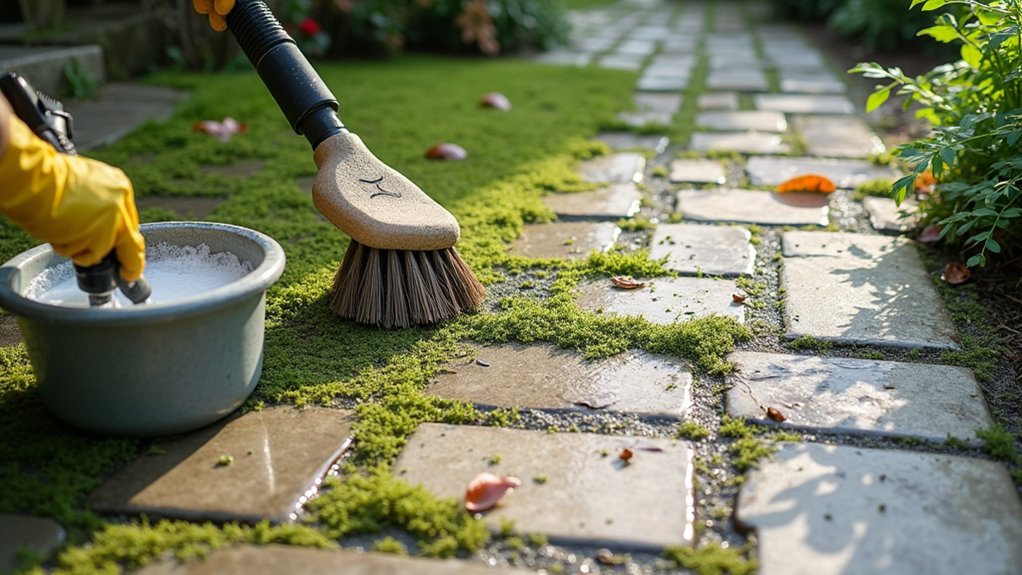
Before you reach for a cleaner or pressure washer, identify what’s actually growing on your patio, because the right treatment—and your safety precautions—depend on it.
Start with Moss identification: moss forms plush, raised green mats that lift at edges and hold moisture. It often colonizes shaded joints and porous stone, creating slip hazards even when dry.
Algae looks like a thin green film or dark staining; it’s slick when wet and spreads across smooth concrete. Prioritize algae prevention by noting drainage, overspray zones, and persistent shade.
Lichen appears as crusty, flat patches in gray, yellow, or orange; it bonds tightly and may etch softer surfaces.
Photograph areas, mark sun exposure, and note substrate type so you select compatible chemistry and avoid surface damage later.
Prep to Remove Moss From Your Patio Safely
Before you start removing moss, you’ll gear up with chemical-resistant gloves, eye protection, and non-slip footwear to control splash and slip hazards.
Next, you’ll clear the patio of furniture and debris, then cover nearby plants and vents so runoff and overspray don’t cause damage.
With PPE on and the area secured, you’re set to remove moss efficiently without creating avoidable risks.
Gather Protective Gear
Because moss removal can aerosolize spores, grit, and cleaning chemicals, you’ll get better results—and avoid unnecessary exposure—by gearing up first.
Put on protective clothing that covers skin: long sleeves, long pants, and closed-toe, slip-resistant boots with solid tread for wet stone or concrete.
Add chemical-resistant gloves (nitrile or neoprene) to prevent irritation and improve grip on tools.
Use wraparound safety glasses or sealed goggles to block splatter and windblown debris.
Wear a NIOSH-rated respirator (N95 minimum; upgrade to P100 if you’ll disturb heavy growth) to limit spore and dust inhalation.
If you’ll use a pressure washer, add hearing protection and a face shield.
Inspect all safety equipment for cracks, poor seals, or worn straps before starting.
Clear And Protect Area
Where do you want all that loosened moss, dirty runoff, and overspray to go—onto your lawn and siding, or into a controlled containment zone? Start by clearing the patio completely: move grills, planters, and decor, and lock in safe patio furniture arrangements away from the work area.
Sweep dry debris so you don’t grind grit into pavers. Drape plastic sheeting over doors, outlets, and adjacent walls; tape seams to block splashback.
Cover nearby beds and shrubs, but leave airflow so plants don’t cook in sun. Set berms with towels or foam backer rod along edges to steer runoff to a bucket or drain.
Pre-wet soil borders to dilute stray cleaner—one of the smartest landscaping ideas for protection. Mark slippery zones with cones.
Remove Patio Moss by Hand (Quick Method)
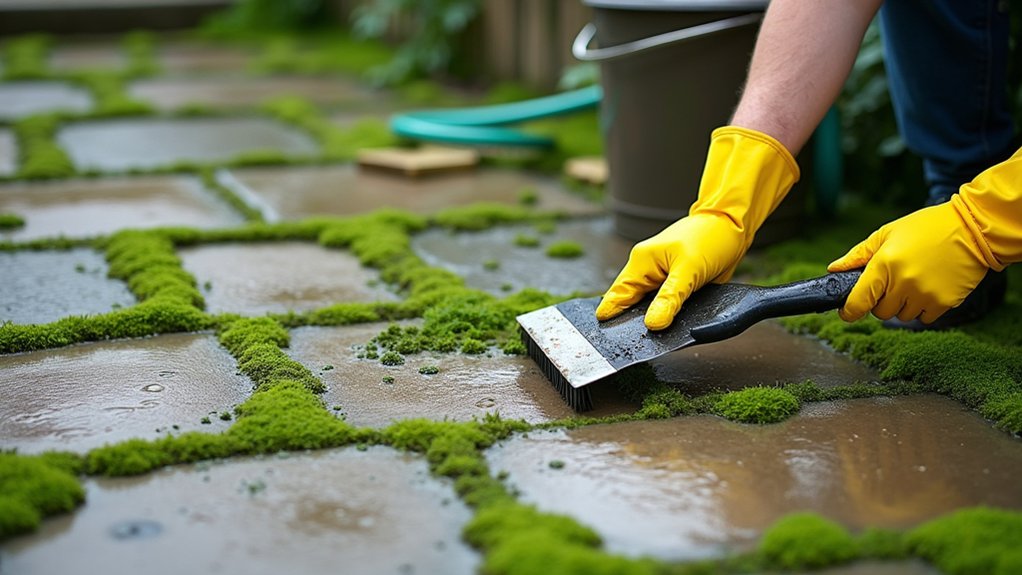
Grab your stiff brush, joint scraper or putty knife, gloves, and eye protection so you can work with control and reduce slip and debris hazards.
Scrape the moss out of the paver joints in short, firm pulls, keeping your blade angled away from your hands and staying off slick sections.
Sweep up the loosened growth, then rinse the surface clean to expose any remaining patches you’ll need to hit again.
Gather Tools And Gear
Before you start scraping moss off the patio by hand, set yourself up with the right tools and protective gear so you can work fast without damaging the surface or slipping. Put on nitrile-coated work gloves for grip, safety glasses to block grit, and knee pads to prevent strain on hard pavers. Wear non-slip boots and long sleeves, and keep a first-aid kit nearby.
Grab a stiff nylon hand brush, a plastic putty knife, and a small dustpan; avoid metal blades that can scratch stone or concrete. Use a pump sprayer with clean water to dampen slick patches and control dust.
Clear garden furniture and move decorative planters to a stable spot so you’ve got an unobstructed, safer work zone. Keep a tarp for debris collection.
Scrape Moss From Joints
Once you’ve cleared the work area, start at the highest point of the patio and scrape moss out of the joints so runoff doesn’t re-wet cleaned sections. Use a narrow joint knife, old screwdriver, or grout saw, and keep the blade angled shallow to avoid chipping pavers.
Work in short pulls, applying steady pressure until you expose firm joint material. For tight gaps, switch to a stiff nylon detail brush to finish moss joint removal without gouging edges.
Wear gloves, eye protection, and a dust mask; dried moss and grit can irritate skin and lungs. Pause if you hit loose sand or crumbling mortar—aggressive grout cleaning can widen joints and destabilize blocks.
Bag the debris immediately to prevent tracking and slip hazards.
Sweep And Rinse Clean
After you’ve cleared the joints, sweep the entire patio with a stiff push broom to pull loose moss, grit, and debris away from the surface and toward a collection point. Work in overlapping passes, keep the broom bristles flat, and don’t grind grit into porous stone. Wear gloves, eye protection, and a dust mask if spores are airborne. Bag the sweepings to prevent regrowth.
Next, rinse with a hose set to a firm fan spray, starting at the highest point and pushing runoff toward drainage. Don’t use a jet that can scour jointing or splash contaminants onto garden furniture and outdoor decor.
If pooling appears, pause, squeegee toward the edge, and recheck slope. Let the patio dry fully before replacing items.
Pick a Patio Moss Remover (Stone- and Pet-Safe)
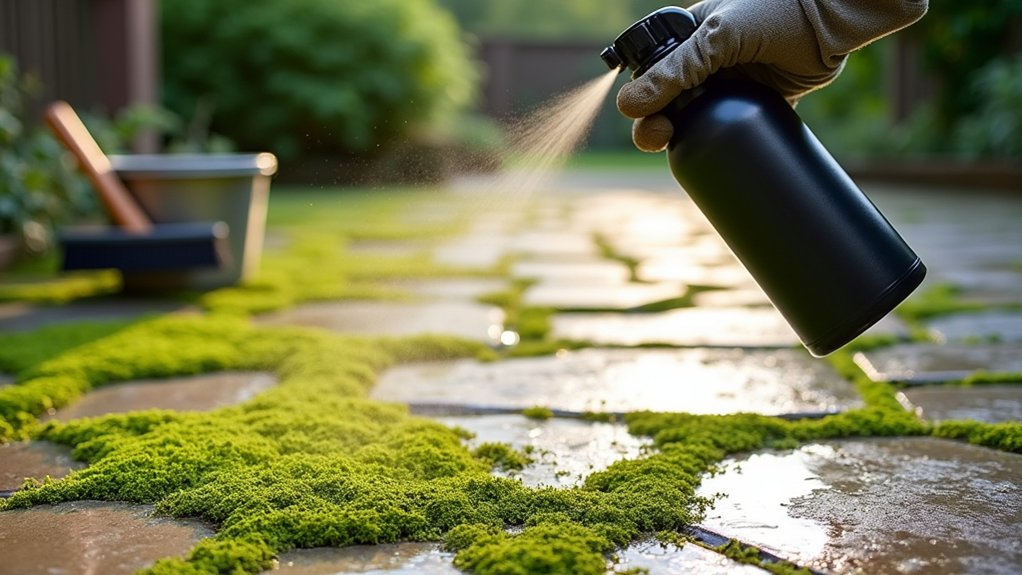
Because patio stones can etch, discolor, or shed grit when you use the wrong chemistry, pick a moss remover labeled for stone/masonry and pets. Confirm it won’t harm your specific surface (sandstone, limestone, concrete, pavers, or flagstone). Read the SDS and label for active ingredients, dilution, dwell time, and runoff restrictions.
Avoid acids on calcareous stone (limestone, some flagstone) and avoid strong oxidizers on dyed pavers unless the label approves. Test a small, hidden spot and check for lightening, roughening, or joint-sand loss after drying.
Prefer low-odor, non-corrosive chemical alternatives such as quaternary ammonium compounds or stabilized peroxide blends. Reserve Natural remedies (vinegar, salt) for non-sensitive areas only. Keep pets off until fully dry.
Pressure-Wash Patio Moss Without Damage
With a stone- and pet-safe moss remover selected and spot-tested, you can use pressure washing to lift the dead growth and embedded grit without scarring the surface.
Wear eye protection, gloves, and non-slip footwear, and keep pets inside until runoff is contained.
Use a 25–40° fan tip, not a turbo nozzle. Set pressure low (about 1,200–1,800 PSI for stone; lower for softer pavers) and keep the wand 12–18 inches away.
Work with the joints, sweeping evenly, never dwelling in one spot. Rinse from the highest point to a drain line you can filter.
If moss growth remains after chemical treatments, repeat a light pass rather than increasing pressure.
Let the patio dry to assess missed patches.
Stop Moss Coming Back on Your Patio
Once you’ve cleared the patio, you’ll need to change the conditions that let moss re-establish—persistent shade, trapped moisture, and nutrient-rich debris. Start by sweeping weekly and clearing leaf litter from joints, edges, and drains.
Improve runoff: re-point open joints with polymeric sand, re-grade low spots, and keep downpipes discharging away from slabs.
Increase light and airflow through garden landscaping—thin overhanging shrubs, raise tree canopies, and avoid dense groundcovers near paving.
Apply a residual biocide labeled for hard surfaces; wear gloves, eye protection, and prevent overspray onto lawns and ponds.
For Moss prevention strategies, repeat a light treatment in autumn and after long wet spells.
Add a breathable sealer only if the surface is fully dry.
Frequently Asked Questions
How Much Does Professional Patio Moss Removal Usually Cost?
You’ll usually pay $150–$500 for professional patio moss removal, depending on area and access. Measure twice, cut once: you’ll get safer biocide handling, runoff control, and better traction than DIY cleaning using eco friendly solutions.
Can I Restore Patio Color With Sealant After Removing Moss?
Yes, you can restore patio color with a quality sealant after thorough moss removal and drying. You’ll improve appearance via sealant restoration, but you must test compatibility, wear PPE, and guarantee proper cure conditions.
Will Moss Removal Affect Nearby Garden Plants or Lawn Edges?
Yes, it can affect nearby plants and lawn edges if runoff reaches roots. You’ll protect, rinse, and redirect: prioritize Plant safety, limit Chemical impact, avoid drift, dilute residues, and buffer edges with water and tarps.
What’s the Best Time of Year to Resand Patio Joints?
Resand patio joints in late spring or early autumn when conditions stay dry and mild. Seasonal maintenance relies on weather considerations: avoid frost, heatwaves, and heavy rain. Wear gloves, mask, and eye protection. Let joints cure.
Do I Need Planning Permission to Replace Mossy Patio Paving Stones?
You usually don’t need planning permission to replace patio paving stones like-for-like, but check listed buildings, conservation areas, or raised platforms. Move garden furniture safely, and use drainage improvement plus proper falls to prevent slip hazards.