
You’re choosing kitchen flooring that has to handle spills, dropped pans, kids, and pets without becoming slippery or hard to maintain. Start by setting your non-negotiables: water resistance, wear rating, and a realistic budget that includes underlayment and installation. Then compare proven options like waterproof vinyl, sealed porcelain tile, or engineered wood with durable finishes and low-VOC materials. Once you know what to look for, the tradeoffs get clearer—and one detail often decides it.
Key Takeaways
- Prioritize waterproof or highly water-resistant flooring based on spills, pet bowls, leaks, and frequent mopping, especially at seams and transitions.
- Choose dent- and scratch-resistant materials like porcelain tile, thick wear-layer LVP/LVT, or sealed concrete to handle kids, pets, and heavy traffic.
- Favor easy-clean surfaces with minimal joints, stain-resistant grout, and factory-applied protective finishes; clean with pH-neutral products, avoiding steam mops.
- Verify slip resistance using DCOF/COF ratings for wet zones, and add anti-fatigue mats near sinks and stoves for safety and comfort.
- Set a full budget including demolition, subfloor prep, leveling, underlayment, trim, waste, and installation, not just the flooring material price.
Define Your Kitchen Flooring Priorities (Water, Wear, Budget)
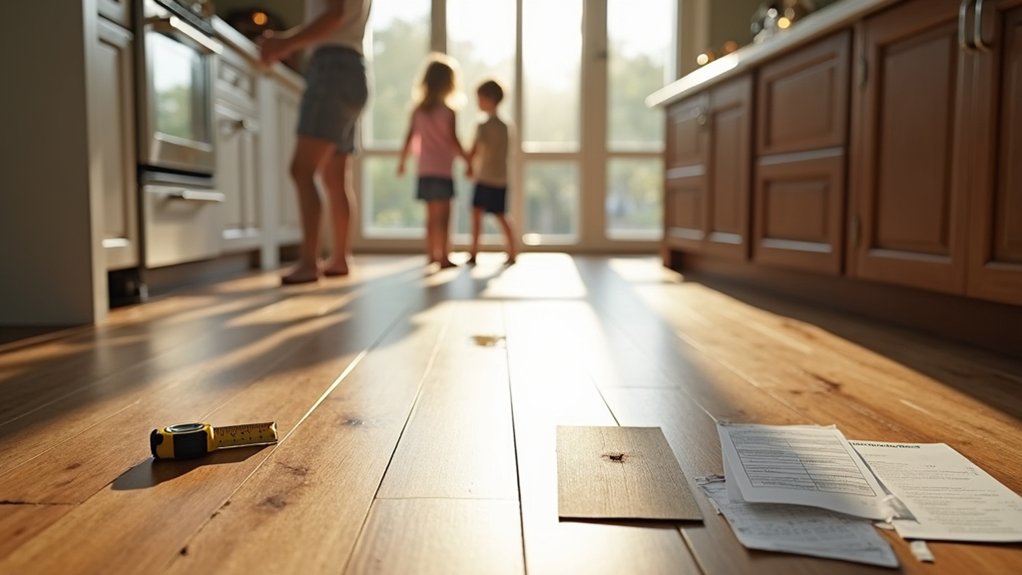
Before you compare materials, set clear priorities for how your kitchen floor needs to perform under water exposure, daily wear, and your budget. Start by rating moisture risk: frequent spills, dishwasher leaks, pet bowls, and mopping frequency. Decide whether you need full waterproofing or just water resistance, and note any seams, transitions, or floor drains that raise risk.
Next, define wear demands. Consider foot traffic, chair scraping, dropped pans, and kids’ toys. Set minimum performance targets for scratch resistance, dent resistance, and slip resistance (choose a finish that meets common wet-area traction expectations).
Then lock your budget, including underlayment, prep, trim, and waste. Balance aesthetic appeal with installation complexity so you don’t exceed timeline or labor limits.
Best Waterproof Kitchen Flooring Materials (Vinyl, Tile, Sealed Concrete)
If your kitchen sees frequent spills, wet boots, or the occasional dishwasher surprise, you’ll get the most reliable moisture protection from truly waterproof surfaces: vinyl (LVP/LVT or sheet), ceramic/porcelain tile, and properly sealed concrete. Choose products rated waterproof by the manufacturer, and verify compatible underlayment and edge details to prevent seepage at seams.
Pick sheet vinyl when you want the fewest joints; heat-welded or tightly sealed seams improve performance. Use porcelain tile for low absorption; specify a waterproof membrane where required, and use grout plus a penetrating sealer per instructions.
For concrete, require a moisture test, then apply an industrial-grade sealer and maintain it on schedule. For Eco friendly options, look for low-VOC vinyl or locally sourced tile. Weigh aesthetic considerations like grout lines, pattern scale, and finish sheen.
Scratch- and Dent-Resistant Kitchen Floors for Kids/Pets
If you’ve got kids and pets racing through the kitchen, you need flooring that meets high-durability benchmarks for scratch and dent resistance. You’ll get the best performance from tougher materials like porcelain tile, luxury vinyl with a thick wear layer, or sealed concrete, depending on your subfloor and comfort needs.
You can also extend service life by choosing protective finishes and treatments—such as factory-applied urethane topcoats, high-rated wear layers, and felt pads or nail trims—to reduce surface damage.
Best High-Durability Materials
Although every kitchen sees its share of spills and foot traffic, a busy family space demands flooring that can take scratches, dents, and constant cleaning without wearing through its finish. Choose porcelain or ceramic tile with a PEI rating of 4–5 and low water absorption for maximum hardness and stain resistance.
For a warmer, quieter floor, pick luxury vinyl plank with a 20–28 mil wear layer and rigid core to resist pet claws and dropped pans. Sheet vinyl reduces seams, helping you control moisture at sinks and dishwashers.
If you want Eco friendly options, select natural linoleum or FSC-certified bamboo with strand-woven construction. Balance aesthetic considerations by matching plank width, grout color, and texture to your cabinet and lighting plan.
Protective Finishes And Treatments
When you’ve chosen a durable base material, the right protective finish and maintenance treatment determines how well your kitchen floor resists kid-and-pet scratches, dents, stains, and repeat mopping over time. Specify factory-applied Protective coatings with published wear-layer thickness or finish ratings, and confirm they meet common residential performance standards.
For hardwood, choose aluminum-oxide or ceramic-reinforced polyurethane, and add felt glides and door mats to cut grit abrasion.
For LVP/laminate, verify the topcoat and edge sealing to prevent moisture wicking and edge swell.
For tile, select a penetrating grout sealer and reapply on schedule to maintain stain resistance.
Use pH-neutral cleaners, avoid steam mops, and refresh coatings per manufacturer intervals to prevent dulling and micro-scratches.
Easy-Clean Kitchen Flooring (Grout, Seams, Finishes)
Because kitchen messes don’t stop at the surface, easy-clean flooring depends on how you handle grout lines, seams, and the finish layer. Choose tile with minimal grout joints, and specify a stain-resistant, polymer-modified grout; plan Grout maintenance with routine pH-neutral cleaning and periodic resealing per manufacturer intervals.
If you use vinyl, laminate, or engineered wood, prioritize tight-lock profiles and factory-finished edges to reduce debris traps. Require Seam sealing at junctions, perimeter joints, and around appliances using compatible sealant that meets ASTM/ANSI guidance for wet areas.
Select finishes with documented chemical resistance and cleanability ratings; avoid high-texture coatings that hold grease. Maintain the topcoat by using soft pads, avoiding abrasives, and wiping spills within minutes.
Slip Resistance and Comfort for Long Cooking Days
You’ll want a slip-resistant finish that maintains traction when the floor’s wet, and you can verify performance by checking the product’s COF/safety rating.
Pair that surface with underfoot cushion—such as a resilient flooring core or properly placed anti-fatigue mats—to reduce strain during long prep and cooking sessions.
As you compare options, confirm the finish won’t compromise cleanability and that any padding meets the manufacturer’s specs for stability and durability.
Prioritize Slip-Resistant Finishes
Although a glossy floor can look sharp, it often sacrifices traction where it matters most—around the sink, stove, and dishwasher—so prioritize slip-resistant finishes rated for wet areas. Look for manufacturer COF or DCOF data and confirm it’s tested to recognized methods (for example, ANSI A326.3 for tile).
If a product lists a wet DCOF, choose one intended for interior wet zones and follow the recommended grout and cleaning system so the rating remains valid.
For resilient surfaces, specify Safety flooring with a documented slip performance classification and a texture that won’t trap grease.
Ask for a maintenance plan: neutral cleaner, no waxes, and periodic deep cleaning to keep micro-texture open.
Use mats only if edges lay flat and don’t curl.
Underfoot Cushion And Support
When you’re prepping, cooking, and cleaning for hours, the floor needs enough cushion to reduce leg and back fatigue without giving up the stable footing that keeps slips in check. Look for resilient surfaces like cork, quality LVT, or rubber that offer cushion comfort while staying dimensionally stable. Pair them with an underlayment rated for kitchens and moisture, not generic foam.
If you install tile or stone, add anti-fatigue mats at sink and range zones; choose beveled edges and a slip-rated backing so they don’t curl or skate. For arch support, prioritize surfaces with slight give and consistent flatness, and keep smooth transitions flush to prevent trips. Verify manufacturer slip and indentation ratings for long-term performance.
Kitchen Flooring Options Compared (Pros, Cons, Lifespan)
Because a busy family kitchen sees constant spills, dropped dishes, pets, and heavy foot traffic, the flooring that works best is the one that balances durability, water resistance, slip resistance, comfort underfoot, maintenance demands, and realistic lifespan—without blowing the budget.
Luxury vinyl plank (LVP) resists water, installs fast, and lasts 10–20 years; watch for thinner wear layers and denting.
Porcelain tile handles heat and water and can reach 30+ years; grout needs sealing, and hard surfaces raise breakage risk.
Sheet vinyl is budget-friendly and water-tight, with 10–15 years; seams and gouges are weaknesses.
Engineered wood offers warmth, 15–25 years, but you’ll avoid standing water.
Cork and bamboo use Renewable resources and can be Eco friendly options; expect 10–20 years with sealing and scratch control.
Match Kitchen Flooring Color/Texture to Cabinets
Even if you’re prioritizing durability, you’ll get a more cohesive kitchen if you match the flooring’s color tone and texture to your cabinet finish using a few simple standards. Start with undertones: pair warm cabinets (honey, walnut, cream) with warm floors (golden oak, beige, warm gray) and cool cabinets (white, ash, espresso) with cool floors (taupe, charcoal, blue-gray).
For Color coordination, keep contrast intentional: choose either a low-contrast blend within 1–2 shade steps or a high-contrast split (light cabinets/dark floor or vice versa), but avoid mid-tone-on-mid-tone muddiness.
Then apply Texture matching. If cabinets read flat and modern, pick smooth or subtle-grain flooring; for raised-panel or rustic cabinets, use pronounced grain, wire-brush, or stone-like embossing. Repeat one finish note—matte, satin, or semi-gloss—across both surfaces.
Kitchen Flooring Costs: Material + Install + Extras
Although flooring prices vary by region and layout, you can budget accurately by breaking the total into three line items: material cost per square foot, installation labor (including subfloor prep), and “extras” like underlayment, connectors, trim, delivery, and haul-away.
For materials, compare wear layer/thickness, water rating, and slip resistance; vinyl plank usually lands lower, porcelain tile and hardwood higher, and Vintage patterns can add a print premium.
For labor, ask whether the bid includes demolition, leveling to manufacturer flatness tolerances, moisture testing, and handovers at doorways.
Extras often decide the real total: waterproof underlayment, vapor barriers, grout/sealer, stair noses, quarter-round, and appliance disconnect/reconnect.
If you want Eco friendly options, confirm certifications and any recycling or low-VOC adhesive upcharges.
Frequently Asked Questions
Can New Kitchen Flooring Be Installed Over Existing Tile or Hardwood?
Yes, you can—if one hidden detail checks out. You must verify Flooring moisture, confirm the existing surface is flat, and complete subfloor prep: clean, secure loose boards/tiles, and use approved underlayment per manufacturer standards.
How Long Will My Kitchen Be Unusable During Flooring Installation?
You’ll typically lose kitchen access for 1–3 days; complex layouts can take 4–7. Your installation timeline includes demolition, leveling, install, and cure time. Protect flooring durability by keeping traffic off until fully cured.
Do I Need to Remove Appliances Before Installing New Kitchen Flooring?
You’ll usually need Appliance removal before new flooring; installers require clear access. About 70% of kitchen jobs fail inspection due to poor Flooring preparation. Disconnect utilities, protect lines, and keep heavy units off new surfaces.
Will Radiant Floor Heating Work With My Chosen Kitchen Flooring?
Yes, it’ll work if you confirm Radiant heating compatibility with the manufacturer. Use Flooring material considerations: choose tile or engineered wood, avoid thick carpet, follow ASTM guidelines, and keep surface temperatures within system limits.
How Do I Transition Kitchen Flooring to Adjacent Rooms Smoothly?
You’ll shift seamlessly by selecting appropriate floor transition techniques: use T-molding for equal heights, reducers for uneven levels, and flush thresholds for tile-to-wood. Guarantee matching flooring styles, align seams, and maintain consistent expansion gaps.