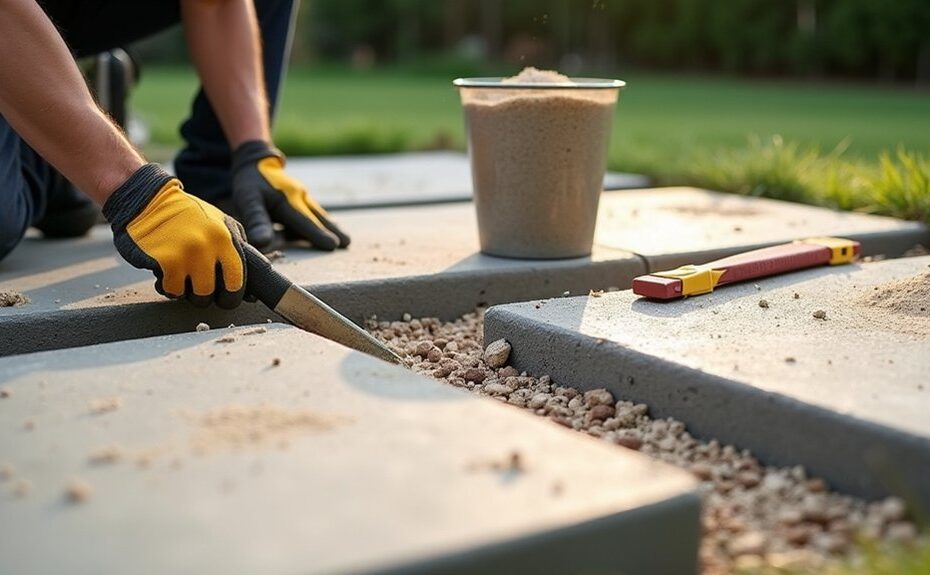
You probably don’t know that most patio slabs sink because the bedding layer pumps out under foot traffic and poor drainage, not because the slab “settles.” You can fix loose units safely by diagnosing whether you’re dealing with pavers or a monolithic concrete slab, then restoring a compacted base, correct slope, and tight joints. If you skip one check, the repair can fail fast—so start with the detail most people miss.
Key Takeaways
- Identify the cause first: poor drainage, erosion, freeze-thaw heave, bad base prep, or heavy loads creating voids and settlement.
- Determine surface type—pavers versus concrete—since repair differs; look for joint gaps, rocking units, cracks, or hollow sounds.
- For pavers, lift low areas, rebuild and compact the base, add bedding sand, reset pavers, then compact and refill joints.
- For concrete slabs, use foam or grout jacking to fill voids and lift gradually; patch drill holes and recheck level.
- Prevent recurrence by maintaining 1/8–1/4 inch per foot slope, routing downspouts to solid pipe, and adding edging or drains at low edges.
Spot the Causes of Sinking Patio Slabs
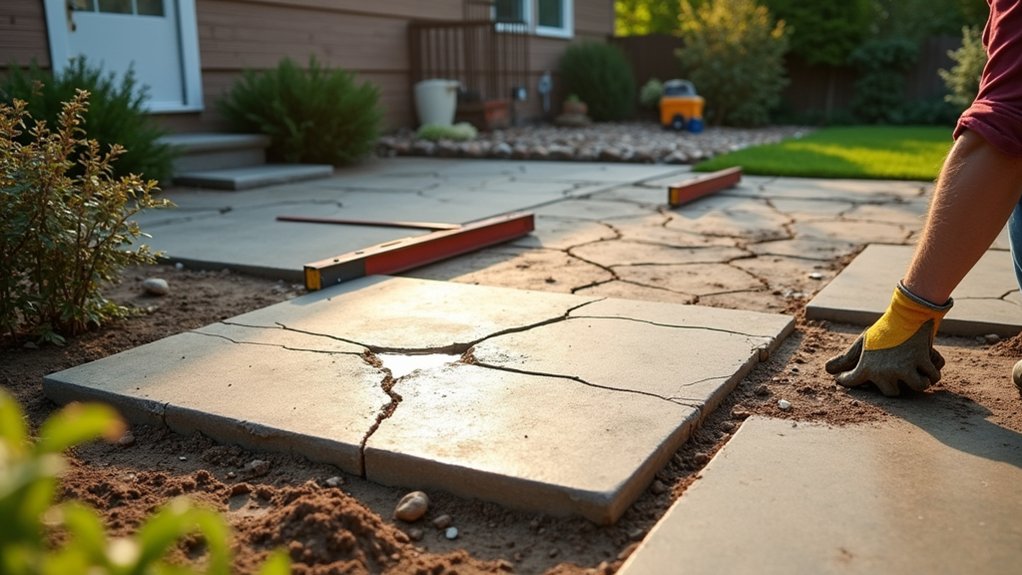
Although a sunken slab can look like a simple leveling issue, you’ll fix it faster (and safer) if you identify what caused it to move in the first place. Start by checking drainage: downspouts dumping near the patio, negative slope, or clogged swales can saturate base material and trigger settlement.
Look for soil loss from erosion, burrowing animals, or washout along slab edges. In freeze-thaw climates, note heaving patterns that later relax into low spots.
Inspect base prep clues: missing compacted aggregate, thin bedding, or voids under corners.
Evaluate loading: heavy outdoor furniture, grills, and repeated foot traffic can overstress weak subgrade.
Finally, review recent garden landscaping changes—added beds, irrigation leaks, or root decay can destabilize support.
Diagnose the Problem: Pavers vs. Concrete Slab
Before you plan a leveling fix, confirm whether you’re dealing with individual pavers or a single poured concrete slab, because the failure modes and safe repair methods differ.
If you see many joints, edge restraints, and modular units, you’ve got pavers. Settlement often shows as isolated low spots, rocking pieces, or widened gaps that can create trip points while preserving paver aesthetics. Check for displaced sand, broken corners, or missing restraints that let units migrate.
If you see one continuous surface with control joints or cracks, it’s a concrete slab. Problems usually involve slab tilt, voids, or cracking that can worsen under load despite concrete durability. Tap for hollow sounds, note crack patterns, and identify whether movement is localized or the entire slab plane shifted.
Prep to Level Patio Slabs (Tools, Safety, Drainage)
Once you’ve confirmed whether you’re working on pavers or a poured slab, set up your work area with the right tools, PPE, and a drainage plan so the level you restore actually holds. Clear outdoor furniture, mark trip hazards, and shut off or protect garden lighting cables and fixtures.
Stage a 4-ft level, string line, tape measure, straightedge, hand tamper, shovel, broom, and buckets; add a shop vac and spray bottle to control dust.
Wear gloves, safety glasses, steel-toe boots, and hearing protection when cutting or compacting. Locate utilities before probing.
Map water flow: identify low spots, downspouts, and soil grades, then plan a 1/8–1/4 in. per foot slope away from the house. Keep runoff paths open and protect nearby drains.
Level Loose Patio Pavers by Lifting and Resetting
With your tools staged, PPE on, and slope plan set, you can start correcting loose or sunken pavers by lifting the affected units and rebuilding the base so they lock in at the right grade.
Mark the low area, then pull pavers with a flat bar or paver extractor, keeping Paver patterns aligned and staging pieces in order, especially at Decorative borders.
Scrape out failed bedding, remove soft base, and compact subgrade in lifts with a hand tamper or plate compactor.
Add and compact crushed stone, then screed a thin bedding layer of concrete sand.
Reset pavers flush to stringlines, tap to seat, and verify slope with a level.
Sweep joint sand, compact again, top off joints, and barricade until stable.
Level a Sunken Concrete Slab (No Tear-Out Options)

If your concrete patio slab has settled, you can lift it in place using foam jacking (polyurethane injection) or slab jacking with a cementitious grout, both done through small drilled holes and controlled, incremental lifts.
You’ll protect yourself and the slab by verifying the void cause, keeping clear of pinch points during pumping, and stopping immediately if you see new cracking or rapid movement.
Once it’s back to grade, you’ll add edge support and seal joints/cracks to block water intrusion and prevent future washout.
Foam Jacking Basics
Because tearing out and repouring a patio slab is costly and disruptive, foam jacking (also called polyurethane slab lifting) gives you a no–tear-out way to raise and relevel sunken concrete quickly. You’ll drill small injection holes, then pump expanding foam beneath the slab to fill voids and lift it in controlled increments.
Before you start, evaluate Soil compaction and drainage so you don’t trap water or lift onto unstable subgrade. Material selection matters: choose a closed-cell, high-density polyurethane rated for exterior loads and moisture exposure.
During lifting, monitor slab elevation with a level, keep people clear of the work zone, and avoid overjacking that can crack edges or stress joints. Patch holes, confirm trip hazards are gone, and reinspect after heavy rain.
Slab Jacking With Grout
Foam jacking isn’t the only no–tear-out way to relevel a patio slab—slab jacking with grout uses a cementitious slurry to fill voids and push the concrete back into plane. You drill small injection holes, then pump grout in controlled lifts while you monitor slab elevation with a level. Work from the lowest corner upward to prevent rocking and new cracks.
Prioritize safety: wear eye protection, hearing protection, and a respirator for silica dust; keep bystanders clear of hoses and pinch points.
Material selection matters—use a flowable, nonshrink mix for tight voids and a sanded, higher‑strength slurry for larger cavities.
If your slab has Decorative patterns, place holes in less visible areas and keep pump pressures moderate to avoid chipping or telegraphing spots.
Edge Support And Sealing
Once you’ve brought the slab back to grade, you’ll need to restore edge support and seal the joints so the fix doesn’t drift over time. Inspect slab perimeters for voids or eroded soil; shovel out loose material and pack crushed stone in lifts. Add edge reinforcement by installing a compacted gravel shoulder or polymeric sand along exposed sides, then regrade soil to shed water away. Don’t leave unsupported corners—trip hazards return fast.
Before sealant application, clean joints to sound concrete, then backer-rod any gap deeper than 1/2 inch to control sealant depth. Apply a flexible polyurethane or self-leveling concrete joint sealant, tooling it flush to prevent heel catches. Keep traffic off until cure, and verify drainage after the first rain event.
Lock Paver Patio Slabs With Polymeric Joint Sand

After you’ve reset your paver slabs to a level, stable base, lock them in place with polymeric joint sand to reduce shifting, washouts, and weed growth. Clear the joints to full depth, then sweep in dry sand until they’re packed, using a push broom at a 45° angle to avoid pulling material back out.
Run a plate compactor with a protective mat so you don’t chip edges, and top off joints again. Mist lightly with a hose nozzle to activate binders; don’t flood, or you’ll weaken the set and haze the surface. Keep traffic off until cured.
Move garden furniture and protect nearby lighting fixtures from dust and overspray. Wear eye protection, gloves, and a dust mask.
Keep Patio Slabs Level: Base, Edging, and Drainage Fixes
If your patio slabs keep shifting or settling, you’ve got to reinforce the base layers with proper compaction and correct aggregate thickness before you reset anything.
You’ll also need solid edging restraints so lateral movement can’t loosen joints or spread loads unevenly.
Finally, you should fix drainage by setting the right slope and keeping water out of the base, because saturation is what drives most repeat settlement.
Reinforce Base Layers
Because a weak base is the main reason patio slabs loosen or sink, you’ll get the most reliable fix by rebuilding the layers that carry the load and shed water. Pull the slab, then excavate until you reach firm subgrade; remove soft soil and organic debris.
Compact the subgrade with a plate compactor in multiple passes.
Add 4–6 inches of well-graded crushed stone (¾” minus), placing it in 2-inch lifts and compacting each lift.
Top with a 1-inch bedding layer of sharp sand or stone dust and screed it flat.
Set the slab, tap it level with a rubber mallet, and verify slope with a long level.
Reinstall garden furniture and outdoor lighting only after the base holds firm under foot.
Improve Edging And Drainage
Even with a well-compacted base, patio slabs will creep and settle when the perimeter isn’t restrained or water keeps washing fines out from under the bedding layer. Install rigid edging (concrete curb, metal, or heavy-duty plastic) on a compacted trench, and anchor it with spikes so the field can’t spread under foot traffic or garden furniture loads. Maintain a consistent joint line and re-sweep polymeric sand after adjustments.
Then control runoff. Set a 1/8–1/4 inch per foot slope away from the house, and keep downspouts discharging to solid pipe, not onto the patio.
Add a gravel-filled French drain at the low edge if puddling persists. Keep outdoor lighting conduits above the drain zone to prevent abrasion and shock hazards.
Frequently Asked Questions
How Much Does Professional Patio Slab Leveling Typically Cost?
You’ll typically pay $500–$2,000 for professional patio slab leveling; like a steady keel in rough water, it restores footing safety. Use a cost comparison, since tool requirements and material access drive labor and risk.
When Should I Replace Slabs Instead of Leveling Them?
Replace slabs when cracks are structural, edges spall, rebar corrodes, or bases wash out repeatedly, creating trip hazards. If leveling won’t meet load, drainage, or aesthetic considerations, choose new material options instead.
Can Leveling Patio Slabs Help Prevent Water From Entering My Basement?
Yes, leveling patio slabs can cut basement seepage by correcting subtle slope shifts and stopping surface pooling. You’ll reduce Drainage issues by directing runoff away, and improve Soil stabilization, limiting settlement gaps that channel water.
How Long Do Slab Leveling Repairs Usually Last in Freeze-Thaw Climates?
In freeze-thaw climates, you can expect slab leveling repairs to last 5–15 years if you control drainage and base support. Temperature fluctuation stresses joints; protect slab durability with sealing, proper slope, and prompt crack repair.
Do I Need a Permit or HOA Approval to Repair My Patio Slabs?
You’ll almost always need to check Permit requirements and HOA approval before slab repairs. Call your building department and HOA, confirm scope limits, and document consent. Skipping this can trigger fines and unsafe, noncompliant work.