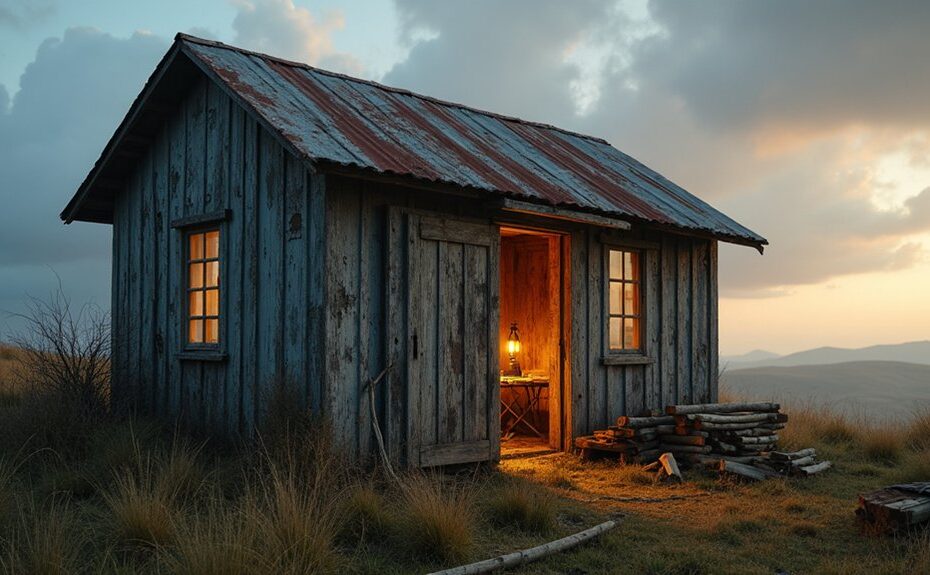
You can turn an abandoned shepherd’s hut into a dry, warm, off-grid retreat if you start with budget, permissions, and towing limits, then tackle structure first. You’ll wire-brush and square the chassis, splice rotten joists, and bolt bearers tight before relaying boards. Make the roof era-true with galvanised sheets, continuous felt, breathable membrane, and proper flashing. Add sheep’s wool or wood-fibre insulation with vents and a vapour check, then fit a small stove, modest solar, and rainwater harvesting. Keep going to see the smartest layout and finishing choices.
Key Takeaways
- Start with planning: budget repairs, check council permissions, heritage limits, utilities, and arrange insured transport within tow and route constraints.
- Inspect structure: wire-brush chassis, repair rot and joists, square the frame, reinforce bearers, and confirm floor stiffness before relaying boards.
- Make it weatherproof: fit correct-era roof sheets, breathable membrane, felt overlaps, and proper flashing to stop leaks at ridges and junctions.
- Add comfort safely: insulate with breathable materials, include vapour checks, and build ventilation paths to prevent condensation and maintain timber movement.
- Upgrade off-grid living: install a safe stove and flue, modest solar and LEDs, rainwater harvesting, and a space-saving layout with built-ins.
Is This Shepherd’s Hut Restorable (Budget, Permissions, Towing)?
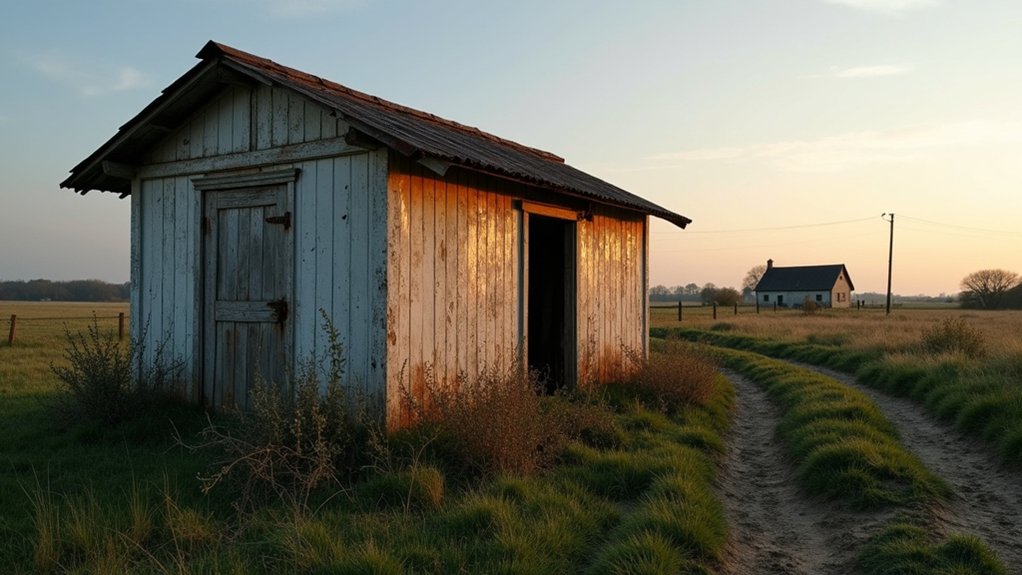
Before you fall in love with its weathered patina, you’ll want to confirm that the hut’s bones—and your practical constraints—make restoration realistic.
Start by pricing the unavoidable: new roof sheets or canvas, timber cladding repairs, glazing, insulation, stove, wiring, and paint systems compatible with old softwoods. Itemize labor versus DIY, and build a contingency for hidden rot and obsolete fittings; Shepherd’s hut restoration costs often jump when you chase period-correct ironmongery.
Next, map the paperwork. If you’ll site it for living or holiday use, ask the council early about change of use, services, and heritage constraints; legal permissions can hinge on “temporary” status and access.
Finally, verify tow weight, axle rating, and route clearances, and book insured transport.
Inspect and Repair the Chassis, Frame, and Floor
Start underneath, where the hut’s story is stamped into the steel: you’ll wire-brush the chassis, probe suspect spots with a pick, and mark any deep pitting or soft sections that need plating or replacement.
Then you’ll square up the frame and secure new floor joists with like-for-like timber and proper fixings, keeping bearings, ventilation gaps, and moisture breaks true to the original build logic.
If you get these structural bones right now, every repair above will sit sound, tow safely, and last.
Assess Chassis Rust Damage
Although a shepherd’s hut looks deceptively simple, its road-worn chassis is usually where a century of wet pasture, coal smoke, and salty winter lanes has quietly done the most damage.
Start by scraping back flaking blacking and mud to bare metal, then probe with an awl: sound steel rings; rotten sections crumble. Pay special attention to spring hangers, axle seats, drawbar welds, and the underside of outriggers where water sits.
Measure remaining thickness with calipers, and note pitting versus through-holes so you don’t over-grind historic plate.
Clean with a needle scaler or wire cup, treat with tannic converter where appropriate, and seal with a zinc-rich primer.
Your exterior paint and interior decor can wait until the chassis is stable.
Replace Floor Joists Securely
A sound set of floor joists turns a shepherd’s hut from a pretty shell into a rigid, roadworthy structure, so you’ll replace them with the same care you’d give the running gear.
Jack and crib the body so the frame’s unloaded, then measure bay spacing and pick joists to match the original section—often stout softwood, not modern I-joists.
During floor joist replacement, cut back to clean, sound timber and scarf new ends rather than butt-joining over thin metal.
Treat with borate, then prime any steel bearers and isolate wood from iron with bituminous tape to curb galvanic rot.
Bolt through chassis flanges with penny washers, not nails, and add diagonal noggins for structural reinforcement.
Finally, test for squeaks and deflection before you relay boards.
Make the Roof Watertight: Sheets, Felt, Flashing
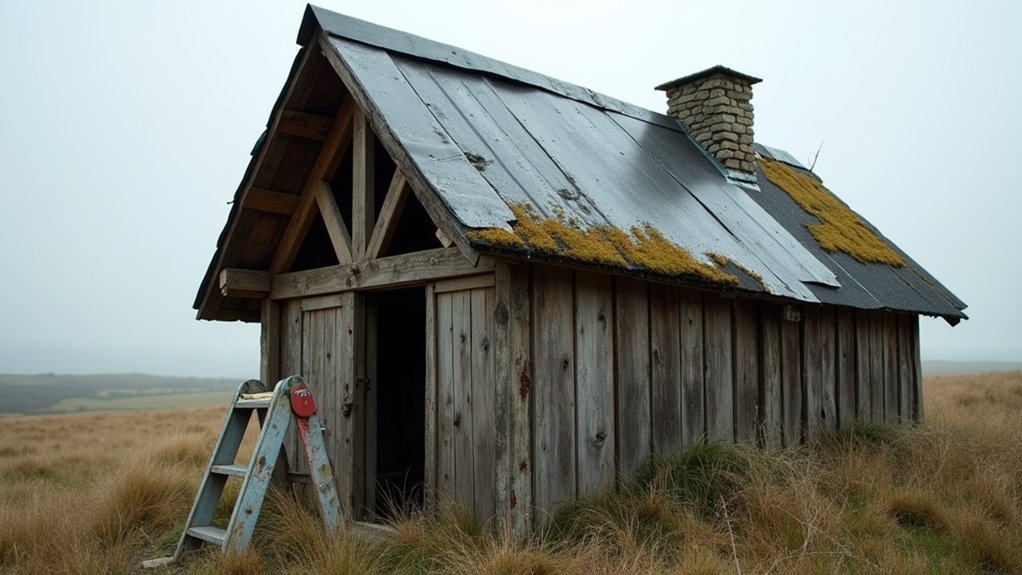
You start by choosing roofing sheets that suit the hut’s era and pitch—galvanised corrugated steel for honesty and longevity, or reclaimed sheets if they’re sound and worth saving.
You lay roofing felt as a continuous underlayer, keep overlaps generous, and fix it cleanly so wind can’t lift it and condensation can’t creep into the boards.
You finish with flashing at ridges, edges, and any junctions, shaping and fastening it tight so water sheds where it should instead of tracking into the timbers.
Choosing Roofing Sheets
How do you keep a shepherd’s hut roof true to its working roots while making sure it never lets water in? Start by matching the original profile: most huts carried light corrugated iron or steel, shed rain fast, and tolerated movement on a timber frame.
You can still choose modern galvanized corrugated sheets, or coated box-profile if you want quieter rainfall and cleaner lines.
Check gauge and coating weight, because thin sheets drum, dent, and rust sooner. Specify minimum 0.5 mm steel with a durable polyester or plastisol finish, and order foam closure strips at eaves and ridge.
Plan fixings now: stitched laps, capped self-drilling screws, and butyl tape.
Leave rafters deep enough for insulation materials, and mark future brackets for solar panels.
Installing Roofing Felt
Once the sheets and battens are set out, lay a breathable roofing felt (modern membrane) as the hut’s second skin, because the original corrugated iron roofs rarely had anything more than boarding beneath and any driven rain that sneaked past a lap went straight into the timber.
Roll it horizontally from eaves to ridge, keeping it taut but not drum-tight, and overlap courses per the manufacturer so water always sheds. Staple to rafters, then seal punctures with compatible tape; old huts move, and tiny tears become leaks.
Turn the membrane into gutters and around openings, and fit counter-battens to form a drainage gap under your roofing materials. This cavity also supports insulation techniques: it lets vapour escape while protecting wool or PIR from wind-wash and rot.
Adding Flashing Details
With the membrane lapped and taped, the roof’s now got a reliable second skin, but water still looks for the weak spots at edges, ridges, and any break in the corrugations. You stop it with properly shaped flashing: galv steel if you’re keeping the hut’s plain, working character, or lead where movement and longevity matter most.
You tuck apron flashing under the sheets at the front, turn it into the gutter line, and fix it with stainless screws and neoprene washers.
At the ridge, you bed the cap in butyl tape, then add stitched side flashings to match old agricultural practice. Seal only overlaps, not drainage paths.
Let your Decorative accents stay subtle—hammered lead edges, painted trims. Plan Lighting options now, so cable glands sit on flashings, not through sheets.
Insulate and Ventilate to Prevent Condensation
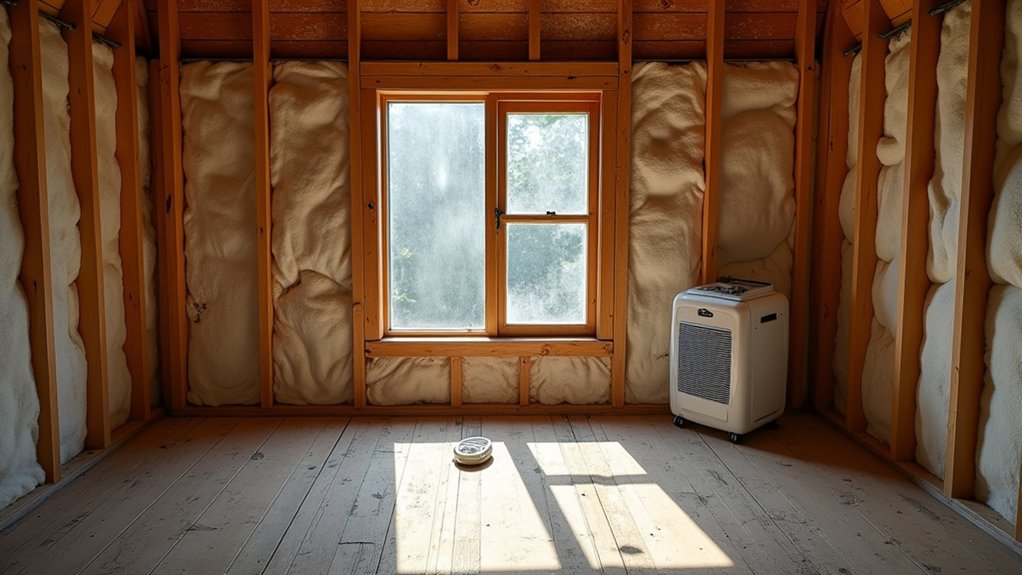
Although a shepherd’s hut was built to breathe—draughts slipping through tongued boards, felted joints, and ironwork—you can’t rely on those old leaks after you’ve made the shell tighter for comfort.
Once you insulate, warm air will seek the coldest surface and drop moisture there, so you must plan moisture control, not hope for it.
Choose materials that respect the hut’s movement: wood-fibre board or sheep’s wool between ribs, with a smart vapour check rather than polythene that traps damp against planks.
Keep a small ventilated void behind any new lining where possible.
Use ventilation strategies: a discreet roof vent, trickle vents in restored windows, and low-level inlets under benches to create a gentle stack effect.
Seal gaps deliberately, then vent deliberately.
Add Off-Grid Basics: Heat, Power, and Water
Moisture control and fresh air give you a stable shell; now you can size the off-grid kit to suit a hut that was never meant for mains services.
Start with heat: a small cast-iron or steel stove echoes the hut’s working past, but you’ll need a hearth of slate or quarry tile over calcium-silicate board, plus a twin-wall flue where it passes timber. Add a carbon-monoxide alarm and store fuel in a dry locker.
For solar power, keep it modest: one roof or ground panel, a charge controller, and a LiFePO4 battery in a ventilated, frost-protected box; run LED lights and a phone charger.
For water harvesting, fit gutters to the eaves, filter first-flush, then store in food-grade containers and treat before drinking.
Plan a Small Layout That Feels Spacious
Because a shepherd’s hut was built to move and work, you’ll get the most spacious feel by keeping the centreline clear and pushing the heavy pieces to the long walls.
Start your Furniture arrangement with a fixed bench-bed along one side, echoing the bunk-and-box layouts used by drovers; build storage under the seat so you don’t need freestanding chests.
Place a narrow table on the opposite wall with folding leaves, and choose wall-hung shelves rather than deep cupboards that steal shoulder room.
Keep circulation at least a boot’s width past doors and the stove.
Use a restrained Color palette: limewashed whites, ochres, and soot-grey accents that suit timber and ironwork.
Mirror light with brass hooks and glazed tiles.
Finish It Without Losing the Original Charm
Once you’ve kept the centreline open and let built-ins do the heavy lifting, the finish work should protect that hard-won sense of space while still reading as a working hut.
Start by stripping only what’s failing: keep sound tongue-and-groove, scrub it, and oil with breathable linseed or hardwax to preserve Vintage charm. Patch with matching boards, not sheet goods, and hide fasteners with cut nails where they’ll read period-correct.
For walls, choose limewash or clay paint so moisture can move; it softens light without plastic sheen.
Seal drafts with wool felt and brush strips rather than foam, and repair windows with putty and slim-profile glazing.
Add Modern comfort through cork underfoot, a small woodstove shielded by slate, and warm, low-glare LED lantern fixtures.
Frequently Asked Questions
How Do You Insure an Old Shepherd’s Hut After Renovation?
You insure your renovated shepherd’s hut by documenting materials, joinery, and historic preservation work, then shopping specialist insurance policies. Get a surveyor’s report, photos, receipts, and agreed value; disclose woodstove, wiring upgrades.
What’s the Best Way to Deter Rodents and Insects Year-Round?
Seal gaps with lime mortar, fit metal mesh over vents, store food airtight, and keep vegetation back. Practice Pest prevention with snap traps and Seasonal treatments: borate dust, diatomaceous earth, and periodic inspections of timber and underfloor.
Can You Rent Out a Restored Hut Legally as a Short-Stay Let?
You can, but it’s a legal minefield: check Historic regulations and zoning restrictions first. You’ll need fire safety, insurance, and sanitation. Use breathable lime plaster, sheep’s wool insulation, and certify electrics.
How Do You Transport and Store the Hut Safely in Winter?
You transport it on a low-loader, bracing the frame, padding ironwork, and tarping joints. You store it on blocks, under a ventilated cover, desiccants inside, for Historical preservation and Material restoration all winter.
What Ongoing Maintenance Schedule Keeps a Hut in Good Condition?
Like a watch you keep wound, you’ll inspect monthly for leaks, rot, and pests; clean gutters seasonally; repaint or re-oil yearly; check fasteners biannually. For Historical restoration, match Material selection, and document repairs and treatments.