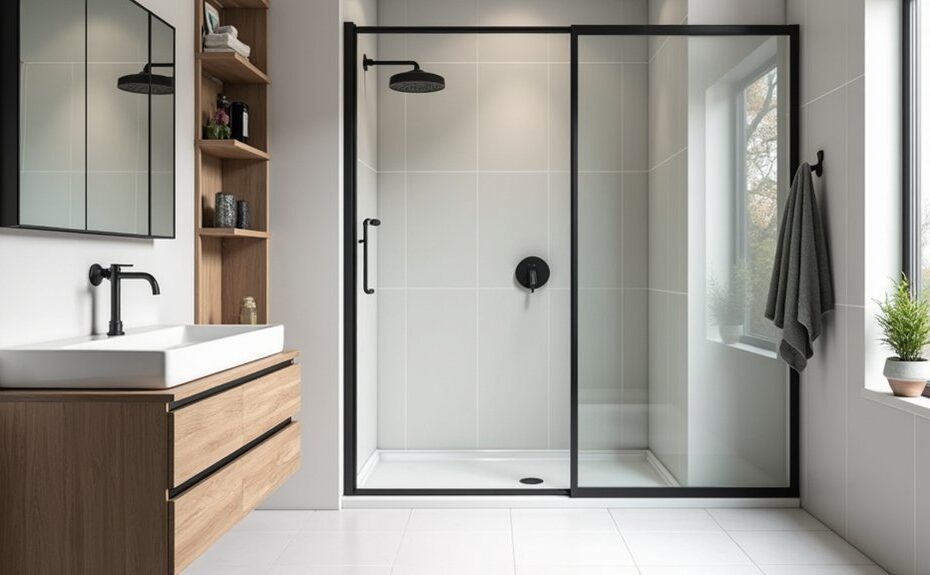
If your bathroom feels tight, you can improve function fast by starting with clearances and code-required access around the toilet, sink, and shower. Then you’ll reclaim space with vertical storage, a wall-mounted vanity, and compact fixtures that keep traffic paths open. Layered lighting and a larger mirror reduce shadows and make tasks easier, while sealed, easy-clean surfaces cut moisture issues. Next, you’ll want to decide which upgrades earn the inches that matter most…
Key Takeaways
- Map the room and verify code clearances before changing fixtures to avoid cramped layouts and unserviceable plumbing runs.
- Choose space-saving fixtures like wall-mounted vanities, wall-hung toilets, compact sinks, and slim hardware to open walkways.
- Add vertical storage with stud-anchored over-toilet shelving, wall shelves, and over-door organizers, using labeled bins to control clutter.
- Improve light and perceived space with layered LED lighting, dimmers, and a large mirror wider than the sink to bounce light.
- Upgrade the shower with low-threshold or corner designs, sliding doors, large-format nonporous surfaces, and fully sealed penetrations for easier cleaning.
Measure Clearances and Set Small Bathroom Priorities
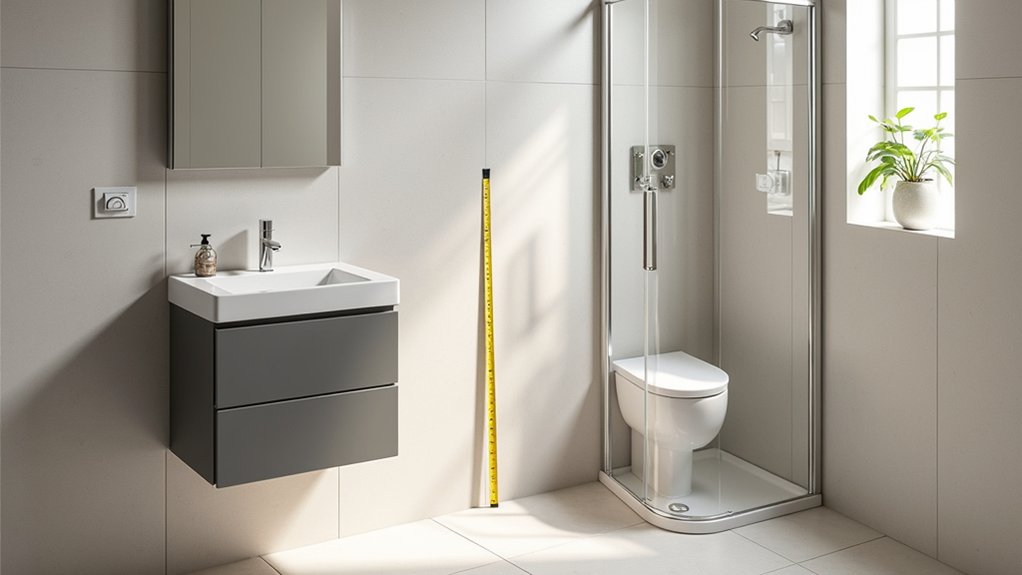
Before you buy fixtures or start moving plumbing, measure your small bathroom’s clearances and decide what matters most. Start with space measurement: record room length/width, door swing, and window locations.
Verify code minimums—typically 21 inches of clear floor space in front of a toilet, sink, and shower/tub; 15 inches from toilet centerline to side walls/fixtures; and a 30-inch-wide by 48-inch-deep clear floor area at the lavatory.
Map the wet wall, vent stack, and shutoffs so you don’t create unserviceable runs.
Then do priority planning: rank upgrades by impact (storage, shower comfort, lighting, ventilation) and by disruption (surface swap vs. plumbing move).
Choose fixtures that fit your measured envelope, not wishful dimensions.
Add Vertical Storage (Over-Toilet, Wall, Door)
Use vertical storage to free floor area while keeping required clearances around fixtures.
Install an over-toilet shelf unit that anchors to studs and sits clear of the tank lid and water shutoff, so you keep service access.
Add wall-mounted shelves and over-door organizers for towels and toiletries, and mount them high enough to avoid door swing conflicts and head bumps.
Over-Toilet Shelving Solutions
Because floor space disappears fast in a small bath, over-toilet shelving lets you add real storage without narrowing your walkway. Choose a unit that clears the tank lid and supply line, and anchor it to studs with corrosion-resistant fasteners to prevent tipping.
Keep the lowest shelf high enough for comfortable access and to avoid bumping your head when you stand. Use sealed wood, powder-coated metal, or PVC so humidity won’t warp shelves.
Store daily items in labeled bins, and keep chemicals in a lidded container, out of reach.
Add Decorative accents sparingly—one plant, a tray—so it doesn’t look cluttered.
For lighting enhancements, mount a damp-rated puck light under a shelf to brighten the toilet zone without glare.
Wall And Door Organizers
When your vanity and drawers can’t keep up, wall and door organizers add vertical storage without stealing precious floor clearance. Mount slim shelves or caddies on studs with corrosion-resistant screws, and keep them outside shower spray zones.
If you rent, use over-the-door racks with padded hooks so you don’t damage trim or block latch operation. Maintain required door swing and don’t obstruct grab bars, GFCI outlets, or ventilation controls.
Choose closed bins for toiletries and open rails for towels so items dry fast. Place frequently used tools between shoulder and hip height to reduce strain.
Tie hardware, baskets, and labels to your color schemes, and add decorative accents like matching metal finishes or woven textures for a tidy look.
Install a Wall-Mounted Vanity to Open Floor Space
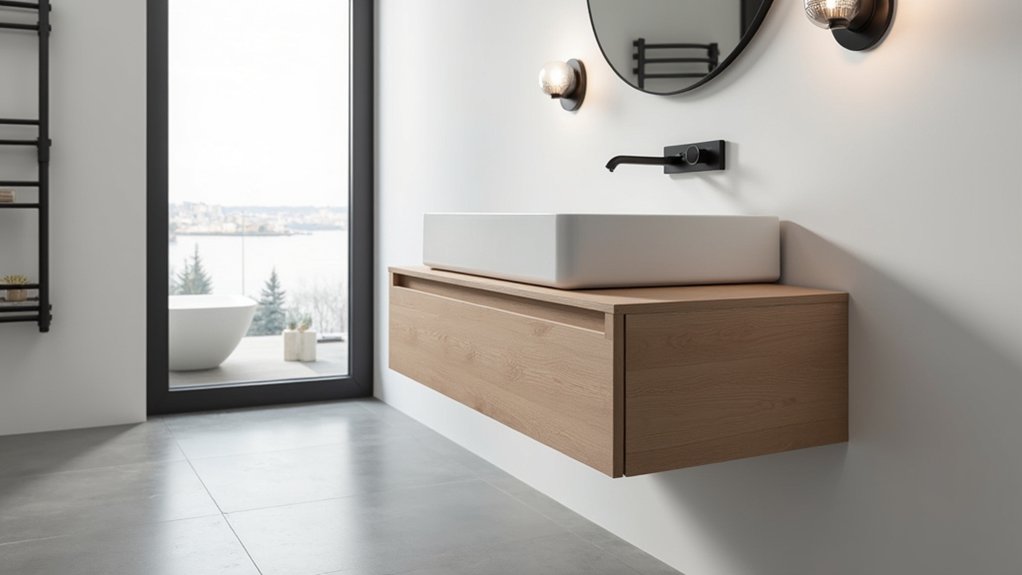
Although a standard vanity can visually and physically crowd a tight bathroom, a wall-mounted model lifts the cabinet off the floor to create clear sightlines and usable toe space. You’ll gain Floor clearance for easier mopping and a lighter, less boxed-in feel.
Anchor the Wall mounted vanity to studs or solid blocking, and follow the manufacturer’s load rating. Place the drain and supplies to maintain required trap-arm slope and shutoff access, and keep all penetrations sealed.
Confirm you’re not reducing required clearances at the door swing or in front of fixtures, and don’t encroach on electrical or plumbing zones. Add a slim backsplash and caulked joints to protect the wall, and use a removable access panel for serviceability.
Pick Space-Saving Toilets, Sinks, and Hardware
Choose a wall-hung toilet to clear floor area and simplify cleaning, but you’ll need an in-wall carrier rated for the load and installed per local code.
Pair it with a compact sink—corner, pedestal, or wall-mount—and confirm rim height, faucet reach, and drain location keep your clearances compliant.
Finish with slim-profile hardware and fixtures that don’t project into the walkway, and keep shutoff access and service panels reachable.
Wall-Hung Toilets
Because every inch matters in a compact bath, a wall-hung toilet frees up valuable floor area while keeping clearances easier to meet. Your Toilet design choices can also improve cleaning access, since you’ll mop under the bowl and keep baseboards unobstructed.
Specify a carrier rated for the required load, and anchor it to framing per the manufacturer’s listing to maintain code-compliant support.
With Wall mounted installation, confirm rough-in dimensions, venting, and supply placement before closing the wall, and keep the shutoff reachable through the flush-plate access panel.
Set bowl height to meet comfort and accessibility goals, and verify the required centerline and front clearance at layout.
Choose a dual-flush actuator to reduce water use without sacrificing performance.
Compact Sinks And Fixtures
When you’re working with a tight floor plan, compact sinks and fixtures let you keep required clearances while gaining usable counter and circulation space. Choose a wall-mounted or corner sink with a shallow basin and narrow deck, and pair it with a single-handle faucet to reduce reach and simplify cleaning.
Specify compact plumbing: a slim trap, offset drain, and tight supply routing that stays accessible for service. For toilets, consider a short-projection bowl or in-wall tank system where allowed, and confirm rough-in, venting, and shutoff access meet local code.
Swap bulky towel bars for hooks, and use recessed medicine cabinets to keep pathways clear. Prioritize fixture durability with solid brass valves, quality finishes, and water-efficient certifications.
Upgrade Small Bathroom Lighting and Add a Bigger Mirror
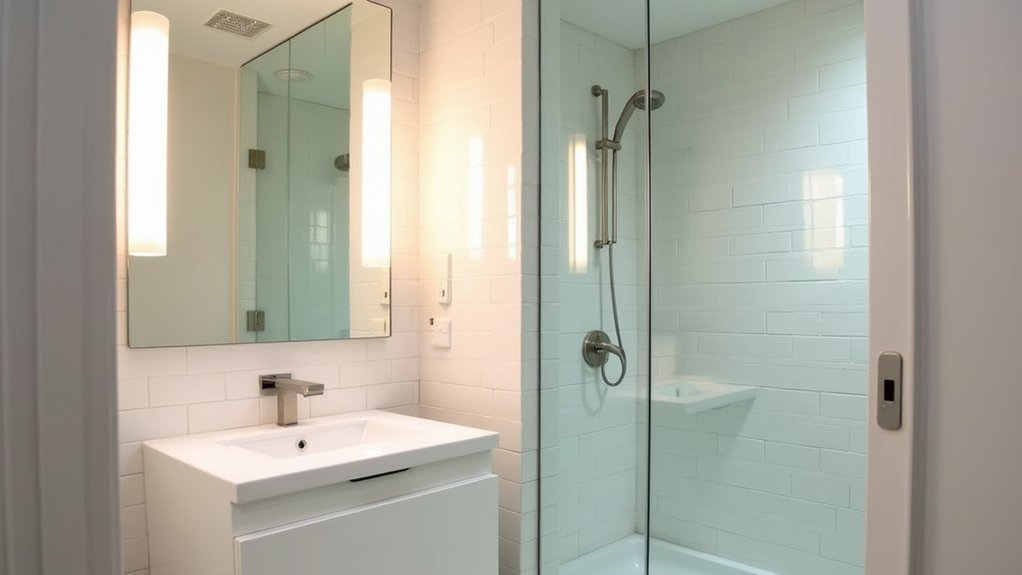
Two upgrades can make a small bathroom feel instantly larger: better lighting and a bigger mirror.
Start with a layered Lighting design: a damp-rated ceiling fixture for ambient light, plus vertical sconces at eye level to reduce shadows at the vanity. Choose LED lamps (2700–3000K) with high CRI for accurate color and lower energy use. Put fixtures on a wall switch and consider a dimmer rated for LED loads, following local code.
Next, improve Mirror placement. Go wider than the sink, or extend to the wall edges to bounce light and expand sightlines. Mount the mirror so the center lands near eye height and keep it clear of outlets and switch plates. Seal edges in wet zones.
Choose Small Bathroom Shower Options That Save Space
Three shower choices consistently free up floor area in a small bath: a curbless (or low-threshold) shower with a linear drain, a neo-angle or corner enclosure, and a compact tub-to-shower conversion with a sliding or bi-fold door.
You’ll gain the most usable space when you keep the opening tight and the spray zone contained. Use a frameless panel or pivot door only if you’ve got clear swing space; otherwise, pick sliding or bi-fold shower door types to avoid door conflicts.
For curtain alternatives, consider a fixed glass screen with a return panel, or a trackless half-glass that meets splash requirements.
Keep curb heights and drain slopes within local code, maintain required clearances, and anchor blocking for grab bars even if you won’t install them yet.
Use Easy-Clean Surfaces for a Low-Maintenance Bathroom
Even if your bathroom’s footprint stays the same, you can cut weekly scrubbing time by choosing nonporous, seam-minimizing surfaces that shed water and resist soap scum. Specify large-format Non porous tiles and reduce grout lines; use epoxy grout where permitted for stain resistance.
Slope shower floors to the drain per code, and keep progressions flush to prevent mildew traps.
Pick Durable countertops like quartz or solid-surface with an integral backsplash, tight wall seals, and an undermount sink so crumbs and water can’t collect at edges.
Choose a single-piece fiberglass/acrylic shower pan or wall panels rated for wet areas, and seal penetrations with approved silicone.
Add a smooth, semi-gloss washable paint on properly primed drywall outside wet zones, and you’ll wipe clean fast.
Frequently Asked Questions
What Permits Are Required for Small Bathroom Renovations in My Area?
You’ll typically need building, plumbing, electrical, and sometimes mechanical permits; cosmetic-only work often doesn’t. Check your city/county Building codes and permit process, especially for moving walls, fixtures, wiring, or adding ventilation.
How Can I Improve Bathroom Ventilation Without Major Ductwork Changes?
Like a steady breath, you’ll clear steam fast: choose exhaust fan installation with a short, insulated vent to exterior or existing chase, meet local code. Add window ventilation options—operable sash, trickle vent, humidity sensor.
What Are Budget-Friendly Upgrades That Still Boost Resale Value?
Choose Eco friendly fixtures and Modern lighting; you’ll add value fast. You can also replace hardware, refresh caulk/grout, install a quality mirror, and use GFCI outlets and damp-rated luminaires to stay code-compliant.
How Long Does a Typical Small Bathroom Upgrade Project Take?
A typical small bathroom upgrade takes 3–10 days; permit-heavy work can stretch to 2–4 weeks. You’ll finish faster if you stick to Lighting improvements, prefabricated Storage solutions, and code-compliant fixture swaps.
Can I Make a Small Bathroom More Accessible for Aging in Place?
Yes—you can make it safer as a fortress overnight: prioritize grab bar installation into studs/blocking, add non slip flooring (R10+), widen clearances, use a curbless shower, comfort-height toilet, lever handles, and bright layered lighting.