
If you’ve ever caught your sock on a loose stair runner during a late-night trip to the kitchen, you already know a staircase upgrade is about safety first. You’ll start by setting a budget, checking tread and riser condition, and confirming what local codes require for lighting and guard height. Then you can choose a hard-wearing carpet, add glare-free step lighting, and update balustrades for a tighter grip—but one choice you make early will determine how smooth the rest goes…
Key Takeaways
- Plan budget, permits, and code compliance; inspect tread, riser, landing, and headroom conditions before starting demolition.
- Repair structural issues first: eliminate squeaks, replace rot, tighten fasteners, and correct uneven risers for safe, consistent stair geometry.
- Choose a durable stair carpet (runner or full cover) with dense, low-pile fiber and stair-rated padding; install tightly to prevent ripples and slips.
- Add stair lighting that evenly illuminates each tread; use listed fixtures, safe wiring routes, and test at night to eliminate shadows and glare.
- Upgrade balustrades to meet safety rules on handrail height and baluster spacing; anchor posts securely and ensure a continuous, graspable handrail.
Plan Your Staircase Upgrade (Budget + Safety)
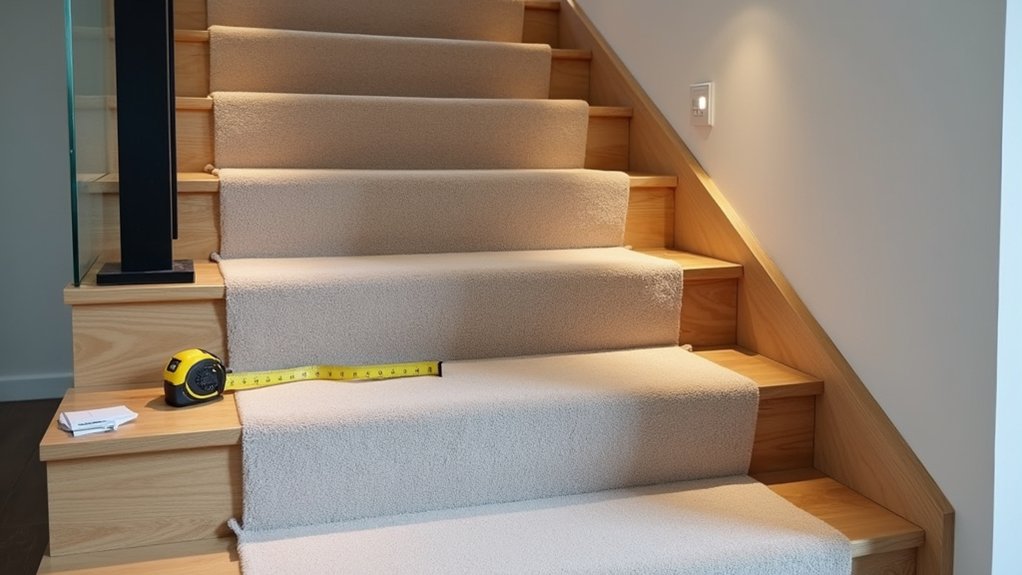
Before you pick out treads, railings, or paint colors, map out your staircase upgrade with a clear budget and a safety checklist. List must-haves (handrail height, baluster spacing, non-slip nosings, lighting levels) and note local code requirements. Price labor, permits, disposal, and contingency (10–15%) so you don’t stall mid-project.
Confirm your staircase material condition—check for squeaks, rot, loose fasteners, and uneven riser heights—and decide what you’ll repair versus replace. Document measurements, landing dimensions, and headroom to avoid ordering mistakes.
Build a renovation timeline that sequences demolition, structural fixes, electrical work, finishing, and inspections, with buffer days for drying/curing. Protect adjacent floors, block off access, and plan safe temporary routing for everyone.
Pick a Staircase Carpet: Runner vs Full Cover
When you pick staircase carpet, you’ll usually choose a runner that leaves wood showing on the sides or a full wall-to-wall cover that cushions every tread.
Compare durability by checking fiber type, pile height, and backing.
Prioritize safety with secure installation, tight edges, and a slip-resistant underlay on every step.
Then match the look—color, pattern, and texture—to your trim and lighting so the stairs feel intentional, not busy.
Runner Vs Wall-To-Wall
How do you decide between a stair runner and wall-to-wall carpet without sacrificing safety or style? Start by measuring tread width and the clear walking line. A runner leaves borders of wood visible, so you’ll need consistent centering and equal side reveals on every step to prevent visual “drift.”
Wall-to-wall hides edges, which can simplify alignment on narrow or winding stairs.
Next, match the look to your staircase details. Runners let you highlight timber nosings and pair well with decorative patterns that draw the eye upward. Full cover gives a seamless field of color that coordinates easily with landings and upstairs hallways.
Finally, plan installation. Runners typically need rods or precise stapling; wall-to-wall needs tight wrapping at risers and neat seams at turns.
Durability, Safety, And Style
Although both a runner and full carpet can look polished, durability and safety come down to the fiber, pile height, and traction you choose—not just the layout. For busy stairs, pick solution-dyed nylon or wool blends; they resist crushing and clean well. Keep pile low and dense so toes don’t catch and edges don’t curl.
If you choose a runner, you’ll need a quality pad and firm stair rods or tackless installation to prevent shifting; add non-slip underlay at landings.
With full cover, insist on tight stretching over nosings and secure staples underneath to stop ripples.
For aesthetic enhancement, match pattern scale to tread depth and avoid high-contrast stripes that disguise step edges.
Smart material selection also means choosing stain resistance and fire-rated padding.
Stair Carpet Tips for Pets and Heavy Traffic
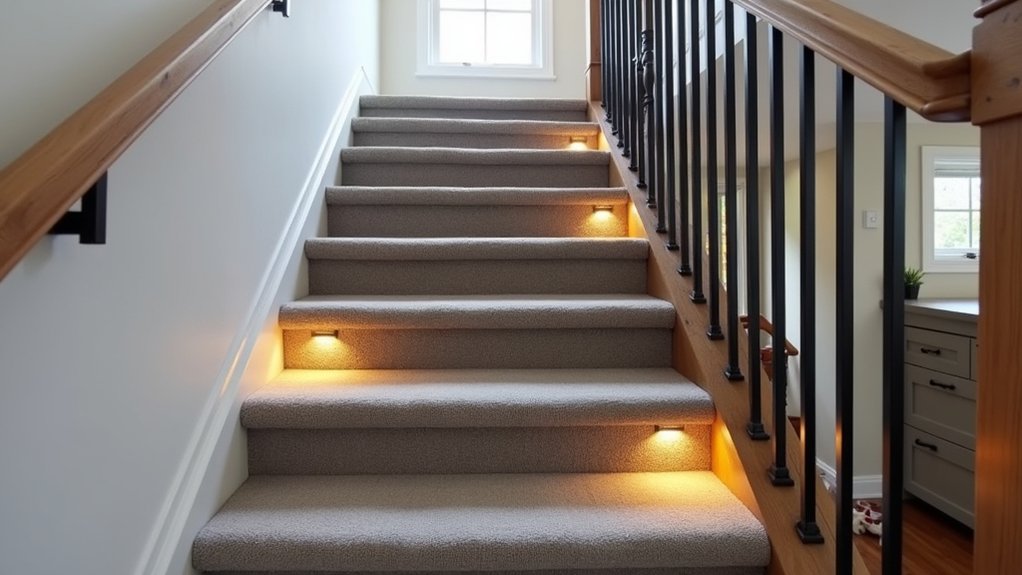
Because stairs take a constant beating from claws, paws, and daily foot traffic, you’ll get the best results by choosing carpet that prioritizes durability and grip over softness. Look for low-pile, tightly twisted fibers that resist crushing and won’t snag easily. Nylon and solution-dyed polyester are pet friendly materials that handle stains and fading.
Avoid loose loop berbers that can catch nails. For heavy traffic solutions, choose a dense pad rated for stairs to reduce slippage and protect treads, but don’t go overly thick or it’ll feel unstable. Specify a textured or patterned carpet to hide dirt and wear lines, and select a mid-tone color that masks paw prints.
Keep traction high by vacuuming often and trimming pet nails regularly too.
Fit Stair Carpet Safely (DIY vs Pro Options)
Before you cut a single strip of carpet, decide whether you’ll DIY the install or bring in a pro, since stair work leaves little room for error and a sloppy fit can create trip hazards.
If you DIY, measure every tread and riser individually, label pieces, and dry-fit before stapling. Use Carpet installation tools: knee kicker, stair tool, sharp blades, tack strips, and a heavy-duty stapler; dull knives cause ragged edges. Keep your hands clear, wear eye protection, and set staples into the nosing so they can’t snag socks.
Check subfloor squeaks and fix them first. Hire a pro if stairs are winding, you need pattern matching for Staircase aesthetics, or you’re unsure about tack strip placement. Ask for seams away from traffic lines.
Add Staircase Lighting (Placement + Wiring Choices)
You’ll get the safest, cleanest stair lighting when you place fixtures to wash each tread evenly—typically low on the wall, in risers, or under the handrail to cut shadows and glare.
You should choose wiring that matches your setup: hardwired step lights on a dedicated, properly protected circuit, or low-voltage LED strips with a listed driver and accessible junction box.
If you’re routing new cable, you can’t skip securing it in-wall, keeping it clear of stair fasteners, and shutting off power at the breaker before any connections.
Optimal Light Placement
Even if your staircase looks fine in daylight, smart lighting placement makes it safer at night and reduces glare that can hide tread edges. Start with Ambient illumination from a ceiling fixture or upper landing light, aimed down the run so each tread reads clearly. Keep fixtures out of direct sightlines from the bottom to prevent harsh hotspots.
Layer in accent lighting at ankle height: wall lights spaced every 2–3 treads, or step lights centered on each riser to outline depth. If you’ve got a turn, place a light before and after the winder or landing so the change in direction is obvious.
Add a night-level option near bedrooms. Test placement by walking the stairs in socks and checking for shadows on nosings.
Safe Wiring Options
Where should the wiring run so your stair lights stay safe and serviceable? Route cables through the wall stringer or beneath the tread nosing, not across open risers where shoes and vacuums snag them.
Keep low-voltage leads separate from mains, and use a listed driver in a ventilated, accessible cupboard.
If you must run mains, protect it in conduit, maintain required clearances from balustrade fixings, and avoid drilling structural members without advice.
Terminate connections in junction boxes with strain relief, and leave a pull cord or slack loop for future replacements.
Choose fixtures and drivers with clear safety certifications, and match IP ratings to cleaning splash zones.
For retrofits, consider wireless lighting to reduce chasing, but still secure batteries and follow manufacturer limits.
Always isolate circuits and test before closing up.
Update Balustrades and Match Your Finishes
How much impact can a simple balustrade change make? A lot—you’ll alter sightlines, improve grip, and boost safety fast. Start by checking height, spacing, and rigidity; don’t accept wobble or gaps that could trap a child.
Choose Balustrade materials that suit traffic and maintenance: powder-coated steel for durability, oak for warmth, glass for light but with laminated safety panels and secure clamps.
Then focus on Finishes matching so the staircase looks intentional. Repeat one metal tone across handrail brackets, newel caps, and light fittings, and match timber stain to nearby flooring. Keep sheen consistent to hide wear.
If you repaint, use hard-wearing trim enamel and sand between coats. Always follow local code and fix into solid framing.
Frequently Asked Questions
Do I Need Building Permits to Change Stair Lighting or Balustrades?
You often need permits if you alter stair wiring or replace balustrades, since Building codes and permit requirements apply. You should check your local building department, especially if you change heights, spacing, or circuits.
How Long Will My Staircase Be Out of Use During Installation?
You’ll feel like your stairs vanish overnight, but you’ll usually lose access for 1–3 days, depending on staircase material and installation timeline. You’ll schedule work in phases, keep a temporary route, and block hazards.
Can I Upgrade Stairs in a Rental Without Damaging Existing Finishes?
Yes, you can by using non-permanent stair treads, clamp-on balusters, and plug-in lighting. You’ll follow Temporary rental agreements and damage deposit policies, avoid adhesives, protect edges, and keep steps slip-resistant, well-lit.
What Cleaning Products Are Safe for Stair Carpets and Wood Trim?
You can use pH-neutral carpet shampoo or enzyme Carpet cleaning spray, plus mild dish soap and water. For Wood trim maintenance, choose diluted soap, microfiber cloths, and low-VOC polish. You shouldn’t use bleach or ammonia.
How Do I Reduce Noise and Squeaks While Upgrading the Staircase?
You’ll reduce noise by tightening fasteners, adding construction adhesive, and inserting shims for squeak prevention methods. Use underlayment, acoustic mats, and caulk gaps as soundproofing techniques. Wear eye protection, and shut off power.