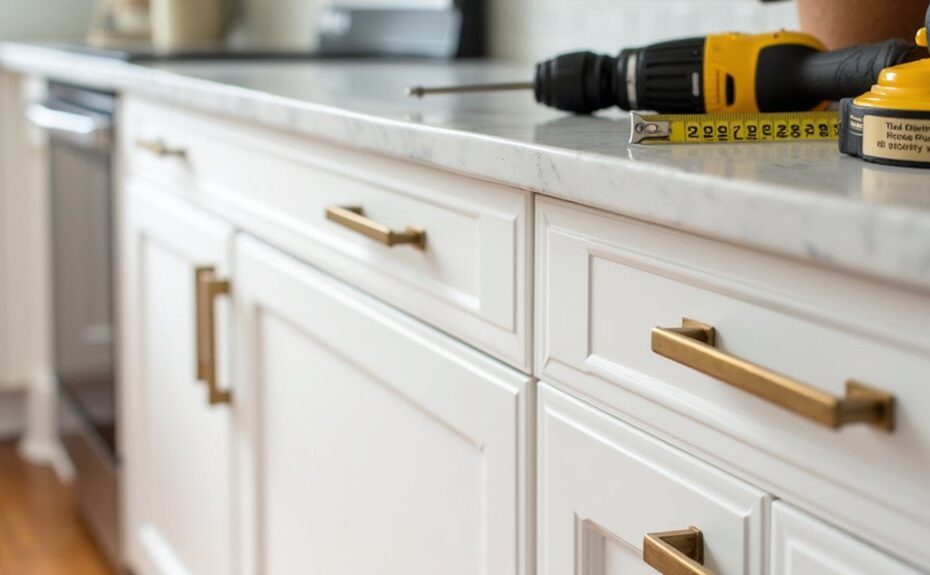
Coincidentally, the day you notice your kitchen feels dated is the day you realize the boxes are still solid. You can keep the layout and upgrade the look by swapping fronts and hardware with careful overlay choices, consistent reveals, and finishes that respect your floor tone and trim. Measure for out-of-square runs, plan hinge specs, and set a hardware datum with a jig—then you’ll see why the next step matters.
Key Takeaways
- Inspect cabinet boxes for sagging, water damage, and loose hinges; refacing won’t fix structural problems.
- Choose overlay and door style (Shaker, slab, raised-panel) to match your kitchen scale and desired modern or traditional look.
- Measure each opening in three spots and record the smallest; plan consistent reveals for doors and drawer-front grid alignment.
- Install doors to a level reference line, then fine-tune gaps with hinge micro-adjustments; shim only when boxes are out of plane.
- Standardize hardware placement using a jig or story stick; drill with a brad-point bit and test on a sample to avoid chip-out.
Decide If Cabinet Refacing Fits Your Kitchen
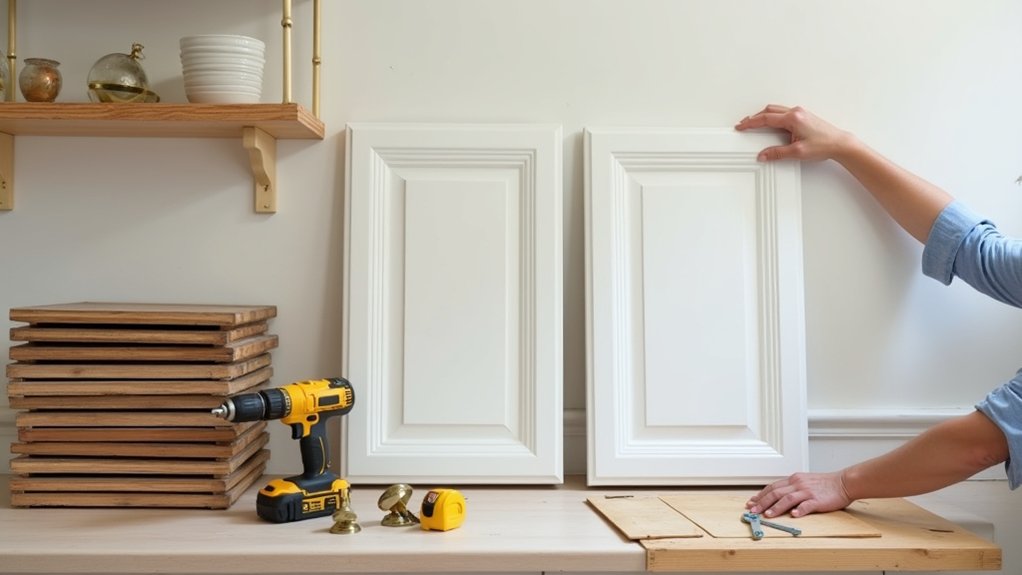
Before you commit to a full remodel, take a hard look at your existing cabinet boxes, layout, and clearances to see whether refacing will deliver the upgrade you want. If your kitchen layout functions well—good landing zones by the sink and range, doors don’t clash, and drawers clear appliances—refacing lets you keep the footprint while rejuvenating visible surfaces.
Inspect box sides for sagging, water damage, or blown particleboard; refacing won’t fix structural failures. Check face-frame or frameless construction, hinge screw bite, and whether end panels can accept new skins cleanly. Confirm toe-kick height, filler strips at walls, and appliance reveals so gaps stay consistent.
For budget considerations, compare refacing plus new hardware to the cost of new boxes, drywall, and flooring disruption.
Choose Cabinet Fronts: Overlay, Style, Finish
Once you’ve confirmed your existing boxes and layout are worth keeping, the cabinet fronts become the main driver of how updated the kitchen will feel. Start by choosing overlay: partial overlay shows more frame and feels traditional; full overlay tightens reveals for a cleaner, more contemporary plane and can visually widen narrow runs.
Next, lock in style and proportions. Shaker reads versatile and crisp; slab suits minimal spaces; raised-panel adds depth but can crowd small kitchens. Keep rail and stile widths consistent across door sizes so the elevation looks intentional.
Finally, pick finish and cabinet material to match wear and light. Paint hides mismatched wood; stained veneer highlights grain; thermofoil wipes clean. Maintain design consistency with adjacent trim, flooring tone, and your hardware finish.
Measure Cabinet Doors and Drawer Fronts to Order
How do you make new cabinet fronts look factory-fit instead of “close enough”? You measure like a cabinet shop.
Start by confirming your overlay choice, then map every opening in a simple elevation sketch. Measure each cabinet box width and height in three spots (top/middle/bottom; left/center/right) and record the smallest number to prevent binding.
Note any out-of-square conditions and face-frame lips. For drawer fronts, measure the drawer opening, then plan consistent gaps between fronts and around perimeter for a clean grid.
Specify thickness and edge profile so hardware pulls sit flat and proportions match your color schemes.
Build a cut list by room zone to minimize mistakes and support budget considerations. Double-check everything before ordering.
Install and Align Cabinet Fronts (Hinges and Reveals)
Because clean reveals do more for a kitchen’s “factory-fit” look than any paint color, you’ll treat cabinet-front installation like a layout job: set hinge plates consistently, hang each door to a reference line, and tune the gaps with micro-adjustments instead of forcing alignment.
Start with one “master” door on the most visible run, then use it to establish a level datum across the bank. Shim hinge plates only when the box is out of plane; otherwise rely on Hinge adjustment to control height, side-to-side, and in/out.
Close each door and read the shadow lines, aiming for uniform Reveal alignment at stiles, rails, and between paired doors.
For drawer fronts, clamp to spacers, drive temporary screws, check parallel lines, then fasten permanently. Recheck after settling.
Plan Hardware Placement and Drill Clean, Consistent Holes
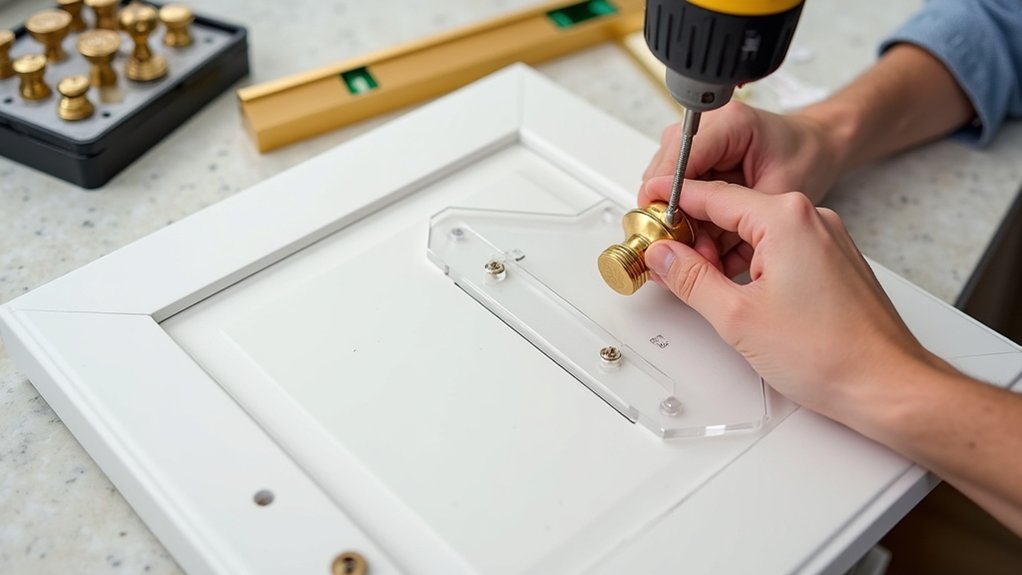
Before you pick up a drill, lock in a hardware layout that respects the cabinet geometry and your daily workflow: choose a consistent pull length and centerline, decide whether you’ll align knobs to stile/rail intersections or a fixed offset, and mark every door and drawer front from a single reference edge.
Build a simple story stick or use a commercial jig so your hardware arrangement repeats across the room, even on mixed sizes.
Blue-tape the drill points to reduce chipping on painted MDF or veneered fronts, then knife a tiny cross to keep the bit from skating.
Use a brad-point bit, drill from the face, and back up the exit side with scrap to prevent blowout.
Check one sample first; drilling precision depends on that test.
Frequently Asked Questions
How Long Will New Cabinet Fronts and Hardware Typically Last?
You’ll typically get 15–25 years from new fronts and 10–20 years from hardware lifespan. Cabinet material durability depends on finish, moisture control, and hinges. You’ll extend life with aligned reveals, quality pulls.
Can I Match New Fronts to Existing Cabinet Boxes and Trim?
Yes, you can, like tailoring a suit to a familiar frame. You’ll check box dimensions, overlay reveals, and trim profiles, then prioritize matching styles and color coordination using veneer, paint sheen, and grain direction.
What’s the Best Way to Clean and Maintain New Cabinet Finishes?
You’ll keep finishes best by using gentle Cabinet cleaning: microfiber cloth, warm water, pH-neutral soap; dry immediately. Avoid abrasives and ammonia. For Hardware maintenance, tighten screws, wipe oils, and wax lacquered pulls annually.
Do I Need Permits or HOA Approval for Cabinet Refacing Updates?
You usually don’t need permits for cabinet refacing, but check local Permit requirements if you alter plumbing, electrical, or walls. Get HOA approvals for exterior-visible changes. Match panel thickness, hinge boring, clearances, and finish spec.
What’s the Average Cost Range for Refacing a Standard Kitchen?
You’ll typically spend $4,000–$15,000 to reface a standard kitchen; like swapping a stage set, prices shift with Cabinet style, box repairs, and Hardware materials. Plan filler panels, toe-kicks, crown, and soft-close hinges.