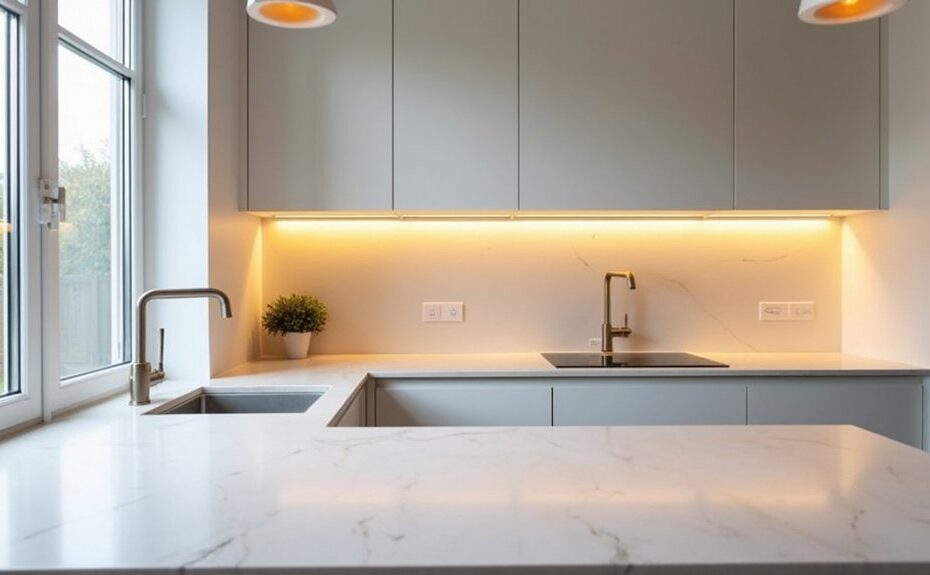
If your kitchen’s starting to show its age, a new worktop and smarter lighting can freshen it up without a full rip-out. You’ll get the best results when you plan around how you cook, pick a surface that suits your wear-and-tear, and match it with layered light: bright task LEDs, softer ambient, and a controlled pendant or two. Before you choose finishes or fixtures, you’ll want to check a few numbers and layout details that make or break the upgrade…
Key Takeaways
- Plan prep, cook, and serve zones, ensuring generous landing space beside the hob, sink, and fridge for smoother workflow.
- Upgrade to durable, modern worktops like quartz or sintered stone, and choose matte or honed finishes to reduce glare and fingerprints.
- Add layered lighting: front-mounted under-cabinet LEDs for tasks, pendants for visual focus, and warm ambient lighting for overall comfort.
- Match colour temperature and fittings to materials, using warmer whites with wood tones and neutral whites with concrete or dark worktops.
- Budget for cut-outs, tap holes, drivers, dimmers, and electrician work, and include a 10–15% contingency for installation surprises.
Plan Your Kitchen Worktops and Lighting Around Cooking
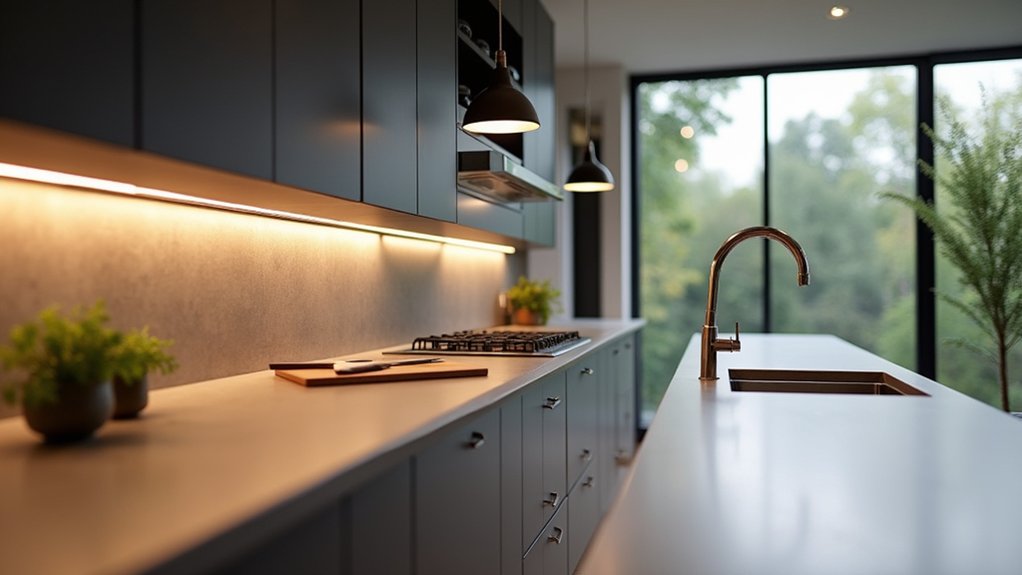
If you plan your worktops and lighting around how you actually cook, your kitchen instantly feels more modern and effortless to use. Start by mapping your prep, cook, and serve zones.
Then size worktops so you’ve got landing space beside the hob, sink, and fridge. Put tougher surfaces where you chop and hot-pan, and use Sustainable materials like recycled quartz or FSC wood in lower-wear areas.
Layer lighting: bright, shadow-free task LEDs over prep runs, glare-controlled pendants over an island, and warm ambient light for evenings.
Add Smart technology with motion-sensor under-cabinet strips and dimmable scenes you can trigger by voice, so you see clearly when cooking and soften the mood when dining.
Test sightlines and avoid fixtures blocking cabinets.
Set a Realistic Budget for Worktops and Lighting
Where should your money go first when modernising a kitchen—worktops or lighting? Start by pricing the non-negotiables: worktop material, sink cut-outs, tap holes, and fitting. Then layer in lighting fixtures, drivers, dimmers, and electrician time. Aim for a 10–15% contingency for surprises like uneven walls or extra wiring runs.
Compare quotes on supply-only versus supply-and-fit, and ask what’s included: templating, edging, removal, disposal, and sealing. For lighting, prioritise task zones first, then add ambient layers if budget allows. Choose cost-effective options like laminate upgrades, compact laminate, or standard-size LED fittings.
Build in sustainability considerations by selecting certified timber substrates, recycled-content surfaces, and long-life, low-watt LEDs to cut running costs.
Choose a Worktop Look: Colour, Edge, Finish
Before you commit to a material, lock in the worktop’s *look*—colour, edge profile, and finish—because these three choices set the tone of the whole kitchen and affect how forgiving the surface is day to day.
For colour, sample large swatches in your lighting: pale tones brighten, mid-greys hide crumbs, and deep hues add drama but show dust. Match undertones to cabinets (warm with warm, cool with cool) for a modern, calm feel and Aesthetic versatility.
Choose an edge that fits your style and cleaning habits: square edges read contemporary; eased edges soften knocks; thicker builds feel premium.
Pick finish with Material durability in mind—polished looks sleek but shows smears; matte/honed hides fingerprints; textured adds grip and character.
Compare Kitchen Worktop Materials by Use Case
Now match your worktop material to how you actually use the kitchen, not just the colour and finish you like. If you’re juggling a busy family, you’ll prioritise stain and impact resistance.
If you cook a lot, you’ll focus on heat tolerance, durability, and easy prep.
If you’re upgrading a rental, you’ll want a cost-effective surface that looks current and installs fast.
Next, you’ll compare the best options for each use case so you can spend smart and modernise with confidence.
Best For Busy Families
Ever wonder which worktop material actually keeps up when you’re juggling school runs, rushed breakfasts, and nonstop meal prep? Choose quartz if you want low-maintenance durability: it resists stains, doesn’t need sealing, and wipes clean fast.
If you prefer Eco friendly materials, consider recycled glass or paper composite; both handle splashes well and suit modern, matte trends.
Laminate still wins on budget and endless colours, but pick high-pressure grades to reduce chipping at edges.
Pair any surface with Smart storage: deep drawer organisers, pull-out bins, and a tucked-away charging shelf keep clutter off the top.
Finish with practical lighting—under-cabinet LEDs reduce shadows so you spot spills early, and dimmable pendants make the space feel calmer at night.
Best For Avid Cooks
Although you might love the look of a delicate slab, an avid-cook kitchen needs a worktop that shrugs off heat, knives, acids, and constant wiping without slowing you down. Choose sintered stone or high-grade quartz for stain resistance and easy sanitising; pair it with a stainless-steel prep zone near the hob for hot pans and heavy chopping.
If you want eco friendly materials, consider recycled glass composites or paper-composite worktops, but use boards and trivets to extend their life.
Keep edges slightly eased to reduce chips, and specify a tight, low-profile splashback for quick wipe-downs.
Add Smart storage: deep drawers for pans, vertical tray dividers, and pull-out bin caddies so prep stays efficient.
Layer task LEDs under cabinets to spotlight your chopping line.
Best For Rental Upgrades
If you’re upgrading a rental, you need a worktop that looks current, installs with minimal disruption, and won’t trigger disputes when you move out. Choose overlays and peel-and-stick solutions that cover scratches without ripping out cabinets.
Waterproof vinyl wrap and compact laminate sheets are fast, budget-friendly, and easy to wipe clean. If you can swap tops, go for prefabricated laminate or bamboo: they’re consistent, light, and often available as Eco friendly options with low-VOC finishes.
Avoid porous stone and unfinished wood, since stains and chips can cost your deposit.
Pair your worktop with plug-in LED under-cabinet bars, so you don’t alter wiring.
For vintage styles, pick warm oak tones, brass-effect trim, or terrazzo-look laminate.
Measure Up: What to Do Before Worktop Fitting
Before you order or cut anything, take time to measure your kitchen properly—because a perfect-looking worktop still fails if the numbers are off.
Start with a clear sketch: wall-to-wall runs, depth, and any breaks for hobs, sinks, and tall units.
Measure twice at front and back; walls often bow.
Check corner angles with a bevel or digital angle finder, and note overhangs for seating and door clearance.
Mark appliance and pipe positions, plus required expansion gaps for laminate and timber.
Confirm your substrate is level; pack or plane now, not during fitting.
Choose templates for stone or quartz to protect Material durability.
Plan lifting, supports, and cutout reinforcement for installation safety.
Photograph everything for your fitter and supplier too.
Layer Kitchen Lighting: Task, Ambient, Accent
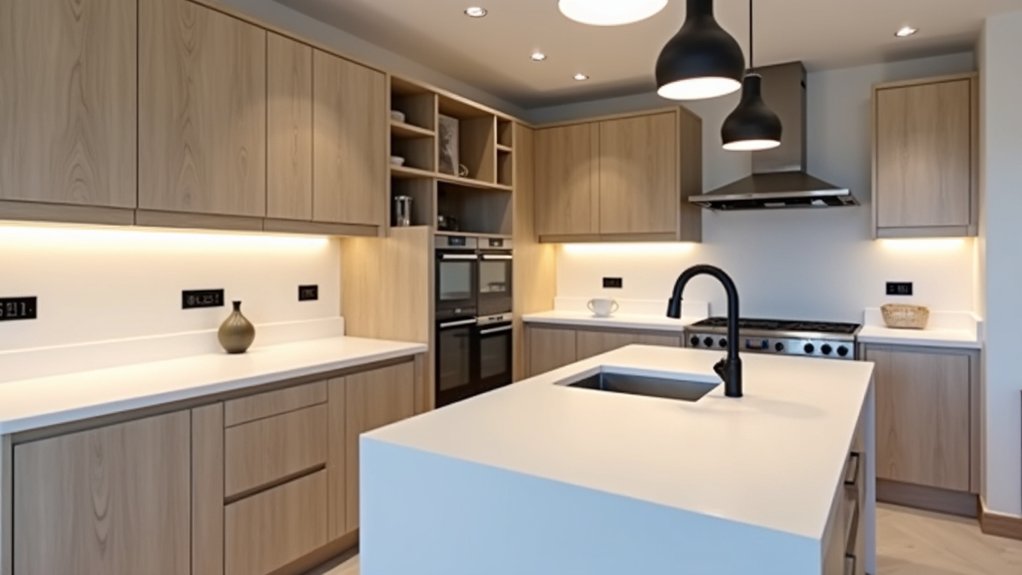
Accurate measurements set your worktops up to fit neatly; now make sure they’re actually pleasant to use by getting the lighting right. Build a three-layer plan so every zone works day and night.
Start with task lighting: run slim LED strips under wall units to eliminate shadows on prep areas, the sink, and the hob. Add a focused pendant over an island if you chop or serve there.
For ambient light, use ceiling downlights or a discreet flush fitting to give even coverage without glare on glossy worktops.
Finish with accent lighting: toe-kick LEDs, shelf spots, or backlit splashbacks to highlight eco-friendly materials like bamboo, recycled glass, or low-iron stone.
Tie it together with Smart home controls so scenes switch instantly for cooking, dining, or cleaning.
Choose Kitchen Lighting: Lumens, Kelvin, IP Ratings
Because great kitchen lighting is as much specification as style, you’ll want to choose fittings by three numbers: lumens (how bright), Kelvin (how warm or cool the light looks), and IP rating (how well it stands up to water and steam).
Aim around 300–500 lux on worktops: typically 700–1,000 lumens per linear metre of under-cabinet LED, with higher output over sinks and hobs.
For Kelvin, pick 2700–3000K if you want a cosy, contemporary glow that flatters timber and stone; go 3500–4000K for a cleaner, modern look that keeps whites crisp.
Check IP: use IP44+ near sinks and in splash zones, and IP65 where fittings face direct spray.
LEDs deliver Energy efficiency without sacrificing aesthetic harmony.
Avoid Common Kitchen Worktop and Lighting Mistakes
Once you’ve nailed the lumen, Kelvin, and IP specs, the next wins come from avoiding the worktop-and-lighting slip-ups that make a new kitchen feel awkward or dated. Don’t choose glossy stone then light it with harsh, cool spots that exaggerate glare and seams; balance beam angles and diffusion to flatter the surface.
Plan Color coordination early: warm metals and oak need warmer white, while concrete-look tops suit neutral whites and darker fittings.
Avoid under-cabinet lights that sit too far back, leaving a shadow line on your prep zone; mount them near the front rail.
Don’t ignore Material durability at edges—silicon mitred or reinforced corners and sealed cut-outs around sinks and hobs to prevent swelling, staining, and heat shock.
Frequently Asked Questions
Do I Need Planning Permission to Change Kitchen Worktops or Lighting?
You usually don’t need planning permission to change kitchen worktops or lighting. You must follow Building regulations for electrical work. Factor Cost considerations like electrician fees and material upgrades, especially for LED trends and safety.
How Disruptive Is Worktop Replacement, and How Long Will the Kitchen Be Unusable?
You’ll face moderate disruption: installers remove old tops, template, then fit new ones; expect 1–3 days total. Your kitchen’s unusable 1–2 days. Budget considerations vary; material durability affects lead times and handling.
Can I Keep My Existing Sink, Hob, and Tap With New Worktops?
Yes, you can often keep your existing sink, hob, and tap with new worktops if measurements match. Check sink compatibility and cut-out templates. You may still need tap replacement for modern profiles or wear.
What Warranties Should I Expect for Worktops and Lighting Products?
You should expect Warranty coverage of 10–25 years for stone/quartz worktops, 2–5 years for laminate, and 2–10 years for lighting fixtures/LED drivers. Check product guarantees, exclusions, registration, and installer workmanship terms.
Who Should Install Kitchen Lighting: Electrician, Kitchen Fitter, or Both?
You should use both: a professional electrician handles wiring, circuit checks, and compliance for lighting installation, while a kitchen fitter mounts fixtures and coordinates cutouts. You’ll get safer results and cleaner, on-trend finishes.