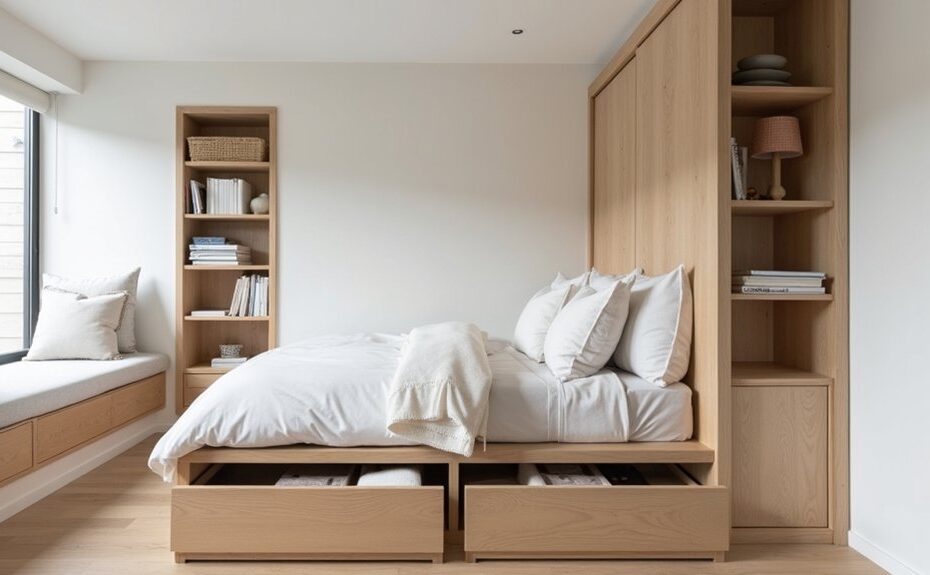
In a 9-by-10 room, one shallow cabinet can feel like stealing a lane from a tight hallway. You don’t have to lose space to gain storage—you just have to place it where the room already “gives” it back. Start by targeting dead zones around doors, behind sofas, under windows, and inside alcoves. Measure swings and clearances, then push units to the ceiling with slim hardware and paint-matched fronts. Next, you’ll decide what stays within arm’s reach…
Key Takeaways
- Target “dead” zones like door surrounds, under windows, and awkward nooks, and run built-ins to the ceiling to maximize vertical storage.
- Tape and measure door swings, trim, and hardware depth to keep units flush and ensure doors and drawers open without clashes.
- Mix closed cabinets below with open shelves above to balance hidden storage, easy access, and a lighter visual footprint.
- Organize by routine: keep daily essentials at eye level, backups higher or deeper, using trays, dividers, hooks, and labeled bins.
- Match cabinetry to wall color or go one shade darker, using integrated pulls and consistent finishes to reduce visual bulk.
Pick the Best Spots for Built-In Storage
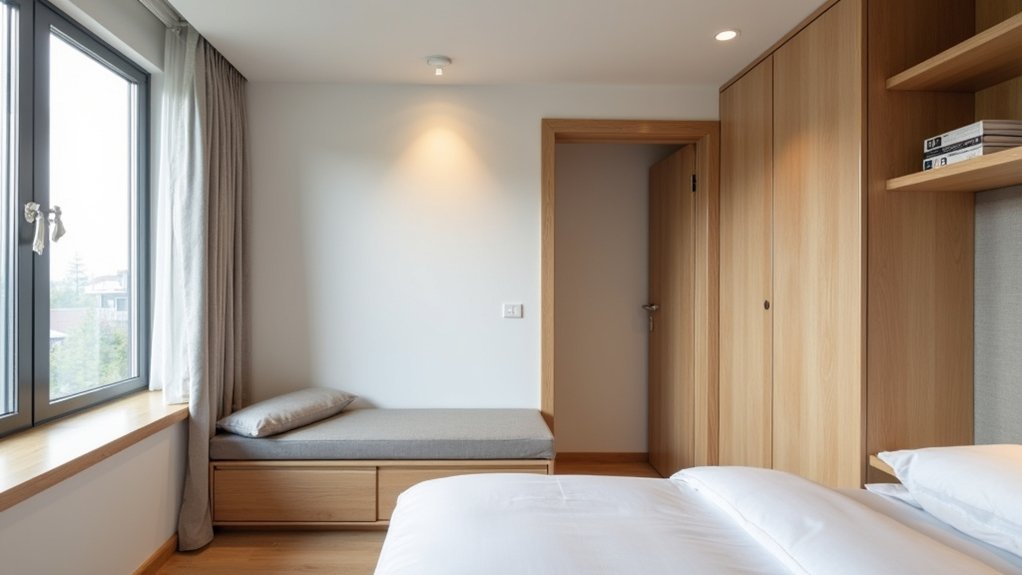
Although small rooms feel like they’ve no spare inches, you can usually uncover prime built-in zones by targeting “dead” architecture: the wall around a doorway, the shallow span behind a sofa, the space under a window, or that awkward nook that never fits freestanding furniture.
Start with sightlines: place taller units where you already expect vertical elements, like beside a door casing or in a corner, and keep lower runs under windows to preserve openness.
Use Color coordination to blend cabinetry into wall paint for a seamless look, or contrast it to frame an alcove as a feature.
Let Material selection follow room use: durable lacquer or wood veneer for living areas, wipeable laminate for kids’ zones, and integrated pulls to stay flush.
Measure Clearances, Depth, and Door Swings
Before you build, map every door swing zone on the floor and walls so cabinets, drawers, and handles won’t clash.
Then verify depth allowances—account for trim, baseboards, and hardware—so built-ins sit flush and look intentional.
Finally, confirm walkway clearances so doors open cleanly and the room still moves well day to day.
Map Door Swing Zones
Once you’ve chosen where built-ins could go, map every door swing zone so storage doesn’t steal usable clearance. Open each door fully, then tape its arc on the floor and up the wall with painter’s tape. Mark the knob path, too, so pulls, hooks, and trim won’t collide.
Next, check hinge clearance at the jamb: measure how far the hinge barrel and door edge project when open. Leave breathing room for casing, baseboards, and any decorative face frames so everything reads intentional, not cramped.
If a built-in must sit nearby, shift it to the latch side, bevel the leading edge, or notch the back panel around existing trim. You’ll keep movement smooth and the look tailored.
Verify Depth Allowances
Door arcs show where movement needs to stay free; now confirm the built-in’s depth won’t pinch the room. Measure from the finished wall to the furthest point the unit will project, including face frames, pulls, and trim. Use painter’s tape on the floor to mock the front edge so you can “feel” the new line.
Set shelf depth to match what you’re storing: 10–12 inches for books, 14–16 for folded linens, deeper only where necessary. Check overhead clearance for lift-up lids and drop-front doors, and side clearance for hinges so doors open fully without scraping adjacent walls.
Follow clearance guidelines from your hardware specs, not guesses, and adjust with shallower boxes or recessed toe-kicks.
Confirm Walkway Clearances
Next, map door swings and drawer pulls. Open every door fully, including the built-in’s fronts, and confirm they don’t collide with corners, radiators, or your furniture placement.
If they do, switch to sliders, bifolds, or push-latch doors.
Finally, keep clearances bright. Don’t block outlets or sconces; planned lighting enhancement along the circulation line makes tight rooms feel intentional, not cramped.
Plan Built-In Storage Around What You Use Daily
Start by auditing your daily essentials—what you grab every morning, every night, and on the way out—so your built-ins earn every inch.
Group items by routine and give each zone a clear home: entry drop zone, work zone, sleep zone.
Keep the most-used pieces at hand level, and push backups higher or deeper to stay sleek and efficient.
Audit Daily Essentials
Before you sketch a single shelf or cubby, take a quick inventory of what you reach for every day—keys, chargers, bags, shoes, skincare, laptop, pet gear—and where you naturally grab it.
List each item, its size, and any “must-haves” like ventilation for shoes or a hidden outlet for chargers. Measure the bulkiest versions you own, not the ideal ones, so your built-ins stay sleek instead of stuffed.
Use organizational techniques that shrink visual clutter: shallow trays for pockets items, vertical dividers for mail, and a labeled micro-bin for pet supplies.
Then add aesthetic enhancements that keep it looking intentional—matched hooks, a unified basket material, and a consistent color palette.
When your essentials fit perfectly, the room feels larger and calmer.
Zone Storage By Routine
Because you don’t live in a room all at once, you shouldn’t store for it all at once—zone your built-ins by routine so the stuff you touch daily sits exactly where you use it. Anchor each zone to a task: entry drop, work, sleep, lounge.
Place shallow drawers and hooks at hand height for keys, chargers, and mail; keep deep cabinets low for bulk. Build a “first-touch” shelf beside the door, a charging cubby near seating, and a bedside niche for books and water.
Use doors or sliders to hide visual noise while leaving one open bay for Decorative accents. Add lighting integration—LED strips under shelves or puck lights in cubbies—so zones work at night without extra lamps.
Label discreetly, then adjust after a week.
Use Under-Window Built-In Storage and Benches
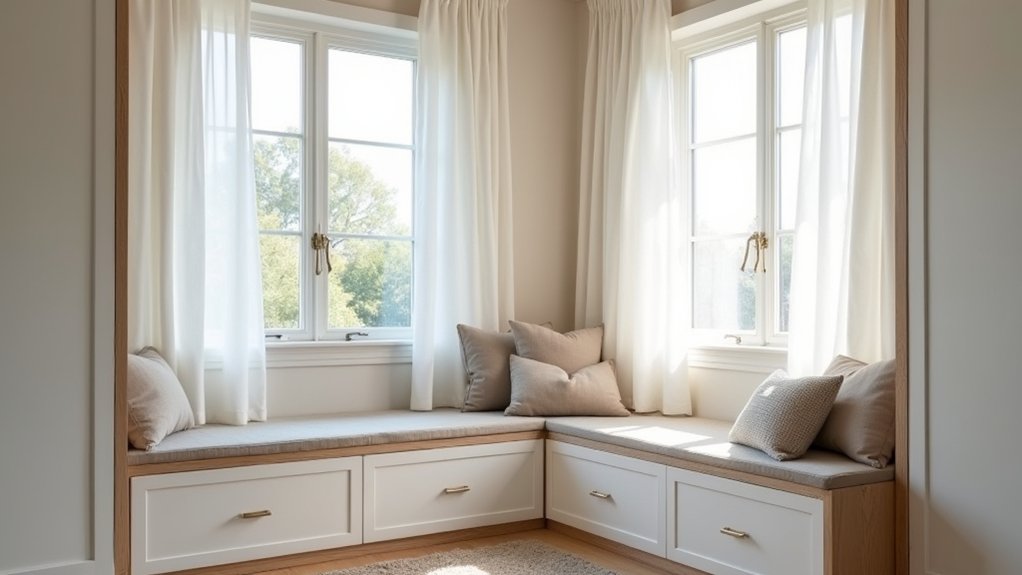
While your window naturally draws the eye, the space beneath it often sits unused—so turn it into a built-in bench with storage that works double duty. Keep the seat depth around 16–18 inches so you don’t crowd the walkway, and hinge the top for quick access.
Add dividers inside to separate blankets, board games, or kids’ gear, and include a shallow front lip to stop items shifting.
Match the facade to your trim for a seamless, custom look, or paint it a shade deeper for definition. Finish the seat with Decorative cushions in performance fabric to invite lounging without adding visual bulk.
For planting ideas, mount a slim ledge at the sill for small pots, keeping the bench surface clear and tidy.
Fit Built-In Storage Into Alcoves and Nooks
Even if an alcove feels too skinny for furniture, you can turn it into high-performing built-ins that read intentional, not stuffed. Start by measuring width, depth, and baseboard returns, then choose a layout: closed base cabinets for visual calm, open shelves for display, or a mix for balance.
Keep doors flush and use push latches so nothing swings into the room. Add a shallow pull-out for cleaning tools, trays, or pantry items, and you’ll reclaim awkward inches.
Use Decorative trim to frame the niche like architecture: scribed side panels, a slim face frame, and a tidy toe-kick. Let Material selection do the work—painted MDF for seamless walls, oak veneer for warmth, or matte laminate for durability and wipeability.
Match hardware to nearby finishes.
Run Built-In Storage to the Ceiling
When you run built-ins all the way to the ceiling, you eliminate that dusty “dead band” above cabinets and make a small room feel taller and more tailored. Commit to ceiling integration by scribing panels tight to uneven plaster and adding a slim crown or shadow-gap detail so the unit reads like architecture, not furniture.
Use vertical design to stack zones: daily-use shelves at eye level, heavier bins lower, and seldom-used items up high. Keep depth shallow where circulation is tight, and align cabinet lines with door and window trim to avoid visual clutter.
Paint the built-in the wall color for quiet cohesion, or match existing millwork for a seamless, space-smart finish that looks custom-made. Add interior lighting for polish.
Choose Doors, Drawers, or Open Shelves
Because the front of your built-in does most of the visual work, choose doors, drawers, or open shelves based on what you need to hide, grab fast, and display. Use doors for bulky clutter, charging stations, or mixed bins so the room reads calm. Prioritize door aesthetics with flat panels, slim pulls, or touch latches that won’t snag in tight walkways.
Pick drawers where you’ll access items daily: kids’ gear, media, linens, or pantry staples. Build in drawer organization with dividers, shallow top trays, and full-extension slides so every inch stays usable.
Go open shelves for books, baskets, and a few curated objects; keep depths modest to avoid encroaching on the room. Mix types in one run—closed below, open above—to balance concealment and easy reach.
Finish Built-In Storage to Feel Bigger

Once you’ve chosen doors, drawers, and open shelves, the finish decides whether the built-in reads as a bulky block or a seamless extension of the room. Match the cabinetry color to your wall paint to blur edges and maximize perception, especially in tight bedrooms or hallways.
If you want contrast, keep it tonal: one shade darker than the wall, not a hard black-white split. Use low-sheen paint or satin lacquer to bounce light without highlighting seams.
Run the same finish across face frames, filler strips, and toe-kicks so it reads as custom, not pieced together. Add slim, vertical pulls in brushed nickel or painted to match for a quieter line.
Top with a light countertop or shelf edge to lift the visual weight.
Frequently Asked Questions
Do I Need a Permit to Add Built-In Storage in My Home?
You might need a permit if you alter structure, electrical, or plumbing; cosmetic Storage organization and DIY installation usually don’t. Nearly 30% of remodels require permits. Check local codes, HOA rules, and plan crisp, seamless millwork.
What’s the Typical Cost Range for Custom Built-Ins in Small Rooms?
You’ll typically pay $1,500–$10,000+ for custom built-ins in small rooms, depending on cost estimation, layout, and material options. You’ll save space with flush fronts, slim trim, and durable finishes that match your style.
Can Built-In Storage Be Installed in Rental Apartments Without Permanent Damage?
Yes, you can install rental-friendly built-in storage if you use freestanding, tension, or rail systems and avoid drilling. Apply decorating tips like matching finishes, and use furniture rearrangement to clear walls and keep circulation sleek.
How Long Does a Built-In Storage Project Usually Take From Start to Finish?
You’ll usually finish a built-in storage project in 1–3 weeks: a few days for measuring/design, 1–2 weeks for fabrication, and 1–3 days for install, aligning Storage organization and Space optimization goals.
Should I Hire a Carpenter or Use Modular Systems for Built-Ins?
Like you’re dialing a rotary phone, you should hire a carpenter for seamless, custom fit and premium finish; choose modular prefab solutions for speed, budget, and DIY installation. You’ll save inches, align lines, and match trim.