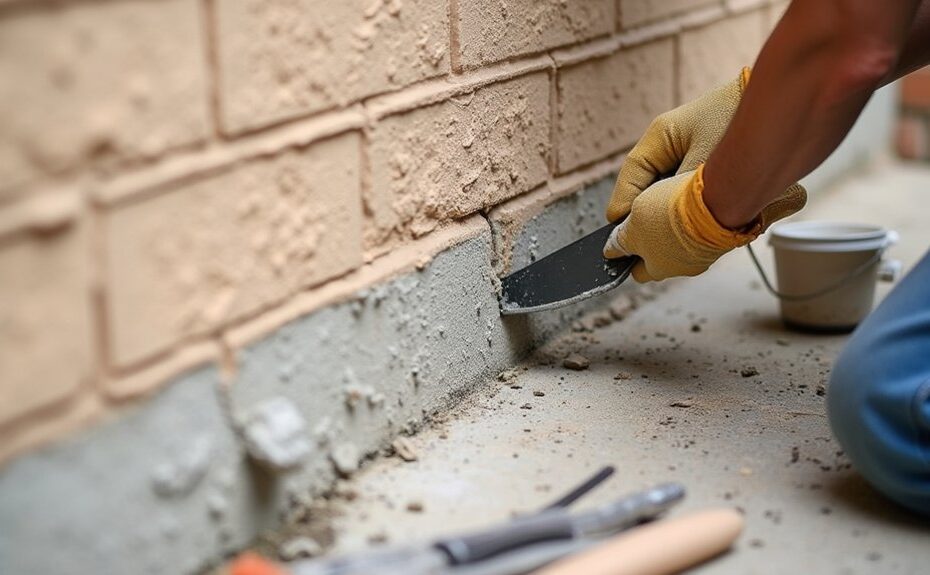
Ignore a small crack in render or masonry and you might as well invite a storm to move in. You should treat exterior cracking as a water-ingress pathway first, then a finish defect. Start by inspecting from the ground, mapping crack width, length, and pattern, and noting any bulging or hollow-sounding areas. Don’t scrape, grind, or climb without stable access and PPE. The next step depends on whether the crack is dead or still moving—and that changes everything…
Key Takeaways
- Inspect cracks from ground level, measure width and pattern, and photograph with a scale to track change over time.
- Treat widened, stepped, diagonal, or reopening cracks as movement-related, and investigate structural causes before cosmetic patching.
- Fix water entry first by repairing gutters, flashings, copings, and failed sealant joints to prevent freeze–thaw and debonding.
- For hairline cracks, clean and dry, cut a small V-groove, fill with compatible flexible filler, cure, then repaint.
- For blown or wide cracks, cut back to sound render, bond properly, rebuild in thin matching coats, and repoint masonry with compatible mortar.
Cracked Render or Masonry: Is It Urgent?
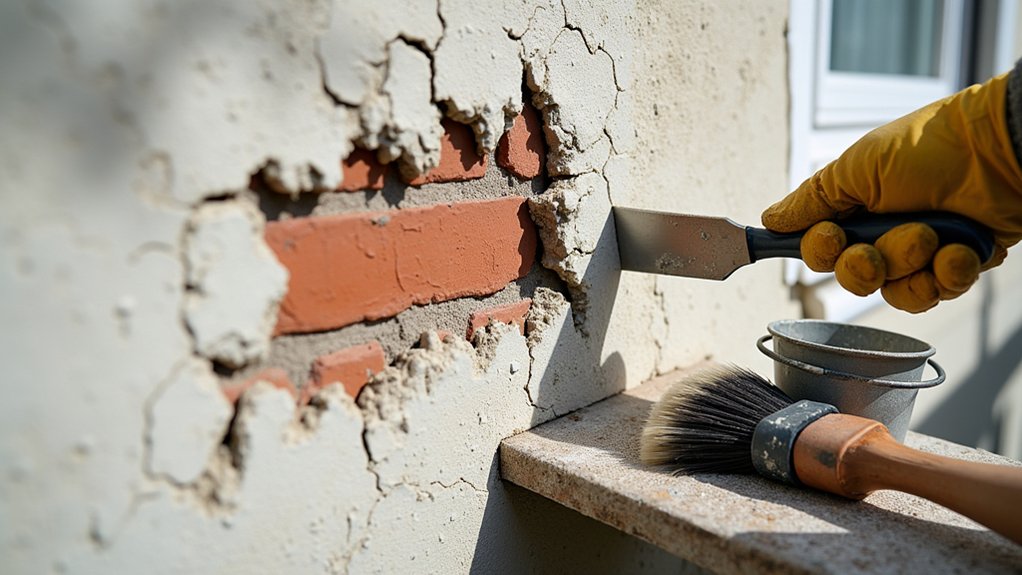
How urgent a crack is depends on what’s behind it and whether it’s still moving. You should first control risk: cordon off loose areas, wear eye protection, gloves, and a respirator when scraping, and avoid working at height in wet or windy conditions.
Next, check for water entry by inspecting flashings, copings, gutters, and sealant joints; active moisture makes any crack time-critical. Tap-test for debonded render, note hollow sounds, and photograph with a scale for monitoring and Historical preservation records.
If the wall carries decorative finishes, treat it as high priority to prevent staining and freeze–thaw spalling. You should also verify nearby services and isolate electrics if water is present.
Cracks to Watch: Cosmetic vs Structural Movement
Although many exterior cracks look alike at first glance, you can usually sort them into cosmetic shrinkage or structural movement by checking their width, orientation, and whether they’re changing over time.
Hairline, uniform cracks under 1 mm that don’t lengthen typically stay cosmetic; you can monitor them with dated photos, a ruler, and a simple crack gauge.
Treat wider cracks (over 2–3 mm), stepped patterns through brick joints, diagonal runs from openings, or cracks that reopen after patching as movement indicators.
If you see displacement, bulging, or doors and windows sticking, prioritise Interior wall stability checks before any surface work.
Don’t hide active movement with Decorative finish options; stabilise first, then repair and finish.
What Causes Render and Masonry Cracks?
When you understand what drives cracking, you can choose repairs that stop recurrence instead of just masking the line. Render and masonry crack when stresses exceed material durability or when movement concentrates at weak points.
Drying shrinkage from rich cement mixes, poor curing, or over-thick coats creates tensile strain. Thermal expansion and contraction, especially across dark façades and unshaded elevations, fatigue the surface over seasons.
Moisture is another driver: rising damp, leaking gutters, or trapped water behind render causes freeze–thaw damage, salt crystallisation, and debonding.
Structural movement from settlement, inadequate lintels, or corroding wall ties opens joints and transfers load to brittle finishes.
Environmental factors like wind-driven rain, pollution, and UV also accelerate binder breakdown and microcracking.
How to Inspect Exterior Cracks (Safely)
Start with a safe visual survey from ground level, scanning for crack width changes, displacement, staining, and any loose render or spalled masonry that could fall.
Before you get closer, check your access route and conditions—stable footing, weather, overhead hazards, and whether a ladder or scaffold is rated, secured, and properly positioned.
Use the right tools to document and measure without overreaching: a torch, straightedge, crack gauge or calipers, camera, and PPE (gloves, eye protection, and a dust mask if debris is present).
Safe Visual Survey
Before you touch a ladder or step onto uneven ground, run a safe visual survey from a stable vantage point to map the crack pattern and spot immediate hazards.
Stand back and scan top-down: eaves, parapets, lintels, corners, then mid-wall and plinth. Note crack type (hairline, stepped, diagonal), direction, and whether it tracks mortar joints, render edges, or openings.
Look for displacement, bulging, missing pointing, spalled brick, damp staining, efflorescence, and rust bleed that can signal movement or corrosion.
Identify fall risks: loose render, unstable chimneys, failing copings, and overhead cables.
Photograph with scale references and mark locations on a sketch. If you’re working on Historical preservation, record original finishes to guide Material compatibility decisions later.
Flag any area that looks actively unstable and keep clear.
Tools And Access Checks
After you’ve mapped the crack pattern from the ground, confirm you can access each area without creating a new hazard, then gather the right inspection kit.
Check ground bearing, overhead lines, traffic, and weather; postpone work in wind, rain, or poor light.
Use a rated ladder with stabiliser, or a mobile scaffold where reach exceeds safe ladder angles.
Tie off where required and keep three points of contact.
Pack a torch, binoculars, crack gauge, moisture meter, straightedge, and camera with scale.
Wear eye protection, gloves, and a respirator if dust is likely.
Do Tool maintenance: inspect ladder feet, locks, and rails; replace worn bits.
For Material selection, choose non‑marking probes and soft brushes to avoid spalling.
Record findings immediately.
Repair Hairline Render Cracks (Step-by-Step)
Start by evaluating the crack’s severity—confirm it’s hairline, stable, and not linked to movement or damp—so you don’t seal in a bigger fault.
Next, prepare the surface properly: wear eye and dust protection, rake out loose material, clean thoroughly, and let the area dry.
Then you’ll fill the crack with a compatible flexible filler and seal it to shed water, finishing flush so the repair blends and holds.
Assess Crack Severity
Although hairline cracks in render often look cosmetic, you should treat them as a diagnostic cue and confirm they’re non-structural before you patch anything.
Start by mapping the crack: note length, direction, and whether it follows corners, openings, or movement joints. Measure width with a crack gauge; hairlines typically stay under 0.2–0.3 mm.
Check for displacement by running a straightedge across both sides; any step, bulge, or hollow sound suggests debonding or substrate movement.
Look for staining, algae, or efflorescence that points to moisture intrusion.
Inside, inspect interior finishes for matching cracks, damp marks, or peeling paint.
If the crack widens, reappears after weather changes, or coincides with sticking doors/windows, stop and get professional assessment first.
Prepare Surface Properly
Before you open up and fill a hairline crack, you need a clean, stable, dry surface so the repair bonds and doesn’t trap moisture.
Start with Surface preparation: wear eye protection, gloves, and a P2 dust mask, then cordon off the work area.
Brush off loose render and chalking with a stiff nylon brush; don’t polish the surface smooth.
Vacuum dust from the crack line and adjacent wall, then wash lightly with clean water or a mild masonry detergent if you’ve got grime or algae.
Rinse well and let it dry fully; moisture readings should be low and consistent.
Remove salts/efflorescence with a dry brush, not acids.
For aesthetic considerations, protect edges, trims, and paint lines with tape and drop sheets.
Fill And Seal Cracks
Once the wall is clean and fully dry, you can open the crack slightly and pack it with a flexible, paintable masonry filler so it seals without re-splitting. Wear gloves, eye protection, and a P2 mask when raking out; silica dust is hazardous.
Use a carbide scraper or V-groove tool to create a 2–3 mm channel, then brush and vacuum debris. If the crack is deep, insert backer rod to control depth and reduce shrinkage.
Apply filler with a putty knife, pressing firmly to wet the sides. Tool it flush, then feather the edges. Let it cure per datasheet before priming and repainting to match.
Protect interior wall finishes inside, and plan landscaping considerations outside to keep water away.
Fix Wide Render Cracks and Blown Render
When you spot wide render cracks or sections that sound hollow and lift away (blown render), treat them as a bond failure rather than a cosmetic defect. Isolate the area, wear eye/respiratory protection, and check for loose edges by tapping and probing; if it drums, it’s detached.
Cut back to sound render with an angle grinder and dust control, then undercut margins so the patch keys in. Clean, dampen, and apply a compatible bonding agent.
Rebuild in thin coats with matching base and finish renders, allowing cure time between lifts. Use color matching so repairs disappear, and follow historical preservation requirements by matching texture, lime/cement ratio, and permeability.
Finally, seal hairline perimeter gaps and monitor for movement.
Repair Cracked Brickwork and Failing Mortar Joints
Although cracked brickwork and failing mortar joints can look superficial, they often signal moisture ingress, thermal movement, or corrosion-driven expansion that will keep spreading unless you correct the cause and restore the joint’s integrity.
First, you’ll isolate the defect: map cracks, check for stepped patterns, and probe joints with a mortar rake to confirm depth and friability. Wear eye protection, gloves, and a P3 respirator when grinding or raking out.
Next, you’ll remove loose mortar to sound material, clean dust, and lightly dampen the joint to control suction.
For Historical restoration, you’ll match mortar strength and permeability, typically lime-based, and choose Eco friendly materials where feasible. You’ll compact new mortar in layers, tool the profile, and replace spalled bricks rather than face-fill.
Prevent Render and Masonry Cracks (Weatherproofing)
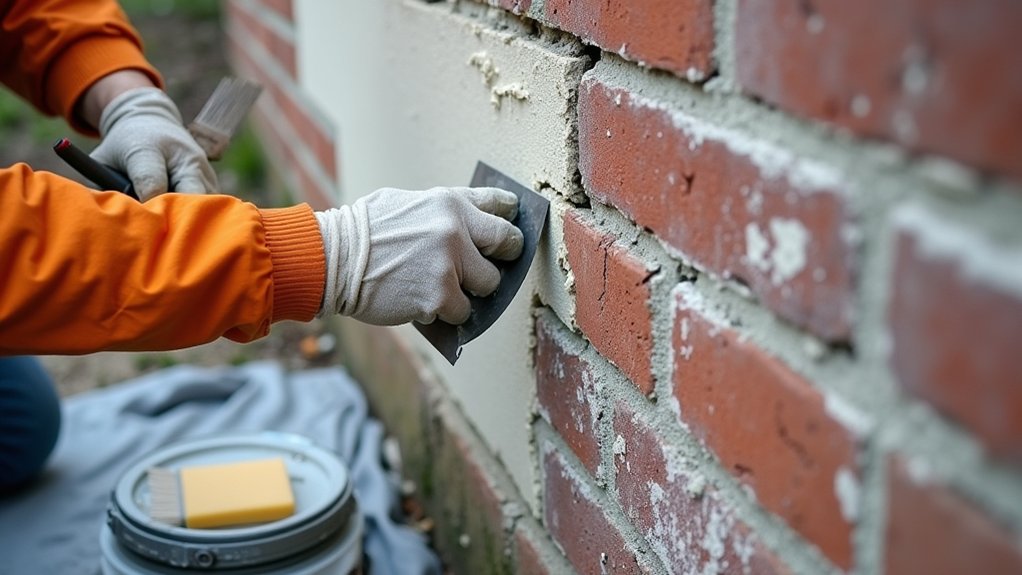
Solid repairs won’t last if water keeps reaching the substrate, so you’ll back them up with weatherproofing that manages rain, vapour, and movement.
Start by checking gutters, downpipes, flashings, and drip edges; fix leaks before sealing cracks. Keep weep holes clear and maintain a minimum 150 mm clearance from soil to render to reduce rising damp.
Use vapour-permeable silane/siloxane water repellent on masonry, and elastomeric, UV-stable coatings on render where movement persists.
Tool sealant joints at windows and services with backer rod to control depth and avoid three-sided adhesion.
Work from stable access, wear eye protection and gloves, and follow SDS guidance.
After moisture control, your Interior decor and paint color won’t blister from migrating salts.
Frequently Asked Questions
Does Cracked Render Affect My Home Insurance or Future Claims?
Yes—cracked render can affect cover; why risk it? You must document, disclose, and mitigate to limit insurance implications. If you ignore progressive damage, insurers may reduce payouts or reject future claims on maintenance or pre-existing defect grounds.
How Much Do Render and Masonry Crack Repairs Typically Cost?
You’ll typically pay $200–$1,500 for minor crack repairs, $2,000–$10,000+ for extensive masonry/rerendering. Use a cost comparison across repair methods; prioritize safe access, moisture diagnostics, and structural assessment before committing.
Should I Hire a Structural Engineer or a General Builder First?
Hire a structural engineer first if cracks widen, step, or affect openings; you’ll get a Structural assessment and Building regulations guidance. Then you can brief a general builder with specs, ensuring safe, compliant repair execution.
Can I Repaint Over Repaired Render, and How Soon After Patching?
You can repaint over repaired render once the patch fully cures—typically 7–28 days—per manufacturer specs. Test moisture, then prime. Use Color matching and texture blending to avoid defects; work safely, scaffold correctly.
Do I Need Planning Permission for Exterior Render or Brickwork Repairs?
Do you need planning permission? Usually you don’t for like-for-like exterior render or brickwork repairs, but you must follow Building regulations and guarantee Material compatibility; check listed status, conservation areas, and structural changes with your council.