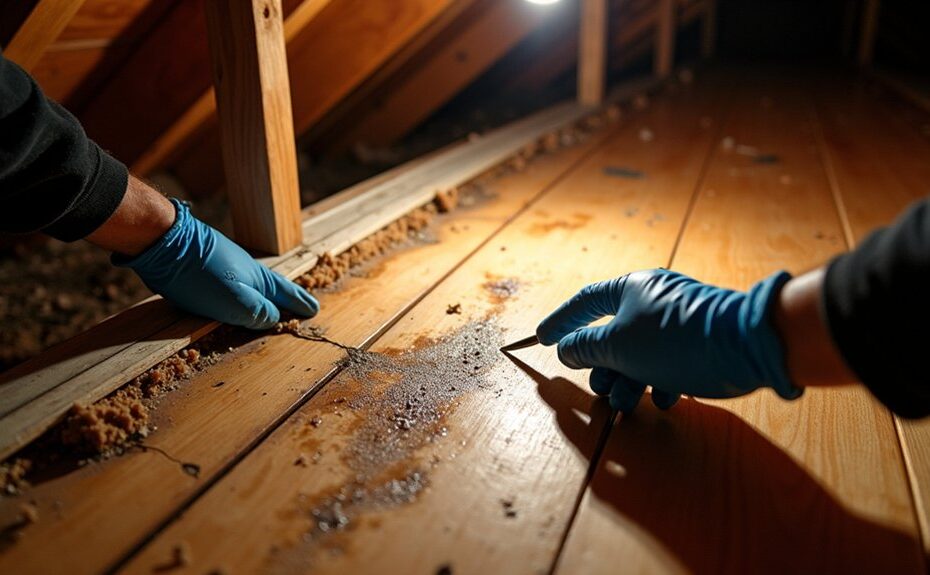
You don’t notice a roof leak until the ceiling blooms like a slow ink spill after a heavy rain. If you suspect one, you should start with a methodical, code-minded check: trace stains, confirm attic moisture at decking and insulation, and inspect shingles, valleys, nail pops, and flashing at chimneys, vents, and skylights. You can stop most minor intrusions by sealing and securing failed details before decay starts—but the first clue rarely sits where the water shows up…
Key Takeaways
- Look for interior clues: ceiling stains, musty odors, damp insulation, rusted fasteners, or daylight visible around roof penetrations.
- Inspect the roof exterior for missing or cracked shingles, open seams, punctures, granule loss, and debris buildup in valleys and gutters.
- Trace leaks from stains by marking the darkest edge, then checking the attic uphill for wet sheathing, water trails, and active drips.
- Fix common causes by replacing damaged shingles, resealing nail pops, repairing valley seams, and correcting flashing around chimneys, vents, and skylights.
- Control damage immediately: catch drips, ventilate and dehumidify, shut off nearby circuits, document with photos, and call a roofer for recurring or widespread leaks.
What to Do First When You Suspect a Roof Leak
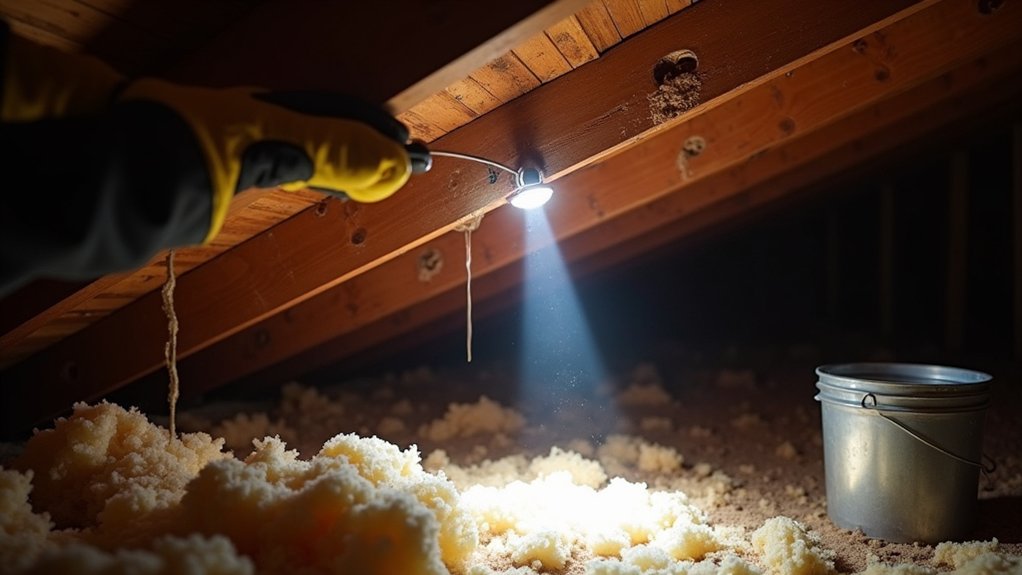
If you suspect a roof leak, start by controlling interior damage and documenting conditions before you disturb anything. Move valuables, place a bucket, and relieve water pressure by puncturing a bulge in drywall with a small awl while wearing eye protection. Photograph ceilings, walls, and any wet insulation for your insurer and contractor.
Next, reduce risk and stabilize the building. Shut off power to affected circuits per electrical safety standards, then ventilate and run dehumidifiers to limit microbial growth.
Schedule a Roof inspection with a qualified professional; don’t climb onto a wet or icy roof. If rain is ongoing, install an interior tarp or temporary exterior cover only if you can do it safely.
Record weather, timing, and locations to support Leak prevention planning.
Spot Roof Leak Warning Signs Fast (Inside and Outside)
Before water shows up on the floor, you can usually spot a developing roof leak by checking fast, high-signal indicators inside and outside the building.
Inside, scan attic or top-floor areas for musty odor, elevated humidity, damp insulation, rusted fasteners, and daylight at penetrations. Verify bath fans and dryer vents terminate outdoors per code, since misroutes can mimic leaks. Note any active dripping during HVAC operation or after wind-driven rain.
Outside, inspect the roof material for cracked shingles, displaced tiles, open seams, punctures, and granule loss. Check flashing at chimneys, skylights, walls, and valleys for gaps, corrosion, or missing sealant. Clear debris from gutters and scuppers; overflow can backwater under edges.
After severe weather conditions, recheck for wind uplift and hail impacts.
Follow Ceiling Stains to the Leak Source
Start at the ceiling stain and trace its darkest edge upward to map the likely water path along framing.
Then access the attic directly above that point and inspect the underside of the roof deck and penetrations for wet sheathing, active drips, and mold, using a light and moisture meter.
Document findings and plan repairs that meet local code requirements for flashing, underlayment, and ventilation so you correct the source, not just the symptom.
Trace Stain Edges Upward
Although ceiling stains rarely sit directly under the entry point, you can use their edges like contour lines to track the leak back to its source. Mark the darkest boundary of the roof stain with painter’s tape, then map the stain’s “uphill” direction by noting which edge is newest, dampest, or expanding after rain.
Follow that edge toward the roof’s high side, because water intrusion typically travels along framing, gypsum joints, and fastener lines before it drops. Check for aligned stains at seams, corner beads, or light penetrations, and measure offsets from exterior walls to keep your trace accurate.
Document locations and dates; many codes require maintaining structural components dry and free of decay. Once you’ve triangulated the likely path, prioritize exterior roof repairs before cosmetic ceiling work.
Inspect Attic Above Stains
Once you’ve mapped the stain’s “uphill” edge, inspect the attic directly above that line so you can confirm the leak path at the roof deck. Use a headlamp and walk on framing, not drywall. Look for dark sheathing, rusted fasteners, water trails, and daylight at penetrations.
Probe suspect areas with a moisture meter; readings above 20% indicate active wetting. Pull back Attic insulation to expose the deck, then bag and replace any saturated material to prevent mold.
Check for compressed or missing insulation at eaves that can cause ice dams. Address Ventilation issues by verifying clear soffit-to-ridge airflow and unobstructed baffles.
Seal gaps at plumbing vents, chimneys, and HVAC boots with approved flashing and compatible sealants.
Check the Attic for Wet Decking and Mold
In the attic, you’ll inspect the underside of the roof deck and sheathing for darkened, spongy, or wet areas and trace staining to fasteners, seams, and penetrations.
You’ll also check for mold on framing and decking—especially near soffit-to-ridge airflow paths—and treat it as a moisture control failure that must be corrected, not just cleaned.
If you confirm wet decking or mold, you’ll document locations, correct the water entry point, and restore code-compliant ventilation and insulation clearances to prevent recurrence.
Identify Damp Roof Sheathing
Because roof leaks often travel along rafters before they drip, you should inspect the attic for damp roof sheathing and wet decking at the first sign of trouble. Use a bright light to scan for darkened wood, swollen edges, delamination, or softened OSB/plywood between trusses.
For moisture detection, press a pin-type meter into suspect panels; readings above 20% typically indicate active wetting or insufficient drying.
Trace staining upslope to the probable entry point, then verify roof fasteners and penetrations above. If sheathing feels spongy or shows rot, don’t ignore it—IRC requires structural roof decking to remain sound.
Dry the area with ventilation, correct the exterior leak, and replace compromised panels with like thickness and proper nailing schedule.
Detect Attic Mold Growth
Damp sheathing usually shows up before you see mold, so follow any staining or softened decking with a targeted mold check in the attic. Use a bright flashlight and inspect around penetrations, valleys, and eaves for black spotting, fuzzy growth, or musty odor.
Probe suspect decking with an awl; if it crumbles or reads above ~20% moisture on a meter, you’ve got an active condition.
Fix the moisture source first: repair flashing, seal fasteners, and replace wet insulation. Then address Attic ventilation per code intent—clear soffit intakes, verify a continuous air path, and balance intake/exhaust to reduce condensation.
For Mold prevention, scrub small areas on dry wood, HEPA-vac dust, and bag debris. If growth is widespread, hire a qualified remediator immediately.
Check Shingles, Valleys, and Nail Pops for Damage
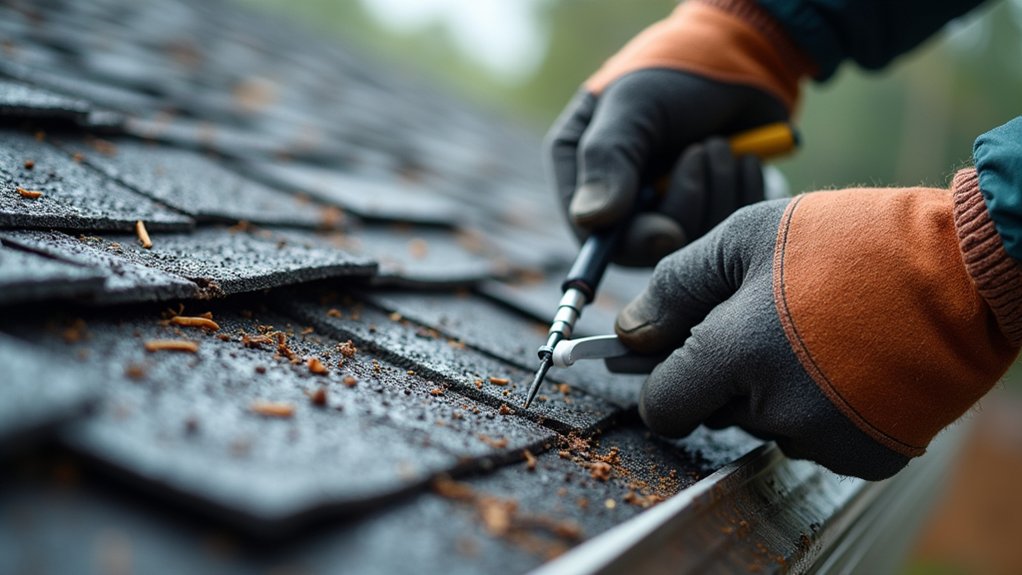
Even if you don’t see water inside yet, a quick exterior check can flag the most common leak entry points: shingles, valleys, and nail pops. Scan for shingle deterioration like curling tabs, missing granules, cracked corners, or lifted edges that break the water-shedding plane.
Replace damaged shingles and re-seal per manufacturer instructions, maintaining required exposure and fastener placement for code compliance.
Inspect valleys for debris, open seams, or corroded metal; clear buildup, then repair with compatible underlayment and valley material to preserve drainage and overlap.
Address nail pop issues by lifting the shingle, removing the raised fastener, installing a new roofing nail into sound decking, and sealing the old hole with roofing cement.
Recheck after heavy wind events.
Check Chimney, Vent, and Skylight Flashing for Leaks
Flashing failures around chimneys, plumbing vents, and skylights often leak long before shingles show obvious damage, so you should inspect these penetrations as priority water-entry points. Look for lifted edges, pinholes, rust, missing fasteners, or cracked sealant at laps and corners.
Verify Chimney flashing includes step flashing woven with shingles plus counterflashing let into mortar joints; you shouldn’t rely on surface caulk. Repoint and reglet-cut new counterflashing if joints are open.
At plumbing vents, confirm the boot’s flange lies flat, nails are sealed, and the rubber collar isn’t split; replace the boot if UV damage shows.
For skylights, inspect head flashing, side flashing, and Skylight seals for gaps, compression loss, or brittle gaskets, and reflash to manufacturer instructions.
Stop a Roof Leak After a Storm (Temporary Steps)
After a storm exposes an active leak, you can limit interior damage by controlling water at the lowest risk points and using temporary, code-aware measures until a permanent repair is made. Move valuables, then place a bucket under the drip and puncture any ceiling bubble with a small hole to relieve trapped water.
Shut off power to affected circuits if water nears fixtures. In the attic, trace wet sheathing to the entry point and staple plastic sheeting over rafters to direct flow into a container.
From the exterior, work only in dry, stable conditions; use fall protection, then apply a self-adhered roofing patch or tarp secured to framing, not just shingles, to resist wind uplift.
Log it for Roof maintenance and Weather preparedness planning.
When to Call a Roofer (and What to Document)
Temporary patches and tarps buy you time, but you should call a licensed roofer as soon as you see recurring drips, saturated insulation, stained decking, visible shingle loss, damaged flashing/vents, or any leak near electrical components. Don’t delay; moisture can compromise structural members and violate code-required fire/safety clearances.
Before the roofer arrives, document conditions for accurate scope and insurance: take dated photos/video of interior stains, attic wet spots, and exterior damage from multiple angles; note wind/hail dates, leak locations by room, and whether breakers tripped.
Save receipts for emergency roof maintenance materials. Mark water lines, bag any fallen shingles, and avoid disturbing suspect flashing.
Ask for a written repair plan specifying underlayment, flashing details, ventilation, and manufacturer specs to support leak prevention and warranty compliance.
Frequently Asked Questions
What Does Homeowners Insurance Typically Cover for Roof Leak Damage?
Homeowners insurance typically covers sudden, accidental roof leak damage to interiors and contents, not wear or poor maintenance. You’ll face coverage limitations and deductibles; document loss, mitigate per code, and follow your insurer’s claim process promptly.
How Much Does Roof Leak Repair Usually Cost in My Area?
You’ll typically pay $200–$1,500 locally, but major flashing or membrane failures can hit $3,000+. Like a drip-timed alarm, get cost estimation from licensed contractors; choose code-compliant repair options: seal, replace, reflash.
Can a Roof Leak Cause Health Issues From Mold Exposure?
Yes, a roof leak can trigger Mold health issues and degrade Air quality. You’ll inhale spores and VOCs, causing allergy, asthma flare-ups, or irritation. You should stop moisture, dry materials, and remediate per IICRC S520.
How Long Can I Wait Before a Small Roof Leak Becomes Serious?
You shouldn’t wait more than days to a week; small leaks can saturate decking fast, causing rot and mold. Schedule a Roof inspection now, then complete flashing/underlayment repairs for Leak prevention and code-compliant sealing.
Are Roof Leak Repairs Better Done in Winter or During Dry Seasons?
Choose dry seasons; you’ll get safer footing, better sealant cure, and code-compliant flashing installs. Winter brings ice, brittle shingles, and rushed Seasonal challenges. Plan Repair timing like clear skies over clean sheathing.