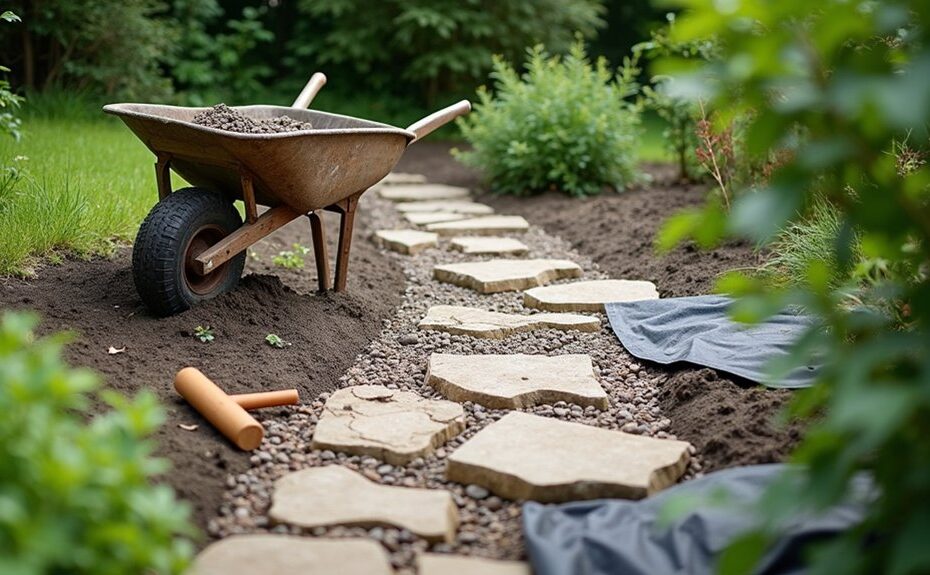
You’ll start by walking the path after a rain to map puddles, heave, and soft spots, then decide what you can reuse and what must come out. Pull edging, weeds, and loose fill, and excavate to firm subgrade so you can rebuild a drained, compacted base with native soil and recycled aggregate. Choose permeable pavers, brick, or stone that fits your freeze–thaw cycle and foot traffic. The next step is where most paths succeed or fail…
Key Takeaways
- Inspect the path for trip edges, base failure, and puddling; document patterns and set a 1–2% slope away from structures.
- Choose durable, site-suited materials that match the garden’s look; favor dense stone, fired brick, or permeable pavers in damp areas.
- Remove edging and weeds carefully; salvage reusable units, bag seed-laden debris, and clear leaves and twigs before rebuilding.
- Excavate to firm subgrade, fix soft spots, then add 3–4 inches compacted angular gravel base in lifts with consistent crossfall.
- Lay new units from a straight reference, compact to lock, install stable edging, and sweep polymeric sand or screenings into joints.
Inspect the Garden Path and Decide What Stays
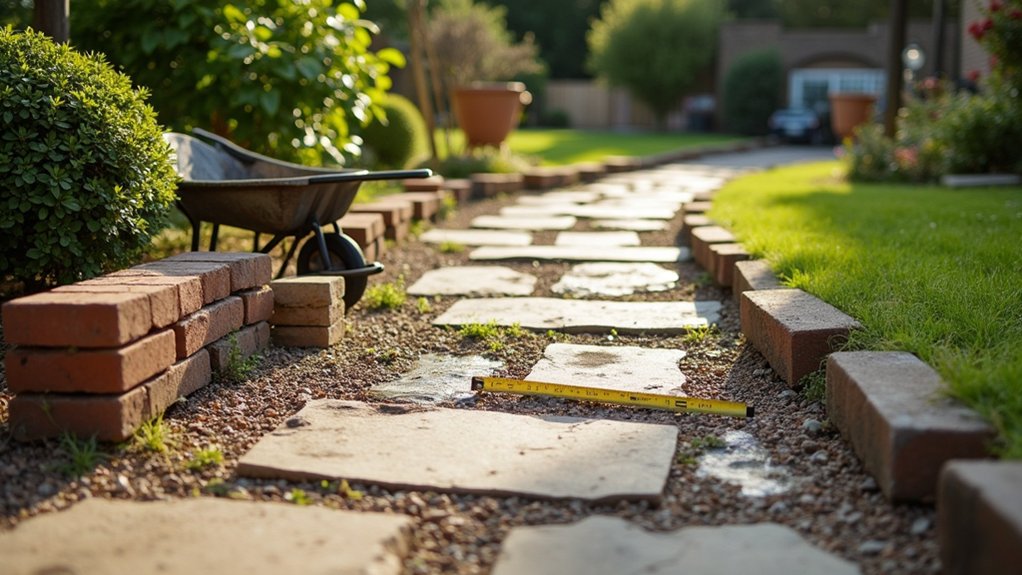
Before you lift a single stone, walk the entire path and document what’s structurally sound and what’s failing. Flag trip edges, rocking pavers, and sunken zones; probe base depth with a thin rod and note where fines have washed out. After rain, map puddling and flow lines to spot compaction, root heave, or gutter discharge.
Photograph joints, borders, and shifts so you can preserve Garden path aesthetics while correcting hazards. Evaluate each unit for reuse: check for freeze spalls, delamination, and excessive wear.
Protect trees by marking critical root zones and limiting excavation. If the path has Historical significance, retain original alignments, edging patterns, and any maker marks, and store salvaged pieces on pallets, covered, sorted by size.
Choose Garden Path Materials for Style and Weather
With your salvage pile and problem zones documented, match your new and reused path materials to the site’s moisture, freeze–thaw exposure, and foot traffic so the repairs last.
In shaded, damp runs, favor dense stone, fired brick, or permeable pavers over soft limestone or untreated wood, which spalls and rots.
For clay soils, choose open-joint pavers or gravel over impermeable slabs to reduce puddling and heave.
In high-traffic entries, upsize to thick flagstone or concrete unit pavers for Material durability, and reserve fragile mosaics for low-load edges.
Keep sourcing local and reclaimed to cut transport impacts.
Tune Aesthetic options by repeating the home’s masonry color, mixing reclaimed brick with new matching units, and limiting textures so passages look intentional and cohesive.
Clear Weeds and Remove Old Garden Path Edging
Start by mapping weed coverage along the path edges and joints so you can target hand-pulling or shallow hoeing without disturbing the base layer.
Next, you’ll lift the existing edging—brick, timber, or metal—by loosening fasteners and prying in short sections to protect adjacent roots and irrigation lines.
Bag seed-laden weeds, stack reusable edging for salvage, and take broken materials to the correct recycling or landfill stream to keep debris out of the soil and storm drains.
Assess Weed Coverage
How far have weeds actually infiltrated your path—just the joints, or the entire base layer? Start by mapping weed density along the run, noting shaded edges, low spots, and areas receiving roof runoff.
Probe with a weeding knife or trowel: if roots sit only in surface grit, you can target weed control at the joints; if you hit a fibrous mat through the sub-base, plan deeper remediation.
Measure ground coverage by estimating percent infestation per square meter and marking hotspots with flags.
Check for moisture: damp, compacted fines signal poor drainage that fuels regrowth.
Identify species (rhizomatous grasses vs taprooted broadleaf) to predict how aggressively they’ll return and how much base material you’ll need to refresh.
Remove Existing Edging
Once you’ve flagged the worst weed hotspots, clear vegetation along both edges of the path so you can expose the existing border and work without tearing up adjacent beds. Use a hori-hori or flat spade to slice roots at grade, then rake to reveal fasteners, stakes, or buried lips.
Identify the current garden edging styles—brick soldier course, timber, steel, or plastic—so you can choose the least destructive removal method. Back out screws with a driver, pull spikes with fencing pliers, and lever sections with a pry bar against a scrap block to protect nearby pavers.
If edging is mortared, score joints and lift units one at a time to preserve salvage. Brush soil off components and stage them on a tarp for reuse planning later.
Dispose Debris Properly
Before you haul anything off-site, sort the pulled weeds, sod, soil clumps, and edging materials into separate piles so you can route each stream to the right end point.
Bag seed heads and invasive roots, then send them to municipal green-waste, not home compost.
Shake soil from sod and salvage it for grade corrections along the path base.
Screen soil clumps for stones you can reuse as edging or subbase fill.
Stack intact pavers, bricks, and metal edging on pallets to avoid bending; recycle broken concrete as clean fill where allowed.
Keep debris clear of landscape lighting conduit runs, and mark fixture locations so you don’t bury wires.
Rinse and store reusable pieces for future garden ornamentation, and sweep fines into a tarp for controlled disposal.
Rebuild a Level Base for Drainage and Stability
You’ll start by checking the path’s existing slope and spotting where water ponds, then set a gentle fall away from buildings toward a planted infiltration area or drain line.
Next, you’ll excavate to firm subgrade, remove organic pockets, and compact in thin lifts so the base won’t settle or heave.
Finally, you’ll place a permeable, locally sourced aggregate base, moisten and compact it, and screed it level to lock in drainage and long-term stability.
Assess Slope And Drainage
Although the surface may look “mostly flat,” you need to verify the path’s slope and drainage before rebuilding the base, because even a slight low spot will trap water and destabilize the finish layer.
Set stakes at both ends and pull a mason’s line; use a line level or laser to confirm a consistent fall of about 1–2% away from buildings and toward planted areas.
Walk the route after rain to map puddles, seep lines, and downspout discharge, then mark them with paint.
If runoff crosses the path, plan a shallow swale or trench drain to intercept it.
On hillside segments, check for slumping near retaining walls and note where slope stabilization (deep-rooted natives, coir logs) will keep fines from washing onto the path.
Excavate And Compact Subgrade
Once you’ve marked the high/low points and runoff crossings, strip the path down to undisturbed subgrade and rebuild the base grade from the dirt up. Excavate to consistent depth, removing organics, soft pockets, and roots that will rot and settle. Proof-roll with your foot or a hand tamper to find yielding zones, then over-excavate and replace with suitable native mineral soil.
For soil stabilization in clayey or wet areas, blend in angular fines or use a geotextile separator to keep subgrade from pumping into the base. Set a slight crossfall to your planned drain side without creating birdbaths.
Apply compaction techniques in thin lifts: mist dry soil, let saturated soil drain, and compact until it’s firm, unyielding, and footprint-free.
Add And Level Base
With the subgrade firm and graded to shed water, start rebuilding the base so the path stays stable through freeze–thaw and heavy rain.
Spread 3–4 inches of angular, washed gravel (3/4-inch minus) in lifts, mist lightly, then compact each lift with a plate compactor until it doesn’t rut under your heel.
Maintain a 1–2% cross-slope away from structures, and keep the base 1 inch below final paver height for bedding.
Use a screed board and stringlines to hit consistent thickness and avoid low spots that pond.
Where you’ll run Garden path lighting conduit, trench and sleeve it now so you don’t disturb compaction later.
Keep edges clear for seasonal plantings, but don’t let soil contaminate the base.
Lay Pavers, Brick, or Gravel and Compact It
After you’ve prepped the base and confirmed the slope for drainage, start setting your surface material from the most visible edge and work across the path to keep your lines straight and your finished grade consistent.
Dry-lay pavers or brick tight to your stringline, checking every few courses with a level and measuring off a fixed reference like the house wall or fence. Rotate units to lock in paver patterns that suit garden aesthetics while maintaining uniform joint spacing.
For gravel, place it in 1–2 inch lifts, rake to grade, then mist lightly to reduce dust before compaction.
Compact pavers or brick with a plate compactor fitted with a rubber mat to prevent scuffing; run perpendicular passes until movement stops. Compact gravel in overlapping passes.
Set Edges, Fill Joints, and Fix Low Spots
Although the surface may look finished, you’ll lock it in by setting durable edging, packing joint material to shed water, and correcting any settled areas before they become trip hazards. For edge stabilization, install steel, stone, or recycled plastic edging on the downhill side, pin it into the base, and backfill with compacted aggregate so lateral loads can’t creep your field outward. Keep edging flush to mowing height and align it to drainage flow.
For joint sealing, broom polymeric sand or angular screenings into dry joints, then mist lightly to activate binders without washing fines into soil. Spot low areas by running a straightedge; pull units, add base in thin lifts, compact, reset, and re-screed. Finish by sweeping joints again and checking slopes after rain.
Frequently Asked Questions
How Much Does a Garden Path Renovation Typically Cost?
You’ll typically spend $15–$60 per square foot, depending on site prep and drainage. For cost comparison, evaluate material options: recycled pavers, permeable gravel, or local stone. You’ll cut lifecycle impacts and hauling emissions.
Do I Need a Permit to Replace or Reroute a Garden Path?
You might need a permit—sometimes it’s as essential as oxygen—if you reroute near setbacks, drainage, or utilities. Check local codes, HOA rules, and easements. Use sustainable Garden design, Plant integration, and permeable base.
How Long Will the Renovated Garden Path Last Before Needing Repairs?
You can expect 10–25 years before repairs, depending on garden durability and material longevity. You’ll extend life with proper base compaction, permeable joints, local drainage grading, and sustainably sourced stone or pavers. In freeze-thaw sites, inspect annually.
Can I Renovate a Garden Path in Winter or During Rainy Seasons?
Yes, you can—weather-wise, work with care. Prioritize Winter planting zones, protect roots, and avoid frozen subgrade. For Rainy season construction, improve drainage, use permeable bases, stage deliveries, and cover soils to prevent erosion.
Should I Hire a Professional or Can I DIY the Entire Project?
You can DIY if your site has stable subgrade and simple grades, but hire help for drainage, edging, and compaction. DIY pitfalls include frost heave and washouts; Professional expertise optimizes permeable bases and reuse.