
Like the old saying about a stitch in time, you’ll save trouble by spotting boundary-wall faults early. You start by checking cracks, bulges, and any lean, then you decide whether repointing will hold or if you must lift and replace bricks, blocks, or stones. You match units and mortar, keep joints consistent, and control moisture so the repair bonds. But if the footing’s moving or drainage is wrong, your neat patch won’t last, and the next step matters.
Key Takeaways
- Diagnose the wall first: map cracks, measure movement, and check for bulging, leaning, or settlement before choosing a repair.
- Fix water causes: redirect downpipes, improve surface falls, and add gravel drains to reduce saturation and frost damage.
- Repoint correctly: rake out loose mortar, pre-wet masonry, and use a compatible mortar mix matched to the existing wall.
- Replace damaged units carefully: remove bricks/blocks/stones without disturbing sound courses, then reset on full beds and match joints.
- Stabilize structural issues: brace, tie, or rebuild sections with sound footings, and call an engineer if movement is progressive or severe.
Diagnose Boundary Wall Cracks, Bulges, and Movement (DIY vs Pro)
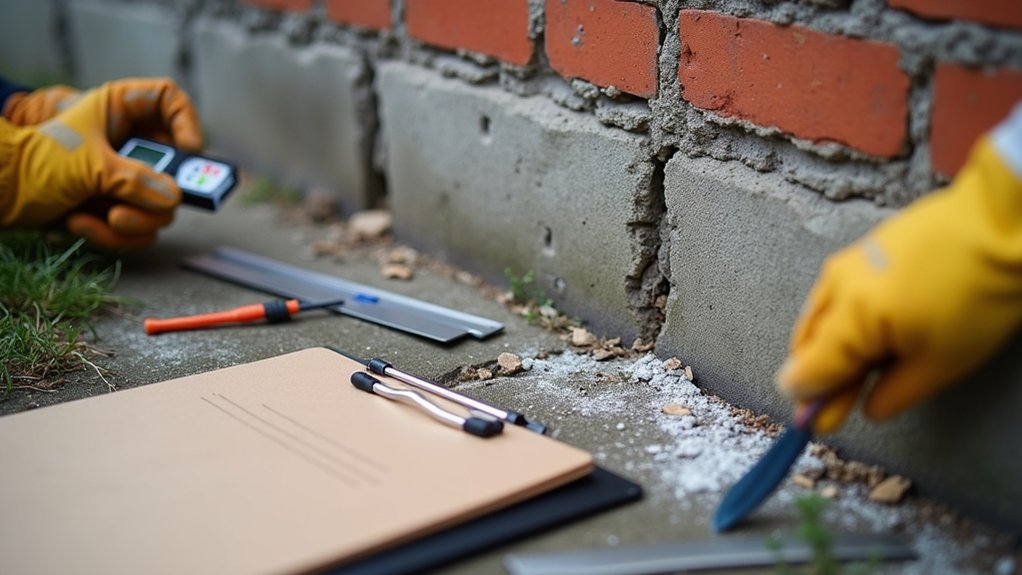
Before you start any boundary wall repairs, you’ll need to diagnose whether the defect is cosmetic (surface cracking) or structural (bulging, rotation, settlement, or sliding).
Map cracks with a pencil, date them, and measure width with feeler gauges; install simple tell-tales to confirm movement over 2–4 weeks.
Check for stepped cracks at corners, bowed courses, leaning with a plumb line, and displaced copings.
Probe mortar and units for softness, and inspect drainage, downpipes, tree roots, and nearby excavations that can drive settlement.
You can DIY monitoring and minor surface assessment, but you should call a structural engineer or mason if you see progressive widening, out-of-plumb beyond 1/100, or bulging.
Protect Boundary wall aesthetics and historical preservation.
Fix Boundary Wall Cracks With Repointing and Mortar Repair
Before you repoint, you’ll assess what’s driving the crack—shrinkage, thermal movement, foundation settlement, or water ingress—so you don’t lock in active movement.
You’ll rake out loose mortar to a sound depth, clean the joint, and pack in a compatible mortar mix, compacting it fully and finishing to shed water.
If cracking repeats or joints keep opening, you’ll treat the cause first, then complete repointing and localized mortar repair for a durable fix.
Assess Crack Causes
Although a crack in your boundary wall can look like a simple cosmetic defect, you’ll get a longer-lasting repointing or mortar repair only if you identify what’s driving it. Start by mapping the crack: note width, length, and whether it steps through joints or cuts units. Check if it’s active by marking dates across it and rechecking after rain, frost, or heat.
Look for root causes: footing settlement, expansive clay heave, nearby tree roots, vehicle vibration, or inadequate drainage saturating the base. Inspect copings and caps for water entry and freeze-thaw spalling.
Identify material mismatch—hard cement patches beside softer brick or stone can concentrate stress, harming boundary wall aesthetics and historical preservation. If you see bulging, leaning, or displaced courses, treat it as structural and stabilise first.
Repointing And Mortar Repair
Once you’ve confirmed a crack isn’t being driven by ongoing movement, fix most boundary wall cracking by cutting out failed joints and repointing with a compatible mortar that can flex slightly and shed water.
Rake joints to 15–20 mm (or twice the joint width) with a plugging chisel or raking blade, keeping edges square and avoiding brick arrises. Brush and vacuum dust, then pre-wet so units don’t suck moisture from fresh mortar.
Match strength and permeability: use lime-rich mixes for historical preservation and softer masonry; avoid hard cement that traps water.
Pack mortar in layers, compacting fully, then tool to the original profile to maintain Boundary wall aesthetics.
Protect from sun, frost, and rain, and mist-cure for several days.
Replace Damaged Boundary Wall Bricks, Blocks, or Stones
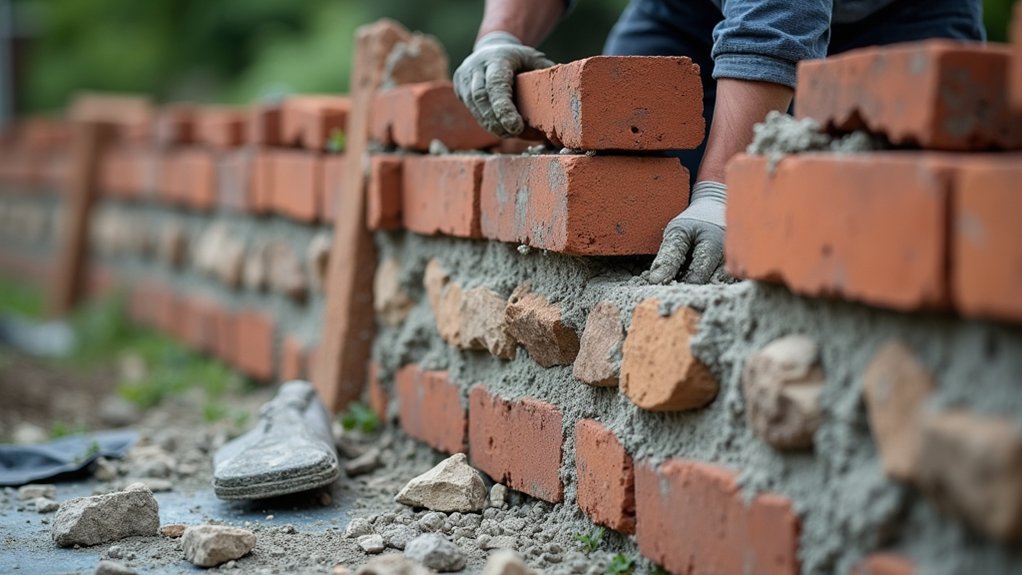
When a boundary wall shows cracked, spalled, or loose bricks, blocks, or stones, you’ll get a longer-lasting repair by cutting out the failed units and rebuilding that section rather than patching over the damage.
Mark the limits to sound masonry, then rake out joints and remove units without disturbing adjacent courses. Brush and dampen the cavity, then reset replacement units on full mortar beds and butter vertical joints.
Use matching joint thickness, line, and level to maintain bond. Prioritise material selection: match strength, absorption, and freeze-thaw rating to the existing wall.
For aesthetic matching, blend reclaimed units, match face texture and colour, and tool joints to the original profile. Protect fresh work from sun, rain, and frost until cured fully.
Fix Drainage and Footings So the Boundary Wall Stops Moving
Replacing failed bricks or blocks restores the wall’s face, but it won’t hold if the base keeps shifting. Start by tracing water: look for downpipe discharge, sloped paving toward the wall, and saturated soil lines.
Implement Drainage solutions by extending downpipes, adding a gravel trench with perforated pipe to daylight, and regrading soil to fall away 1:50 for at least 1 m. Clear weep holes and avoid sealing the base with impermeable render.
If movement persists, check the footing: probe for voids, soft spots, or undermined edges.
For Footing reinforcement, you can excavate in short bays, compact the subgrade, then place mass concrete or a widened strip footing tied with dowels into sound sections. Backfill with free-draining material and compact in layers.
Straighten and Stabilise a Leaning Boundary Wall Safely
You start by measuring the wall’s lean and identifying the drivers—poor footings, saturated backfill, tree roots, or lateral soil pressure—so you don’t straighten a wall that’s still being pushed.
You then brace it with rated props and strongbacks, control the load path, and decide whether you can rebuild only the failed courses or need to take it down to a stable section.
Finally, you stabilise it with grout, pins, or mechanical anchors tied back into sound masonry or a new footing, then recheck plumb and movement before removing the bracing.
Assess Lean And Causes
Although a leaning boundary wall can look like a simple alignment issue, you need to assess the lean’s direction, magnitude, and root cause before attempting any straightening or stabilisation.
Start by checking plumb with a 1.8 m spirit level or plumb bob at several points, then record the maximum offset at the top and mid-height.
Sight along the wall to spot bows, stepped cracking, or rotation around the base.
Inspect the footing line for gaps or depressions indicating boundary settlement.
Examine adjacent ground levels, downpipes, and drainage runs for washout; soft spots, voids, or exposed fines point to soil erosion.
Note surcharge loads (stored materials, vehicles) and nearby excavations.
Photograph, mark reference lines, and monitor movement over weeks.
Brace, Rebuild, And Anchor
Once you’ve confirmed the lean is active or structurally significant, stabilise the wall before any corrective work by bracing it. Then decide whether a controlled rebuild or an anchoring system best suits the cause and construction.
Install timber strongbacks with diagonal props to firm ground, and spread load with padded plates to prevent brick or stone spalling. If footings have rotated or units have sheared, dismantle to sound courses, rebuild plumb on a widened, drained base, and reinstate copings to maintain Boundary wall aesthetics.
Where fabric is sound but restraint is lacking, anchor instead: use helical ties or threaded rods through grout sleeves, resin-fix into stable returns or deadmen, and add weep paths.
Match mortars and finishes for historical preservation, and recheck movement after curing.
Cap and Seal Boundary Wall Repairs for Weatherproofing
When wind-driven rain and freeze–thaw cycles hit an unprotected boundary wall, moisture gets forced into the top course and open joints, accelerating cracking and spalling.
Your best Weatherproofing techniques start at the wall head: install a cap that sheds water, then seal every potential entry path.
Set precast coping, brick-on-edge, or stone with a continuous bed, 5–10° fall, and 25–40 mm drips each side.
Keep joints tight; tool them, then add movement joints where the wall meets piers or returns.
Use a breathable, low-modulus sealant, and avoid hard cement fillets that trap moisture.
Check Material compatibility: match cap porosity and thermal movement to the wall, use non-staining fixings, and isolate dissimilar metals.
Finish by repointing beneath the cap and sealing hairline cracks.
Frequently Asked Questions
Do I Need Planning Permission to Repair or Rebuild a Boundary Wall?
You usually don’t need planning permission to repair a boundary wall, but you will for rebuilding higher walls, listed buildings, or highway-fronting sites. Check Boundary wall materials, use Repair techniques like repointing, stitching, and matching units.
Who Is Responsible for Boundary Wall Repairs Between Neighbours?
Like a fence line drawn in sand, you’re responsible if your title deeds, deeds plan, or agreement assign it; otherwise it’s shared. For any Boundary dispute, confirm legal responsibilities via Land Registry, covenants, and written neighbour consent.
How Much Does Typical Boundary Wall Repair Cost per Metre?
You’ll typically pay £120–£350 per metre for boundary wall repairs, depending on access, height, and damage. Mortar matching raises labour time, while structural reinforcement (pins, ties, grout) pushes costs toward the top end.
What Is the Best Time of Year to Repair Exterior Masonry Walls?
You’ll get best results in late spring to early autumn, when seasonal weather stays mild and dry. You’ll improve masonry durability by avoiding frost, heavy rain, and extreme heat, and letting mortar cure steadily.
Will Repairing a Boundary Wall Affect My Home Insurance or Claims?
Yes—you’ll usually see minimal impact, but check your policy: a small repair can trigger big questions. Document Damage assessment, keep invoices, use qualified contractors, and notify insurers if structural issues exist for Insurance implications.