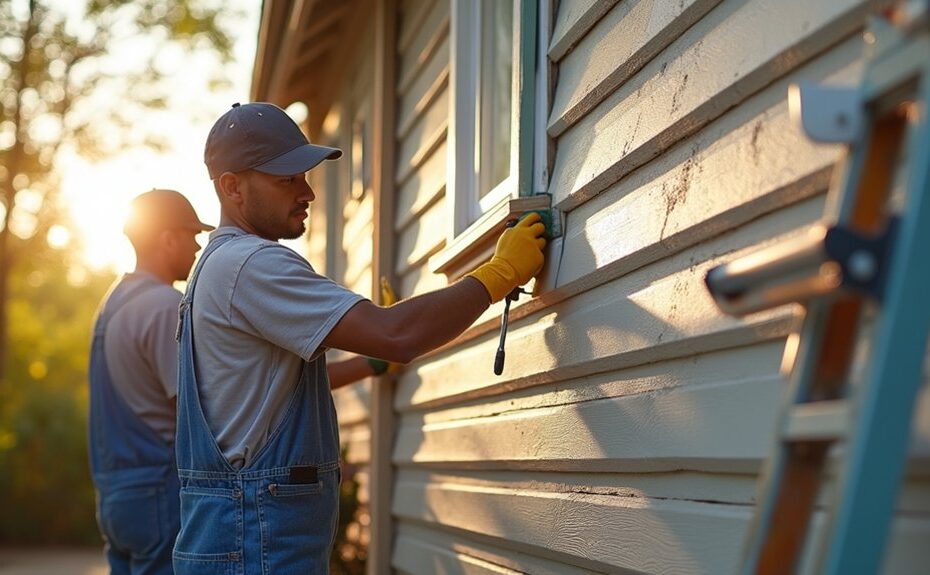
Painting your home’s exterior is like laying a weatherproof jacket over a moving frame. You’ll get lasting results only if you control conditions, prep every surface, and work in a tight sequence. Check siding and trim for rot, loose boards, and failing caulk, then wash off dirt, mildew, and chalk and let it dry fully. Scrape and sand to sound edges, prime bare spots, and seal gaps. Next, you’ll need to time your first coat so it cures, not just dries…
Key Takeaways
- Paint during stable, dry weather with label-approved temperatures, moderate humidity, and 48–72 hours rain-free for proper curing.
- Inspect siding and trim for rot, cracks, loose boards, and failed caulk; photograph and plan repairs before painting begins.
- Wash to remove dirt, chalk, and mildew; protect plants and let surfaces dry completely for 24–48 hours before priming.
- Scrape and sand peeling paint to sound edges, feather transitions smooth, and follow lead-safe practices on pre-1978 surfaces.
- Repair damage, caulk gaps, spot-prime bare areas, then paint in order (soffit, fascia, siding, trim) with consistent overlaps and back-brushing.
Plan Exterior Painting Around Weather and Dry Time
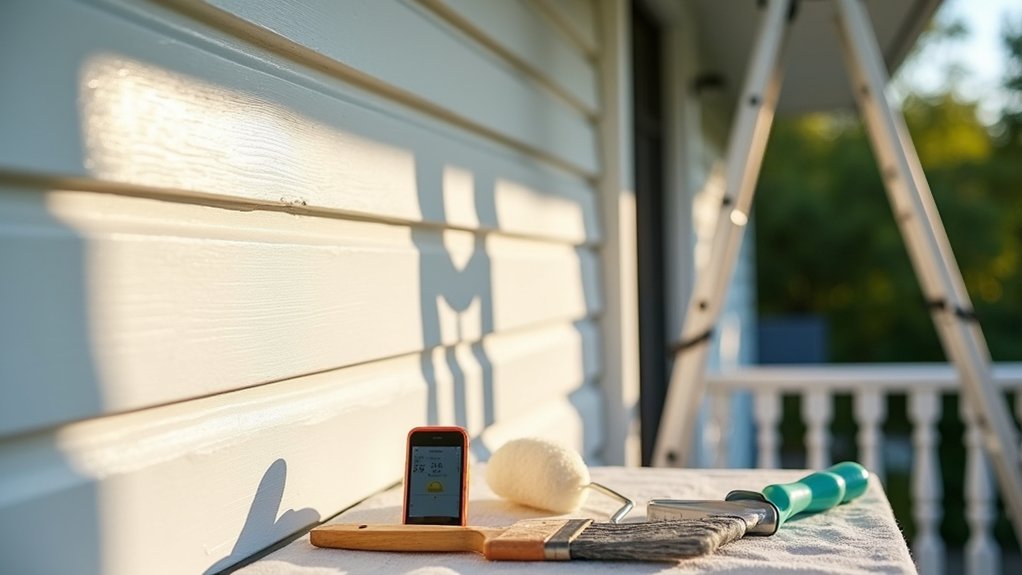
Because weather controls how paint cures, you’ll get longer‑lasting results by scheduling exterior painting around a stable forecast and realistic dry times. Choose seasonal timing when temperatures stay within the paint label range day and night, and humidity remains moderate.
Check weather forecasts for at least 48–72 hours of dry conditions, including overnight dew risk and wind that can drive dust into wet film. Start early enough that each coat can dry before evening cool-down, and stop if clouds build or rain chances rise.
Follow the manufacturer’s recoat window, but extend it when shade, high humidity, or low temperatures slow curing. Keep ladders off slick surfaces, and don’t paint during storms or extreme heat.
Inspect Siding and Trim to Scope Exterior Prep
Before you buy paint or set up ladders, walk the entire exterior and inspect the siding and trim so you can scope prep work accurately and avoid unsafe surprises. Note your siding material (wood, fiber cement, vinyl, stucco, masonry) because each signals different failure points. Look for loose boards, popped nails, cracked panels, soft spots, and gaps at joints.
Probe suspect wood with an awl, and mark rot or insect damage for repair. Check caulk lines at windows, doors, and corner boards; flag splits or missing beads. Study trim detailing—profiles, drip caps, and decorative returns—so you don’t miss hidden edges that need sanding or patching.
Photograph problem areas, measure lengths for replacement, and plan stable ladder placements away from overhead wires.
Wash Exterior Siding and Let It Dry Fully
After you’ve mapped out loose spots, failing caulk, and areas that need repair, clean the siding so dirt, chalky residue, mildew, and spider webs don’t get trapped under primer and paint.
Choose the right Cleaning tools: a garden hose with spray nozzle, a soft siding brush on an extension pole, pump sprayer, and a bucket of mild detergent plus mildewcide as needed.
Protect plants by wetting leaves, covering beds, and rinsing often. Work top to bottom in small sections, keep water away from vents, outlets, and open joints, and don’t force water behind boards.
Wear eye protection, gloves, and non-slip footwear, and stabilize ladders.
Use drying techniques: squeegee drips, towel trouble spots, and wait 24–48 hours of dry weather.
Scrape and Sand Peeling Paint Smooth
Once the siding’s dry, you’ll inspect every board and trim edge for paint that’s lifting, curling, or sounds hollow when you tap it. You’ll put on eye protection, a dust mask/respirator, and gloves.
Then, scrape until only firmly bonded paint remains and no loose edges catch your tool. Next, you’ll feather-sand the perimeter of each scraped spot to a smooth blending so the new primer and paint won’t telegraph ridges.
Identify Loose Paint Edges
Although the old paint may look solid from a few feet away, you need to track down every loose edge so it can’t keep lifting under the new coat. Put on safety glasses, gloves, and a dust-rated respirator, then work in bright, raking light so shadows reveal cracks and curls. Run a putty knife along suspect areas; if it slides under paint or you hear a hollow “click,” the bond has failed.
Press painter’s tape over edges and pull it back—any flakes that release need attention. Mark problem spots with chalk so you don’t miss them later. This step is essential for surface prep for reliable paint adhesion and prevents premature peeling in sun, rain, and temperature swings.
Work methodically, section by section, around trim, joints, and window sills.
Feather Sand Transitions Smooth
Because even a thin, lifted paint edge will telegraph through your finish coat, you need to feather every shift from bare wood to sound paint until it feels seamless to the touch.
Start by scraping to a firm boundary, then switch to blending with 80–100 grit on a sanding block or random-orbit sander. Keep the tool flat and move past the edge in overlapping passes so you taper paint thickness gradually, not in a hard step.
Vacuum dust, then check with a raking light and your fingertips; if you can catch a nail on the ridge, keep sanding.
For final smoothing of the seam, step up to 120–150 grit to erase coarse scratches.
Wear eye protection, a P100 respirator, and contain dust, especially on pre-1978 paint.
Repair Trim, Fill Cracks, and Caulk Gaps
Before you open a paint can, take time to repair damaged trim, fill cracks, and caulk any open gaps—these small fixes stop water intrusion, prevent rot, and keep your finish from failing early.
Inspect edges, joints, and end grain, then mark soft or split areas.
For trim repair, cut out rot to sound wood, wear eye protection, and keep fingers clear of blades.
Consolidate remaining fibers and rebuild missing sections with exterior-grade patch, shaping to match profiles.
For crack filling, widen hairlines slightly, brush out dust, and pack filler firmly so it bonds to both sides.
Let repairs cure fully, then sand flush.
Finally, caulk seams at trim-to-siding and around penetrations; tool a smooth bead, and wipe excess.
Pick the Right Exterior Primer for Your Surface
Once your repairs are cured and sanded flush, match your primer to the siding and trim so it locks down the surface and gives the topcoat a stable base.
Check the Surface texture: rough wood and weathered fiber-cement need high-build bonding primers, while smooth, previously painted surfaces often take acrylic latex primers well.
For bare cedar or redwood, use stain-blocking primer types to prevent tannin bleed.
On chalky paint, scrub, rinse, let dry, then use a masonry/conditioner primer that binds residue.
Spot-prime knots, filler patches, and exposed end grain until it stops soaking in.
Follow label temperature and recoat windows, and wear gloves, eye protection, and a respirator when sanding or spraying.
Keep primers off plants and waterways.
Paint Exterior Siding and Trim Without Lap Marks
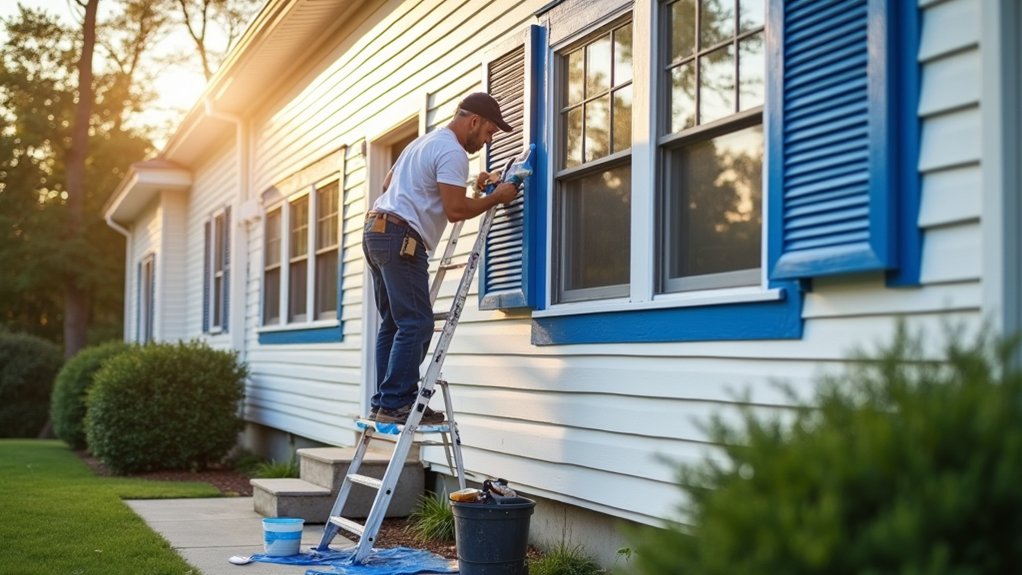
To prevent lap marks on siding and trim, you’ll keep a wet edge by brushing or rolling into the previous stroke before it starts to tack up.
You’ll work in small, manageable sections—one board course or a few feet at a time—so the paint stays uniformly wet and blends cleanly.
Set your ladder securely and plan your reach so you don’t overextend or pause mid-section, which can create visible seams.
Maintain A Wet Edge
Although exterior paint looks forgiving while it’s fresh, you’ll get lap marks fast if one section starts drying before you blend the next stroke into it, so maintain a wet edge as you work. Load your brush or roller evenly, then keep your strokes moving into the still-glossy paint, feathering pressure at the end of each pass.
Back-brush or back-roll immediately to level ridges before they tack up, and don’t “touch up” drying areas. Keep a steady pace and a consistent film thickness so color coordination stays uniform and you don’t create dull bands.
For safety, set ladders on stable ground and keep three points of contact so you won’t rush. Working wet-on-wet also boosts paint durability by avoiding weak, overworked seams.
Work In Manageable Sections
Keeping that wet edge gets much easier when you break the exterior into manageable sections you can finish before the paint starts to tack. Choose natural stopping points: one clapboard run, one bay, or one trim span between corners. Plan your ladder moves so you paint top to bottom, staying within arm’s reach to prevent overreaching and falls. Keep a stable base, tie off where required, and don’t paint in high wind.
Maintain Color coordination by completing adjacent surfaces in order: soffit, fascia, siding, then trim, so overlaps stay consistent. Load your brush or roller evenly, feather the edge, and immediately back-brush into the previous pass. Working in sections reduces missed spots, prevents lap marks, and improves paint durability over time.
Frequently Asked Questions
Do I Need a Permit or HOA Approval to Repaint My Exterior?
Yes—you often do: freedom meets rules. You’ll check local permits for color changes or historic zones, and get HOA approval. Before Exterior cleaning and Surface preparation, confirm requirements, document colors, and follow safe ladder practices.
How Do I Choose an Exterior Paint Color That Won’T Fade Quickly?
You’ll reduce fading by choosing UV-resistant, high-quality pigments and lighter, stable hues. Prioritize Color harmony and careful Shade selection with test patches. Verify local climate ratings, then follow label cure times and use proper PPE.
Should I Replace Siding or Trim Instead of Painting Over It?
You should replace damaged parts; paint only sound surfaces. Like patching a ship’s hull, choose Siding replacement for rot, warping, or mold, and a Trim upgrade for splits. Wear PPE, probe with awl, and fix flashing.
How Can I Protect Landscaping, Patios, and Windows During Exterior Painting?
You’ll protect landscaping, patios, and windows by wetting plants, draping breathable fabric for landscaping protection, taping plastic over hardscapes, and using window masking film plus painter’s tape. Secure edges, control overspray, and remove coverings daily.
What’s the Best Way to Estimate How Much Paint and Primer I’Ll Need?
You’ll estimate paint and primer by measuring wall area, subtracting openings, then dividing by coverage rates; one gallon often covers ~350 sq ft. Check Paint durability needs and Primer selection, buy 10% extra, label cans safely.