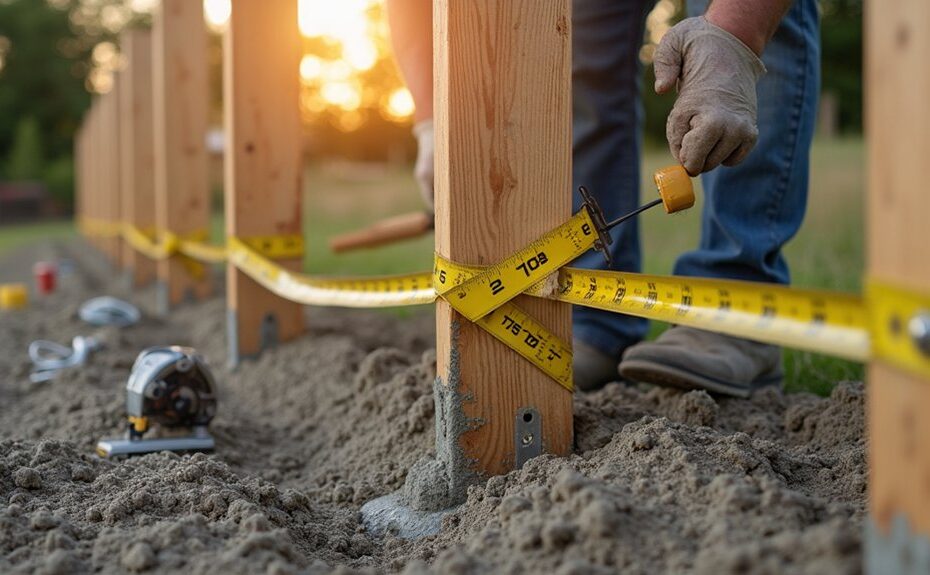
You don’t get a straight fence by eye; you get it by layout and standards. You’ll start from surveyed markers, pull tight lines, and square corners with the 3‑4‑5 method before you dig. Then you’ll choose treated posts, corrosion‑resistant fasteners, and a spacing plan that matches panels and wind load. Set posts to frost depth, brace them plumb, and control drainage—or the line won’t hold. Next comes the part most installs miss.
Key Takeaways
- Establish a verified layout from surveyed pins, square corners with 3‑4‑5 and diagonals, and keep lines tight, level, and documented.
- Use ground‑contact posts, kiln‑dried straight rails, and hot‑dip galvanized or stainless fasteners; treat all field cuts and seal penetrations.
- Set post spacing to match panel length and wind exposure; reduce spans or add intermediate posts so each bay resists “sail” loads.
- Dig below frost depth on compacted gravel, keep posts isolated from standing water, and crown sloped concrete tops to shed moisture.
- Brace posts in two opposing directions, recheck plumb during curing, and avoid loading rails or wire until concrete gains full strength.
Plan a Straight Fence Line and Square Corners
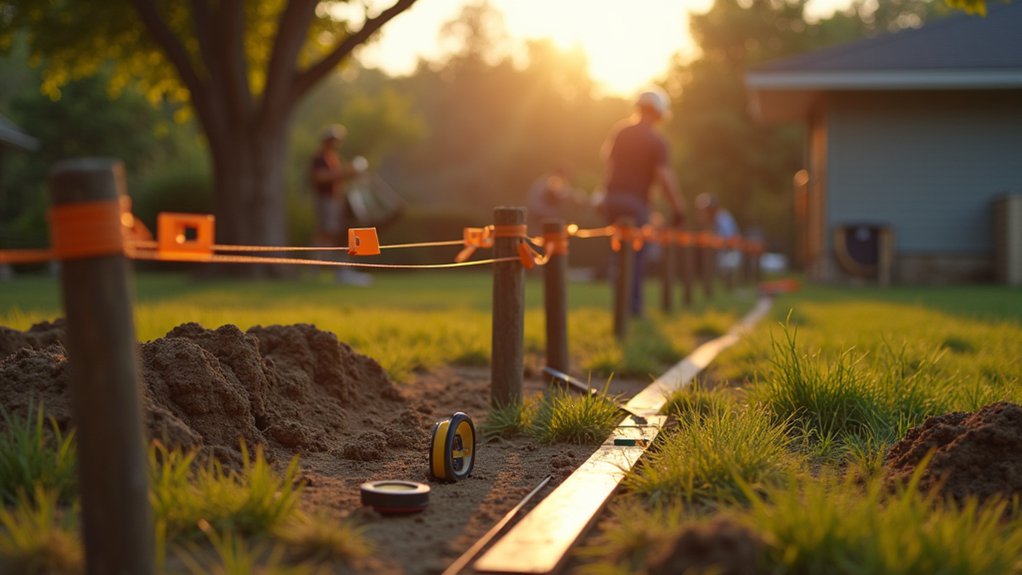
Before you dig a single posthole, you need a verified reference line and true 90° corners, because every layout error compounds as the run gets longer. Establish a baseline from a property pin or surveyed monument, then set batter boards beyond each corner so strings won’t shift during work.
Use the 3‑4‑5 method (or multiples) to square corners, and confirm with diagonal measurements for large rectangles. Pull mason’s line tight, level it, and mark post centers at the specified on‑center spacing with paint or stakes.
Check offsets to sidewalks, easements, and setbacks against local requirements. This layout controls Fence aesthetics by keeping panels parallel and sightlines clean. It also improves Cost estimation by locking in linear footage, corner counts, and gate openings.
Choose Durable Fence Posts, Rails, and Fasteners
With your fence line and corners locked in, match the hardware to the loads and exposure the layout will impose. Specify posts rated for ground contact (UC4A/UC4B), or use galvanized steel posts where soil stays wet.
Choose straight, kiln‑dried rails with minimal knots; crown them consistently so they resist sag. For fasteners, use hot‑dip galvanized or 304/316 stainless to meet corrosion requirements and prevent black streaking.
Prefer structural screws or ring‑shank nails over smooth shanks; they’ll hold under cyclic racking. Isolate dissimilar metals with approved barriers.
Seal every field cut with end‑cut preservative, then apply Fence stain after drying to slow moisture cycling. Add Decorative caps to shed water off end grain and reduce checking.
Verify compatibility with treated lumber chemicals.
Match Fence Post Spacing to Panels and Wind
You’ll set post spacing from the panel length first, so each panel lands squarely on post centerlines without forced cuts or overhang.
Then you’ll adjust the layout for wind load by reducing spans, adding intermediate posts, and following local code exposure and manufacturer span limits.
If you ignore wind-driven spacing, you’ll overload fasteners and rails and shorten the fence’s service life.
Panel-Length Post Layout
How far apart should the posts go? Set spacing to match your manufactured panel length, not an estimated bay. Verify the actual panel dimension with a tape, then lay out post centers so each panel seats fully in brackets or rails without forcing. Mark a baseline string, square corners, and measure on-center distances along the string to keep runs straight.
Use consistent module lengths (e.g., 6 ft or 8 ft) and account for end hardware, post sleeve thickness, and gate-frame offsets. When you hit grade changes, keep the same on-center spacing and step panels; don’t stretch bays to “make it fit.”
Confirm alignment against your Fence color and landscaping integration plan so post locations avoid shrubs, irrigation, and edging while preserving clean sightlines.
Wind-Load Spacing Adjustments
Although your panel length sets the baseline module, wind loads often dictate tighter post spacing or heavier posts to meet code and manufacturer limits. Start by checking local design wind speed, exposure category, and any HOA or product requirements.
Treat each bay as a sail: the taller and more solid the infill, the higher the pressure and uplift at posts and rails. If calculations or tables show overstress, reduce spacing (for example, from 8 ft to 6 ft), upgrade post section, or increase embedment and footing diameter.
Keep fastener patterns per spec so load distribution transfers into posts without rail twist. In corners, gates, and end runs, assume higher wind resistance demand and brace or double-post accordingly.
Document your layout for inspection and future repairs.
Dig Fence Post Holes to the Right Depth for Frost
Before you set a single post, verify the local frost depth and dig each hole so the footing bears below that line; otherwise, freeze–thaw cycles can jack the post upward and loosen the fence over time.
Use municipal tables or geotechnical maps to confirm the frost line, then add a safety margin where codes require it.
Excavate with a power auger or clamshell digger, keeping the hole vertical and the base flat.
In granular soils, prevent sloughing with a snug diameter; in cohesive soils, remove smeared sidewalls to restore bearing.
Place 4–6 inches of compacted, drained gravel at the bottom to limit water retention and improve soil stability.
If you encounter organics, soft clay, or fill, over-excavate and replace with compacted granular material.
Set Fence Posts Plumb and Brace While They Cure
Set each post plumb in both directions using a 2‑ft or 4‑ft level, and correct any lean before the mix sets.
Lock alignment with temporary bracing—stake and screw 2x4s to the post and ground—so it can’t shift under wind or load.
Hold those braces through the concrete curing timeline: initial set in hours, light handling after about 24–48 hours, and full strength at roughly 28 days.
Check Post Plumbness
Once you’ve placed a post in its hole and added concrete, verify plumbness immediately and keep checking it until the mix starts to lock up. Use a 24–48 in. level on two adjacent faces, or a post level, and correct in small increments. Recheck after each adjustment and after any contact with the post.
Confirm the post’s rotation aligns with your stringline so rails and panels seat square, supporting garden aesthetics and privacy security.
Hold the post at final elevation, then confirm plumb at the top and mid-height; tall posts can lean while the base reads true. Measure to a fixed reference point if wind or soil shifts are possible.
Stop corrections once the concrete begins to resist movement to avoid breaking the bond.
Temporary Bracing Techniques
While the concrete cures, brace each post so it can’t rack, twist, or drift out of plumb from wind, soil movement, or accidental bumps. Install temporary bracing immediately after you verify plumb.
Use two 2×4 braces per post set at opposing angles (about 45°) to resist movement in both axes. Fasten braces to the post with exterior screws, not nails, so you can remove them cleanly.
Stake the brace ends into firm soil or screw them to short ground stakes; don’t rely on loose backfill. Recheck plumb with a level after tightening fasteners.
Run a taut stringline along the post faces to preserve fence alignment, and adjust braces until every post kisses the line without forcing it.
Concrete Curing Timeline
How long you need to keep posts braced depends on the concrete’s cure curve, not the clock on the bag. Set each post plumb, lock braces, and verify alignment with a level in two directions before the mix begins to stiffen.
Track curing temperature: below 50°F, hydration slows and you must extend bracing; above 80°F, evaporation rises and you must prevent rapid drying.
Keep the top surface damp or covered for the first 24–48 hours to reduce shrinkage.
Don’t load rails or stretch wire until you’ve reached adequate concrete strength for your design—typically after 3 days for light handling and 7 days for structural loading, longer in cold weather.
Recheck plumb at 30 minutes and again at 2 hours.
Install Rails and Panels Without a Wavy Fence
Even if your posts are perfectly set, you’ll still get a wavy fence if the rails and panels don’t follow a single straight reference line. Establish that line with a taut mason’s string or laser, offset from post faces by a consistent shim thickness.
Snap chalklines on posts at top and bottom rail elevations, then use a story pole to transfer marks bay to bay.
Cut rails to identical lengths and crown them consistently. Clamp each rail to layout marks, confirm level, then fasten with rated exterior screws, keeping ends tight to post faces.
Hang panels from a fixed spacer off the string, not from the ground.
For Decorative lattice sections, frame them square and verify diagonals before attachment.
Complete Fence staining only after final alignment checks.
Protect Posts From Rot, Water, and Ground Contact
Because ground moisture and trapped water drive most premature fence failures, you need to isolate each post from soil contact and shed water at every interface.
Set posts below frost depth on compacted gravel for drainage, then pour concrete with a crowned top that slopes away from the wood.
Keep the post end off the slab by embedding it in a gravel sump or using a post base rated for in‑ground use.
Treat cut ends with preservative, and specify UC4B pressure‑treated lumber where code allows.
Maintain 2 in. clearance to grade for panels, decorative lattice, and privacy screens so splashback can dry.
Seal fastener penetrations, cap post tops, and avoid soil mounding against the post.
Inspect annually and recoat exposed end grain.
Frequently Asked Questions
Do I Need a Building Permit or HOA Approval to Install a Fence?
Yes, you often do—you’d think your yard’s yours. Verify local codes and HOA covenants before construction. Fence height limits trigger permits; material durability specs may require approval. Document setbacks, utilities, and inspections for compliance.
How Close Can I Build a Fence to My Property Line?
You can typically build on your side of the line, but setback regulations often require 0–10 feet. Confirm the line with a boundary survey, then verify local zoning and easements before you set posts.
What Fence Style Offers the Best Privacy While Still Allowing Airflow?
You’ll get best privacy with a board-on-board fence using 10–20 mm spacing or louvered slats, meeting local code. You’ll maintain airflow, add Decorative options, and improve noise reduction with acoustic backing.
How Do I Safely Avoid Underground Utilities Before Digging Post Holes?
You navigate like a ship in fog: you don’t dig until charts appear. Call 811 for utility marking, wait required time, respect tolerances, hand-dig to verify, use PPE, and follow excavation safety standards.
What’s the Best Way to Remove or Recycle an Old Fence?
Start Fence removal by dismantling panels, then cut fasteners and pull posts with a jack. Sort materials by type; pursue Recycling options: metals to scrap yards, clean wood to reuse/chip, concrete to approved facilities.