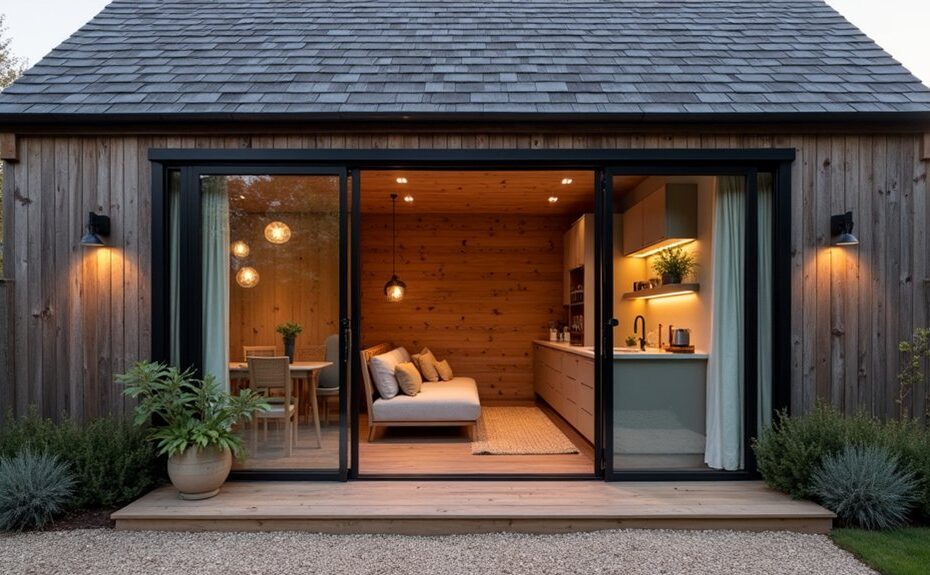
Start by confirming zoning allows a guest wing or rental, then line up structural, plumbing, electrical, fire, and egress permits. You’ll need a condition survey to verify framing, floor loads, and foundation, plus code-compliant stairs, headroom, and egress windows. Design a separate entry and tight layout, stack wet rooms, and plan circuits and HVAC early. Build a continuous air barrier, hit required R-values, manage vapor and drainage, and add soundproofing. Next, you’ll see how to price and finish it right.
Key Takeaways
- Verify zoning, ADU/short-term rental rules, setbacks, parking, and required permits before committing to design or construction.
- Perform a condition and structural survey, confirming foundation, framing, and floor-load capacity for bedrooms and bathrooms.
- Plan code-compliant life safety: egress windows, stair geometry, smoke/CO alarms, and fire-rated separations where required.
- Upgrade the envelope with continuous air sealing, code-required insulation R-values, vapor control, and proper flashing to prevent moisture damage.
- Design efficient layout and utilities by stacking plumbing, sizing electrical/HVAC correctly, and using durable finishes and soundproofing for privacy.
Confirm the Barn Annex Can Be Converted
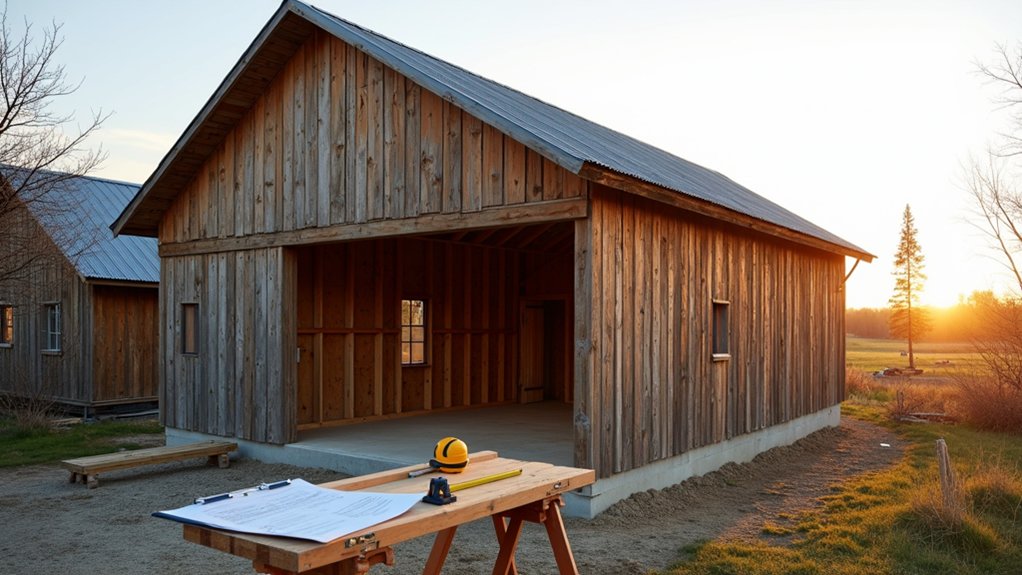
Before you sketch a floor plan or price out finishes, confirm the annex can legally and structurally support a change of use. Start with a condition survey: check roof lines, trusses, sill plates, and foundation for rot, racking, or settlement.
Verify floor loading and span limits for sleeping and bathing areas, and map where you can run new plumbing without notching joists or compromising shear walls.
Assess envelope performance: air-seal gaps, plan insulation depth, and prevent moisture with proper vapor control and drainage planes.
Confirm egress feasibility with window sizing and stair geometry, and test headroom at beams and loft edges.
If Historical preservation applies, document character-defining elements and pursue aesthetic integration through compatible materials, proportions, and discreet MEP routes.
Check Zoning, Permits, and Rental Rules
Before you build, confirm your barn annex use is allowed under local zoning and land-use rules, including setbacks, parking, occupancy limits, and accessory-dwelling restrictions.
Then you’ll map required permits—structural, electrical, plumbing, septic, fire, egress—and schedule inspections so the work stays code-compliant.
If you plan to rent it out, check short-term rental ordinances, licensing/tax registration, safety mandates (smoke/CO alarms, exits), and any HOA or deed limits.
Zoning And Land Use
Although your barn annex sits on your property, zoning and land-use rules still dictate whether you can convert it into a guest wing or a legal rental unit. Verify the parcel’s zoning designation, allowed uses (single-family, accessory dwelling unit/ADU, ag use), setbacks, parking, and occupancy limits. Then confirm which permits you’ll need (building, electrical, plumbing, septic/well, driveway/fire access) and whether short-term or long-term rentals trigger separate licensing, inspections, tax registration, or HOA restrictions.
Check overlay districts (floodplain, coastal, wildfire) that can cap floor area, require defensible space, or limit paving. If your annex is older, confirm Historical preservation rules before altering facades or openings.
Use Environmental sustainability goals to guide siting: protect wetlands, maintain drainage, minimize tree removal, and plan utility routes that avoid sensitive soils.
Permits And Rental Compliance
Once zoning says the use is allowed, you still have to line up permits and rental compliance so the annex can be occupied legally and insured as a guest wing or rental.
Pull building, electrical, plumbing, and mechanical permits, and verify change-of-use triggers: egress windows, stair geometry, smoke/CO alarms, fire separation, and insulation/energy code.
If you add a kitchen, confirm venting, GFCI/AFCI, and grease rules.
Schedule rough-in and final inspections, and keep as-builts for future resale.
If the barn is designated, coordinate Historical preservation review and document materials for approvals.
For rentals, register the unit, meet short-term occupancy limits, post exits, provide extinguishers, and follow tax remittance and ADA/visitability policies.
Aim for aesthetic integration without violating listed-condition requirements.
Design a Private Annex: Entry and Layout
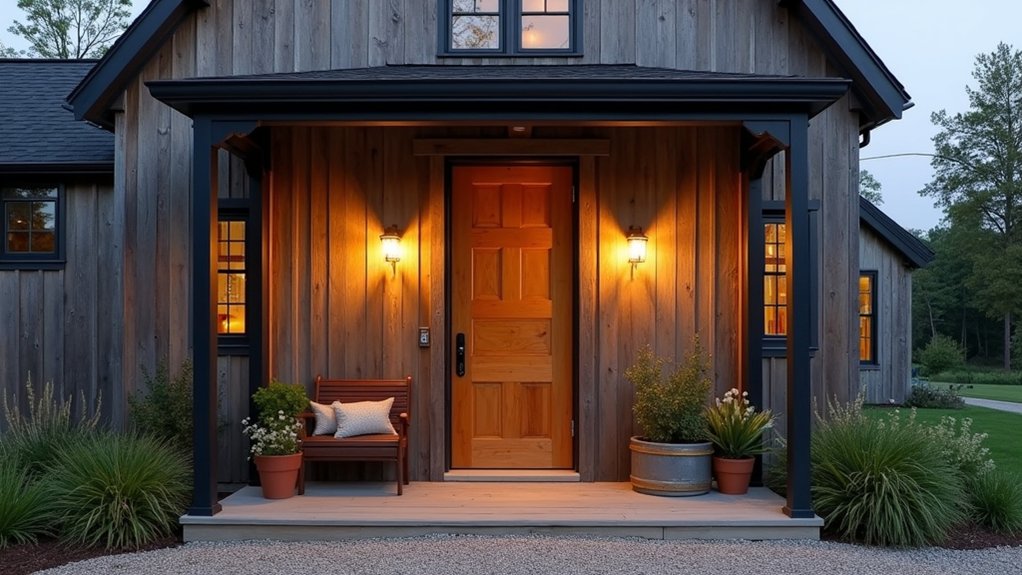
Start by planning a separate entry that meets egress, lighting, and accessible-clearance requirements, so guests don’t cross your main living path.
Then map an efficient floor plan flow—entry to kitchenette to bath to sleeping—minimizing hall length, dead space, and door conflicts.
Use privacy zoning (buffer closets, sound-rated walls, and controlled sightlines) to separate “public” arrival space from quiet rooms without adding square footage.
Separate Entryway Planning
Because a guest wing only feels “separate” when arrivals don’t cross your daily path, plan the entryway first and let it dictate the annex layout. Choose a door location that’s visible from the drive yet screened from your main yard; use outdoor landscaping like hedges, gravel paths, and downcast lighting to guide guests without adding glare.
Verify grade, drainage, and slip-resistant surfacing, then size landings and stairs to current code, including handrails and headroom. If you’re changing an existing opening, prioritize historical preservation: keep original framing proportions, reuse doors where feasible, and match trim profiles.
Add a lockable vestibule or mud niche so coats, keys, and meters stay contained, and route utilities to avoid crossing shared zones.
Efficient Floor Plan Flow
Although your entry door anchors the annex, you’ll make it feel truly independent by laying out a direct, no-cross-traffic route from that threshold to the core spaces—sleeping, bathing, and a small living/kitchenette zone—while keeping your own circulation on the opposite side of a sound-rated separation wall.
Keep the path straight, 36 inches clear where required, and avoid pinch points at the bath and bed door swings.
Stack plumbing fixtures back-to-back to shorten runs, protect barn architecture framing, and simplify venting.
Place the kitchenette on an exterior wall for direct exhaust and easier GFCI-protected small-appliance circuits.
Use built-ins and pocket doors to save square footage without compromising egress.
Preserve character by aligning new partitions with existing bays for historic preservation compliance.
Privacy Zoning Strategies
Once you’ve committed to a separate entry, you can lock in true privacy by zoning the annex so guests move from “public” to “private” without ever intersecting your household circulation. Place the door near parking, then use Landscaping design—hedges, low walls, and path lighting—to direct arrival and shield views.
Inside, build a small vestibule with coat hooks and a code-required egress route. Keep the “public” zone first: kitchenette, table, and lounge. Next, a short hall with a pocket door creates an acoustic buffer. Put bedroom and bath last, with the bath accessible from the hall to avoid bedroom entry. Add a lockable owner’s closet at the threshold.
For Historical preservation, retain original posts and siding while running new utilities in chases. Use seals and self-closers.
Price the Barn Annex Conversion Realistically
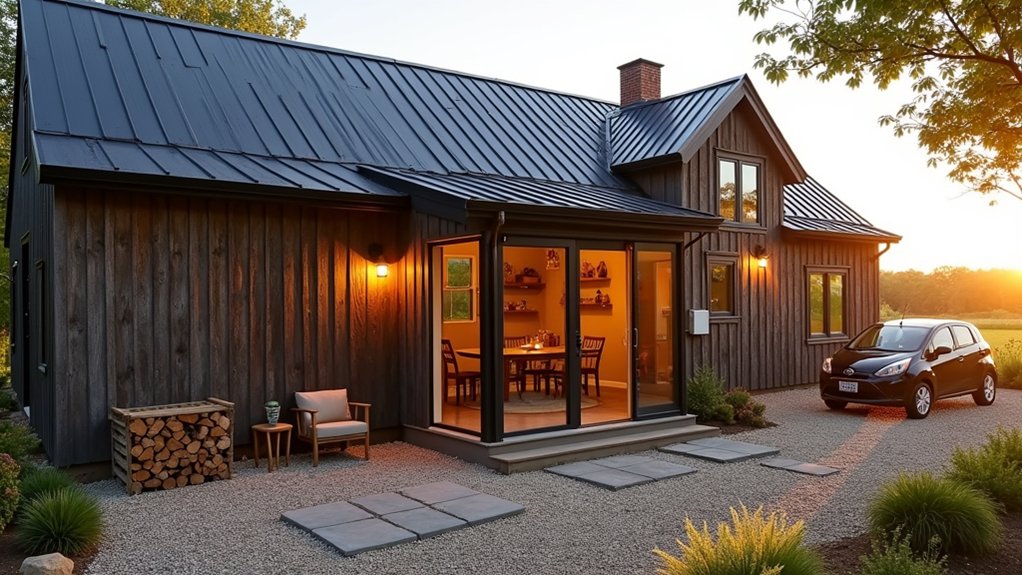
Before you fall in love with floor plans and finishes, lock in a realistic budget range for the barn annex conversion by pricing the “must-have” systems first: structural repairs, roof and envelope, insulation, windows/doors, plumbing runs, electrical service upgrades, HVAC, and code-required life-safety (egress, smoke/CO, fire separation).
Then price the “tie-ins”: water heater capacity, sewer or septic loads, panel space, trenching, and meter changes.
For Barn renovation accuracy, get line-item bids, not lump sums, and verify permit fees, plan review, and required inspections.
Add allowances for concealed conditions—rot, undersized framing, unvented combustion, or asbestos—plus 10–20% contingency.
Keep the layout compact to shorten runs and reduce fixtures.
Spend where Guest comfort shows: quiet HVAC, durable flooring, and watertight baths.
Insulate, Air-Seal, and Soundproof the Annex
Because a barn annex often leaks air through every crack in the shell, you’ll get the biggest comfort and operating-cost gains by treating insulation, air-sealing, and sound control as one coordinated scope tied to code-required R-values and a verified air barrier.
Start by mapping your continuous air barrier: taped sheathing or a smart membrane, sealed at rim joists, corners, and all intersections with compatible tapes, gaskets, and foam.
Specify roof insulation to meet local energy code—often the highest R-value target—then protect ventilation paths or use an unvented, approved assembly.
Control moisture by keeping warm-side air from reaching cold surfaces and by detailing flashing at eaves.
For acoustics, decouple walls with resilient channel, fill cavities with mineral wool, and add soundproof barriers like mass-loaded vinyl where you need privacy.
Plan Utilities: Plumbing, Electric, and Heating
After you’ve locked in the air barrier and insulation layers, lay out utilities so you don’t compromise them with ad-hoc penetrations. Stack wet rooms to shorten runs, vent through a dedicated chase, and slope drains per code. Use PEX home-runs with accessible manifolds, add shutoffs at each fixture, and keep cleanouts reachable.
For electrical, map a load schedule, size a subpanel, and separate lighting, receptacles, and HVAC circuits; follow box-fill, GFCI/AFCI, and bonding requirements. Reserve conduit paths for Solar integration, and keep disconnects serviceable.
For heating, choose a compact heat-pump head or hydronic loop, size it by calc, and seal duct/line-set penetrations. Coordinate trenching with landscaping design to protect pipes, sleeves, and future pulls.
Add Daylight and Meet Egress Requirements
Even if you’re keeping the annex’s footprint tight, you can’t treat windows and doors as decorative—daylight and code-compliant egress have to drive the layout. Map sleeping rooms first, then place openings to deliver natural lighting without sacrificing wall space for cabinets or wardrobes.
Verify local requirements for habitable-room glazing, safety glass near floors, and tempered units in wet zones. For bedrooms, provide an egress window or door that meets minimum clear opening, sill height, and operability rules, and keep the path to it unobstructed.
If you’re adding a loft, confirm stair width, headroom, and guard requirements, plus a second way out where mandated. Plan emergency exits with exterior landings, lighting, and hardware you can open without keys.
Choose Durable Finishes, Then Furnish and Market
Once you’ve locked in the annex’s layout and openings, pick finishes that can take daily wear and still pass inspection, then furnish around the way guests actually use the space. Specify LVP or sealed concrete for wet entries, washable satin paint, and moisture-rated drywall near baths. Use Class A-rated wall/ceiling materials where required, and choose commercial-grade hardware and lever handles for accessibility.
Seal gaps at baseboards and penetrations to limit pests and drafts.
Plan furniture placement to preserve required egress paths, clearances at doors, and safe heater/setback zones. Mount TVs and shelves to studs; add tamper-resistant outlets and hardwired, interconnected alarms.
Keep Decorative accents minimal: durable rugs, wipeable textiles, and a labeled welcome binder. Photograph in daylight, list sleeping counts honestly, and price for utilities, cleaning, and wear.
Frequently Asked Questions
How Long Does a Typical Barn Annex Conversion Take From Start to Finish?
You’ll finish in 6–12 months—because the Permitting process loves suspense. You schedule Interior design, engineering, inspections, and trades; you pass rough-in, insulation, and final code checks. You’ll slip to 12–18 months if surprises hit.
Should I Hire an Architect or Can a Design-Build Contractor Handle Everything?
You can use a design-build contractor for everything if they include licensed design and permitting; hire an architect when design aesthetics or complex code issues matter. You’ll get tighter space planning and better material selection control.
Will Converting the Annex Increase My Property Taxes or Insurance Premiums?
Yes—you’ll likely see higher taxes or premiums. When you add finished square footage, sunlight hits new drywall and assessors note value: property tax implications rise. Notify your carrier; insurance premium changes follow updated occupancy, liability, codes.
What Ongoing Maintenance Should I Expect for a Converted Barn Annex?
You’ll handle seasonal roof/siding checks, gutter cleaning, HVAC filter changes, moisture control, and drainage upkeep. Budget for landscaping expenses, routine pest control, recaulked seams, paint touchups, and code-required safety tests (smoke/CO, GFCI).
How Do I Screen Guests or Tenants to Protect My Main Home’s Privacy?
Use strict guest screening: verify ID, run background/credit checks, require references, and collect signed agreements. Protect tenant privacy with separate entry, smart locks, no shared cameras, clear boundaries, and rule-based check-in/out logs.