
Start by checking moisture at slab edges, leaks, and mold, then confirm zoning, egress, and electrical capacity for dedicated circuits. Map how sunbeams, glare, and shadows move, and place clean worktables where side light stays even while pushing dusty or solvent tasks toward doors and exhaust. Add taller, well-placed windows, a skylight over circulation, or a light tube for back corners, then insulate, air-seal, and ventilate with a quiet timed fan. Keep going to refine placement, shading, and storage.
Key Takeaways
- Inspect moisture, structure, and electrical capacity, and confirm zoning and permit requirements before changing openings or occupancy.
- Map daylight and glare throughout the day, then place main workbenches where light hits from the side for accurate color.
- Improve natural light with taller or grouped windows, well-placed skylights, or light tubes while avoiding hot spots and harsh contrast.
- Control drafts and temperature with air sealing, added insulation, and low-VOC finishes that protect artwork and maintain indoor comfort.
- Create clean and dusty workflow zones with perimeter tool placement, integrated storage, and quiet exhaust ventilation with a filtered fresh-air intake.
Assess Your Workshop for Moisture, Power, and Permits
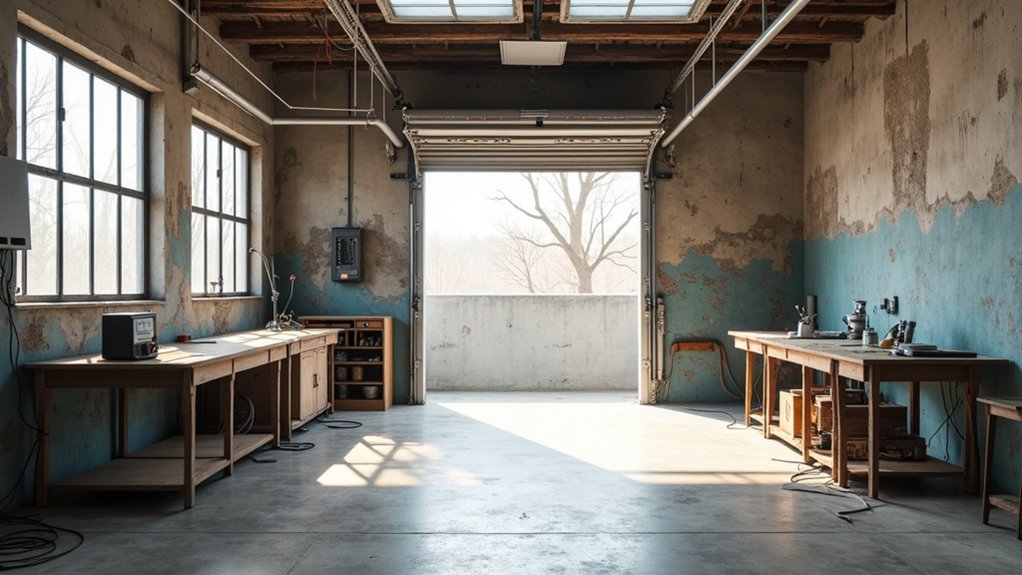
Before you sketch skylights or pick wall colors, walk your workshop like a daylight inspector: check for moisture (damp slab edges, efflorescence on masonry, musty corners, roof leaks), map where power actually runs (panel capacity, grounded outlets, dedicated circuits for tools and lighting), and confirm what you’re legally allowed to change (zoning, occupancy, egress, window alterations).
Treat Moisture control as your first daylight upgrade: wet walls darken, grow mold, and ruin finishes. Trace water paths, seal cracks, add gutters, and choose vapor-open coatings where masonry needs to breathe.
Then test circuits under load, label breakers, and plan safer, brighter task lighting with GFCI protection.
Finally, document existing openings, insulation, and structural changes, and line up permit compliance before ordering glazing or cutting rafters.
Plan the Workshop-to-Studio Layout Around Your Workflow
Once you know the space is dry, powered, and permitted, you can lay out the studio so light supports the way you actually make things: place your primary work surface where daylight falls from the side (not straight into your eyes). Keep “clean” zones for drawing, editing, or finishing closest to the brightest openings, and push dust, noise, and solvent-heavy tasks downwind and toward doors or exhaust.
Build Creative zoning around your sequence: receive materials, prep, make, dry, store, ship. Mark workflow zones with rugs, shelving, and rolling carts so you can reset fast. Put heavy tools on the perimeter to keep the center flexible.
Use washable wall panels near wet processes and sealed floors where you spill. Keep a dedicated charging and battery station away from sawdust.
Map Daylight, Glare, and Shadow Zones
Although you can’t move the sun, you can map how it behaves in your workshop so your studio tasks land in the right light: spend a day noting where morning and late-afternoon beams hit, where glare bounces off white walls, glossy paint, or metal machines, and where shelves and door headers carve hard shadow lines.
Mark zones on a floor plan: high-contrast “beam paths,” soft ambient areas, and dead corners. Do quick shadow mapping with painter’s tape on the floor and photos taken every two hours.
For glare mitigation, flag reflective surfaces with temporary kraft paper, matte film, or a drop cloth, then recheck. Track how dust in the air reveals light shafts, and note when heat builds near dark masonry.
This map tells you where detail work stays consistent.
Pick Windows, Skylights, and Light Tubes
If your daylight map shows strong beam paths and stubborn dead corners, you can shape the light—not just add more—by choosing the right mix of windows, skylights, and light tubes.
Start with window design that matches your wall structure: taller, higher head heights pull light deeper, while clustered openings spread it laterally across work surfaces. Use durable frames and low-iron glazing where color work matters, and align mullions with shelving and studs to reduce waste.
Then refine skylight placement to feed the darkest zones: place them over circulation or central benches, and size them to avoid hot spots on polished floors.
When roof structure limits cuts, run light tubes to back corners; their reflective liners deliver even, cool daylight without major reframing.
Add Privacy and Shade Without Killing Daylight
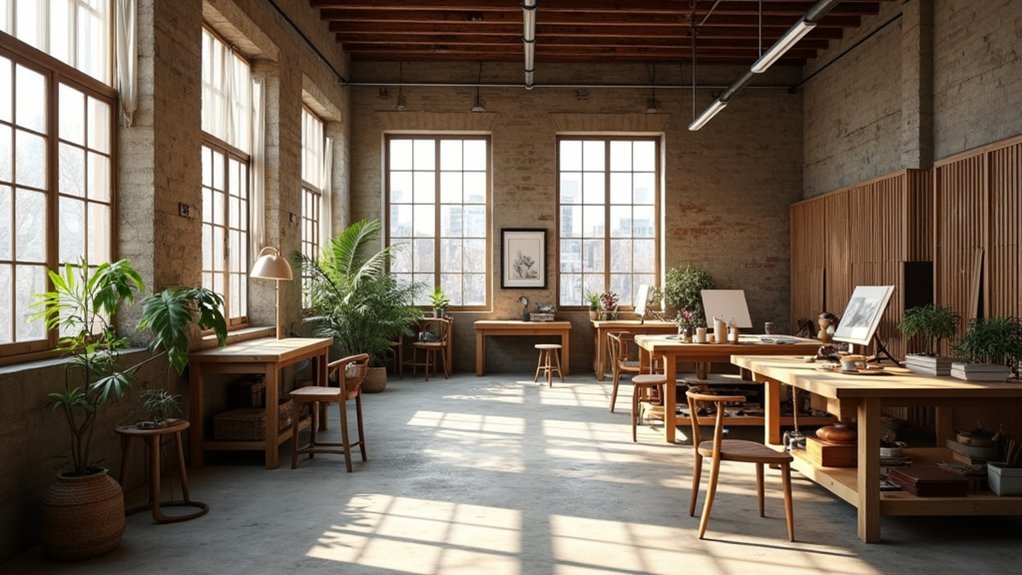
Windows, skylights, and light tubes can flood your new studio with sun, but you still need control so that neighbors can’t see in and glare doesn’t wash out your work. Start with Privacy screens that keep light moving: fluted or frosted glass, polycarbonate panels, or slatted timber set off the glazing so air and brightness still pass through.
Place them where sightlines matter most—at street-facing windows and near doors—while keeping higher glass clear for sky light.
Layer shading strategies by orientation. On south and west faces, add exterior awnings or simple cedar battens to stop heat and glare before it hits the glass. Inside, choose light-colored roller shades or top-down blinds so you can cut eye-level views without dimming your bench.
Insulate and Air-Seal Without Darkening the Studio
Because drafts and heat loss can make a bright studio feel unusable in winter, you’ll get more “daylight” out of the same glazing by tightening the envelope without adding visual bulk.
Start with targeted air sealing: foam or gasket around window frames, tape at sheathing seams, and a continuous seal at sill plates and penetrations. You’ll stop convective chill that makes you close blinds and add heavy curtains.
Then add thermal insulation where it won’t steal wall real estate or shadow openings. Dense-pack cellulose in stud bays, thin high-performance boards on the exterior, or insulated panels on the roof deck can raise comfort while keeping reveals crisp.
Use a smart vapor retarder and keep surfaces light-toned so any available sun bounces deeper into the room.
Match Studio Lighting to Natural Daylight
How do you keep the room’s energy consistent once the sun drops or shifts behind clouds? You match your electric light to what the windows are already doing. Start by choosing fixtures with tunable Color temperature so your task zones stay neutral at midday and warmer near evening.
Use high-CRI LEDs to keep wood tones, paper whites, and paint mixes honest, not muddy or green.
Then dial in lighting controls that respond to daylight instead of fighting it. Put dimmers on separate circuits for overhead wash, wall grazing, and bench work, so you can balance shadows without flattening texture.
Add a daylight sensor or scheduled scenes to fade output gradually, keeping contrast comfortable while preserving the studio’s calm, sunlit feel.
Add Storage, Finishes, and Ventilation for Year-Round Use
Once your lighting tracks the sun, you’ll keep the studio calm and clear with built-in storage that sits tight to walls and under benches so windows stay unobstructed.
You’ll choose durable, low-VOC finishes that bounce daylight, wipe clean, and handle temperature swings without warping or yellowing.
You’ll add controlled ventilation—operable windows, a quiet exhaust fan, and a simple intake path—so moisture, fumes, and heat don’t build up through every season.
Built-In Storage Solutions
While you’re opening up the workshop for better daylight, build storage into the walls so tools, paper, and supplies stay contained without stealing floor space or blocking windows. Run built-in shelving between studs on interior partitions, and keep the deepest bays away from glazing so you don’t cast shadows across your work surface.
Use a low-profile base cabinet under the sunniest wall for heavy items, then float shallow shelves above for frequently used materials. Add concealed compartments behind a sliding panel or hinged artwork board to hide chargers, blades, and small hardware, keeping the studio visually calm.
Choose pale plywood or white-laminated fronts to bounce light deeper into the room, and edge shelves with solid wood for durability. Integrate labeled pull-out trays for paper and keep a clear landing zone near the door.
Durable Finishes And Ventilation
Because daylight makes every scuff and dust trail obvious, you’ll want finishes and airflow that can take year-round use without dulling the light you worked so hard to bring in. Seal concrete with a low-sheen, water-based urethane, or lay cork or linoleum for warmer footing using eco-friendly materials that won’t off-gas into sunlit air.
Choose matte, scrub-safe wall paint and a washable backsplash behind your sink so glare stays soft while surface durability stays high.
Keep storage tight and dust-resistant: add cabinet doors, labeled bins, and a tall closet for canvases and tools.
For ventilation, run a quiet exhaust fan on a timer, add a filtered supply vent, and crack high windows to purge fumes, control humidity, and protect finishes.
Frequently Asked Questions
How Much Does It Typically Cost to Convert a Workshop Into a Studio?
You’ll typically spend $10,000–$50,000+ to convert a workshop into a studio. That’s the tip of the iceberg: cost considerations include insulation, glazing for daylight, wiring, HVAC, permits, and material-conscious finishes driving renovation expenses.
How Long Does a Workshop-To-Studio Conversion Usually Take?
You’ll usually finish a workshop-to-studio conversion in 4–12 weeks, depending on permits and trades. You’ll move faster if you phase lighting improvements and ventilation solutions, choose low-VOC materials, and schedule glazing early for daylight.
Can I Convert a Rented Workshop Into a Studio Without Major Alterations?
Yes, you can, if you use reversible upgrades: plug-in Interior lighting, freestanding workstations, and removable window films. Add Ventilation solutions like portable HEPA fans. Choose light-toned, low-VOC materials to bounce daylight without damage.
Will Converting the Workshop Affect My Home Insurance or Property Value?
Yes, it can affect both—like a ripple in a pond. You should tell your insurer about studio use; insurance implications may change premiums. Light-boosting glazing and reversible materials can raise property value. Keep permits.
How Can I Soundproof the Studio Without Losing Too Much Space?
Use soundproofing options that stay slim: resilient channels plus double drywall, acoustic sealant, and dense curtains. Apply space saving techniques with thin mass-loaded vinyl, door sweeps, and insulated panels placed away from windows to preserve daylight.