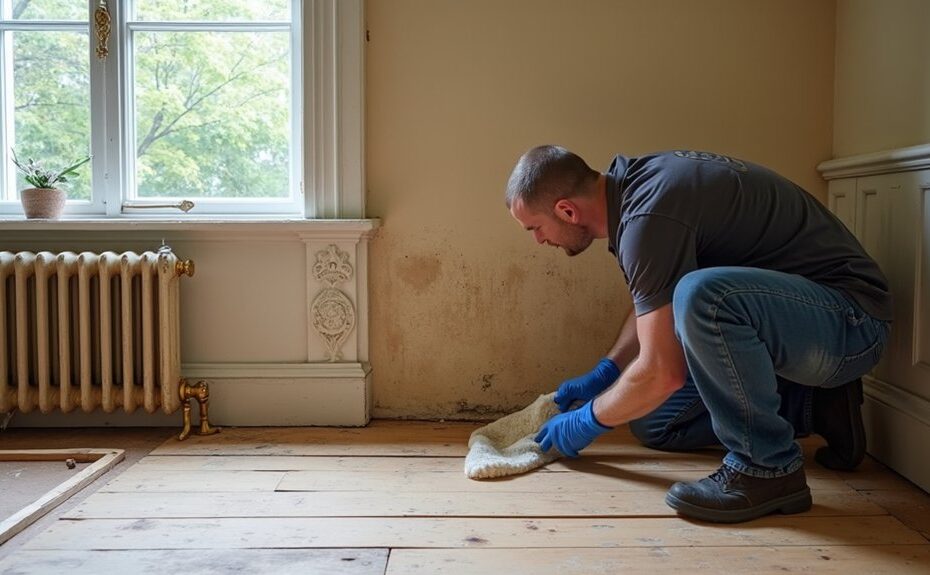
Start with a room-by-room survey to map draughts, damp, vents, chimneys, gutters, and ground levels, using a thermal camera or smoke pencil so you don’t trap moisture. Fix leaks and restore ventilation first, then choose vapour-open, capillary-active insulation such as woodfibre, cork, hemp, or sheep’s wool with lime plasters and reversible fixings to meet Part L and consent needs. Insulate lofts and floors without blocking eaves or air bricks, and draught-proof sashes or add secondary glazing—next you’ll see which upgrades deliver the best gains with least disruption.
Key Takeaways
- Survey each room for draughts, damp, and ventilation paths using thermal imaging and smoke tests, documenting all heritage details for consent.
- Fix moisture sources first by repairing gutters, pointing, and ground levels, and restoring original vents, chimneys, and cross-ventilation routes.
- Choose vapour-open, capillary-active insulation and finishes like wood fibre, cork, hemp-lime, and lime plaster to avoid trapping moisture.
- Prioritise reversible, low-impact upgrades: loft insulation, draught-proofing, secondary glazing, and floor insulation with breathable membranes while maintaining underfloor ventilation.
- Protect historic fabric by keeping services shallow, avoiding chasing, and using repair-over-replace methods that preserve sightlines, mouldings, and original joinery.
Survey Heat Loss, Ventilation, and Damp First

Before you add any insulation, you’ll want to survey where heat actually escapes and whether the building can still “breathe” as intended. Start with a room-by-room check: draughts at sash junctions, loft hatches, service penetrations, and suspended floors.
Use a thermal camera on a cold evening, but confirm with your hand and a smoke pencil so you don’t chase false readings.
Map vents, chimney flues, and trickle vents, and note any later blockages.
Then assess damp: inspect gutters, flashing, pointing, and ground levels; take moisture readings at skirtings and chimney breasts.
Protect Historic paint and original fixtures while you test.
If the property’s listed or in a conservation area, document findings for consent discussions.
Period Property Insulation: Breathability Basics
Once you’ve mapped draughts, vents, and damp risks, you can make insulation choices that respect how a period building manages moisture as well as heat.
Older solid walls, lime mortar, and timber frames often rely on vapour-open assemblies, so you’ll want insulation systems that allow controlled drying rather than trapping moisture.
Prioritise breathable, capillary-active materials such as wood fibre, cork, hemp-lime, or lime-based plasters, and specify membranes by vapour permeability, not marketing labels.
Check junctions at joist ends, window reveals, and skirtings so you don’t create hidden cold bridges that undermine performance.
For Heritage preservation, document existing fabric and choose reversible fixings where practical.
For Material compatibility, match insulation, adhesives, and finishes to the substrate, and confirm proposals meet conservation guidance and Part L expectations without over-sealing the building.
Avoid Damp: Control Moisture Before Insulating
Before you add insulation, you need to identify exactly where moisture is coming from—rising damp, leaking gutters, bridged DPCs, or condensation—so you don’t trap water against historic fabric.
You’ll often fix the risk by restoring ventilation (air bricks, chimneys, subfloor voids) and improving drainage (clear gullies, repair rainwater goods, correct ground levels) while keeping original features intact.
If the building is listed or in a conservation area, you should document findings and agree moisture-control measures with the relevant authority before you change the wall or floor build-up.
Diagnose Moisture Sources
Although thicker insulation can make a period home feel warmer overnight, you’ll trap problems in the fabric if you don’t first pinpoint where moisture is coming from.
Start by mapping symptoms room by room: tide marks, powdery salts, blistered paint, mould, or softened skirting. Check whether patterns rise from floors (capillary uptake), cluster around chimneys (condensation on cold masonry), or appear after rain (penetrating leaks).
Use a hygrometer for Humidity control and log readings over weeks; compare them with surface temperatures to spot condensation risk.
Look for Moisture migration pathways: blocked fireplaces, cement pointing on lime walls, bridged DPCs, or impervious floor finishes.
Photograph findings and, if listed, keep changes reversible and aligned with conservation guidance and building control advice.
Improve Ventilation And Drainage
If you insulate a period wall or roof while the building still struggles to “breathe” and shed water, you’ll lock damp into timber ends, plaster, and masonry. Before you add insulation, restore airflow and keep water outside. Clear and reopen original vents, maintain suspended timber floor cross-ventilation, and avoid sealing fireplaces without providing equivalent Natural ventilation via discreet vents or demand-controlled extract, sized to Building Regulations. Keep breathable finishes: limewash, lime plaster, and vapour-open paints.
Then fix Rainwater drainage. Repair slipped slates, flashing, and parapet gutters; clear gutters and downpipes; check hopper heads and add leaf guards. Repoint with lime, not cement, so walls can dry. Improve ground falls, keep air bricks clear, and avoid raising external levels against the plinth.
Insulate a Loft Roof Without Blocking Airflow
When you insulate a period loft, you’ve got to keep eaves ventilation clear so the roof structure can dry as intended and you don’t breach required airflow paths.
Choose breathable insulation that suits the existing fabric, and fit it neatly to avoid compressing it into the rafters or blocking the soffit vents.
Then add appropriate vapour control on the warm side, detailed around hatches and services, so you meet current guidance without trapping moisture against historic timbers.
Maintain Eaves Ventilation
How do you boost a period loft’s insulation without inviting damp and decay? You keep eaves ventilation clear, so cold air can enter at the eaves and exit at ridge or high-level vents, carrying moisture out.
Before topping up, check for existing soffit slots, tile vents, or raised underfelt trays, and reinstate anything blocked by paint, debris, or earlier insulation.
Fit rafter ventilation trays or baffles between every rafter bay at the eaves, and stop insulation short of the wall plate to maintain a continuous air path.
Seal gaps around hatches and services without sealing the eaves.
In listed buildings, document any changes and choose reversible fixings to support Heritage preservation.
Follow Approved Document C and local conservation guidance, and keep clear maintenance access.
Install Breathable Insulation
Although modern quilts promise quick U‑value gains, you’ll protect a period loft far better by choosing breathable insulation that lets moisture vapour migrate to the ventilation path instead of trapping it against timbers and lath.
Specify hygroscopic materials such as woodfibre batts, sheep’s wool, or hemp, and fit them snugly between joists without compressing; you’ll keep performance while respecting Historical accuracy.
Keep insulation clear of eaves and valleys, and use rafter trays or insulation stops so the air gap remains continuous to the ridge.
At hatch edges, fit a tight upstand and draught strip, then return insulation neatly to avoid cold bridges while supporting aesthetic preservation.
Check headroom, fire barriers around flues, and Part L targets, but document any justified shortfall.
Add Proper Vapour Control
Because warm, moisture‑laden air will always try to find its way into a colder loft, you’ll need proper vapour control on the room side of your insulation so the roof void can stay dry without sacrificing the ventilation path that keeps historic timbers sound.
Fit a continuous vapour control layer (VCL) beneath the insulation, then tape all laps and service penetrations so air leakage doesn’t bypass it. Use compatible tapes on lath-and-plaster or joists, and avoid trapping damp against original rafters.
Where you must use Vapour barriers, choose membranes rated for variable permeability to support moisture management in older buildings.
Keep eaves vents and ridge airflow clear; don’t block them with quilt. Check Building Regulations guidance and any conservation officer requirements before sealing.
Period Property Wall Insulation Without Harming Plaster
When you insulate the walls of a period property, you’re not just improving U‑values—you’re managing moisture, movement, and irreplaceable lime plaster that often sits on timber laths or historic masonry.
Start by surveying cracks, salts, and damp sources, then repair with compatible lime, not gypsum. If you choose internal wall insulation, use capillary-active boards (wood fibre, calcium silicate) with lime adhesive so the wall can dry; avoid foil-faced PIR that can trap moisture.
Keep services shallow to protect laths, Heritage paint, and Decorative moldings; box out gently rather than chase. Where you must remove plaster, save and reinstate cornices, picture rails, and skirtings.
In listed buildings, consult conservation officers and document breathability calculations for Building Control approval.
Insulate Suspended Timber Floors and Cut Draughts
If your period home has a suspended timber floor, you’ll often get more comfort per pound by insulating below the boards and sealing draught paths than by chasing ever-thicker wall builds.
Lift a discreet section of timber flooring or work from the crawlspace, keeping boards numbered for reinstatement. Fit vapour-open insulation (woodfibre, mineral wool, or sheep’s wool) between joists on netting or battens, leaving ventilation clear to existing air bricks to avoid rot.
Add an airtight but breathable membrane to the warm side, taped at joints and around service penetrations for draught prevention. Seal perimeter gaps at skirtings with flexible caulk, and fit brush strips to floorboard edges if boards are loose.
Check Building Regulations Part C and listed-building consent before altering vents.
Draught-Proof Sash Windows (Or Add Secondary Glazing)
Sealing up draughts at floor level will quickly show you the next weak spot: leaky sash windows that rattle, whistle, and dump warm air straight outside. Start with draught proofing sash: fit discrete brush piles to staff and parting beads, add compression seals to the meeting rail, and renew sash cords so the sashes close squarely.
Keep original glass and profiles where you can; repair timber, don’t replace whole frames.
If the building’s listed or in a conservation area, check consent before altering sightlines or replacing panes. When you need a bigger thermal jump without changing the exterior, use secondary glazing: slim, removable internal units that preserve shutters and architraves.
Specify low‑profile frames, ventilation gaps, and easy access for cleaning and egress.
Prioritise Insulation Upgrades by Cost and Disruption
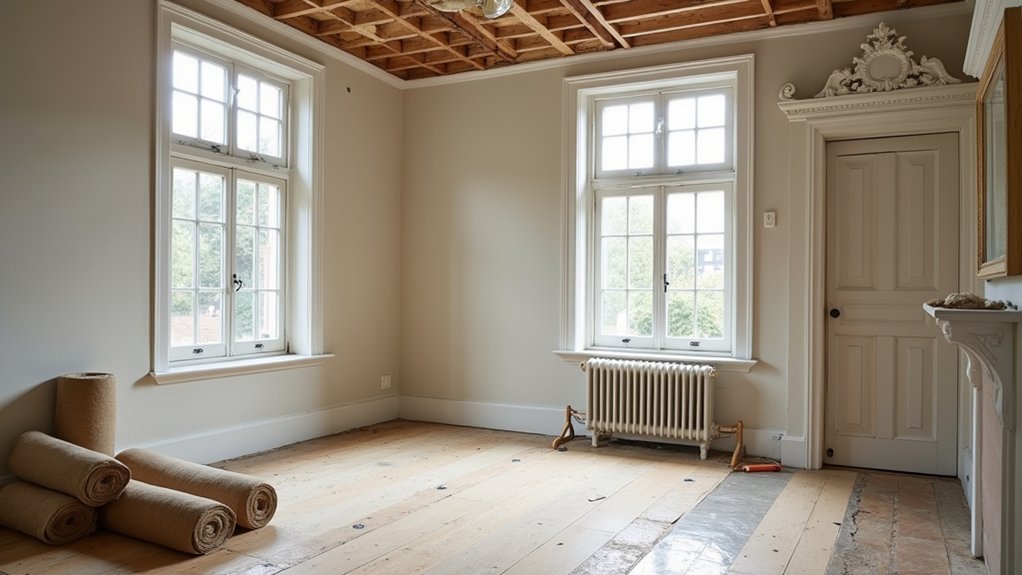
Although it’s tempting to jump straight to the thickest insulation you can buy, you’ll get better results in a period property by ranking measures by payback *and* how much historic fabric they disturb.
Start with low-disruption wins: draught-proofing, loft insulation laid above ceilings, and pipe and hot-water cylinder jackets.
Next, tackle reversible upgrades that respect Historic preservation, like secondary glazing and insulated shutters where aesthetic considerations matter.
Leave high-risk, high-cost works—internal wall linings, injected cavity fill in rubble walls, and underfloor insulation requiring board removal—until you’ve assessed moisture, ventilation, and listed-building constraints.
Check U-value targets, fire safety, and breathability guidance, and document existing details before you open up.
You’ll spend less, avoid trapped damp, and keep original mouldings intact.
Frequently Asked Questions
Do I Need Listed Building Consent Before Adding Insulation to a Period Home?
Yes—if your home’s listed, you’ll usually need consent before you “quietly” tuck in Modern insulation. Historic preservation rules treat fabric changes seriously; check your council’s conservation officer early, submit drawings, and document reversible methods.
Which Insulation Materials Are Safest for Georgian, Victorian, or Edwardian Properties?
You’ll choose Modern insulation that stays vapour-permeable: wood fibre, hemp, sheep’s wool, and cellulose—Sustainable materials that suit Georgian, Victorian, or Edwardian fabric. You’ll avoid closed-cell foams; you’ll check breathability, moisture risk, and local consent.
How Can I Insulate Around Original Cornices, Ceiling Roses, and Mouldings?
Keep original cornices, roses, and mouldings clear: you’ll fit modern insulation behind adjacent voids, stop short of plaster edges, and use breathable tape. You should consult conservation officers, guarantee heritage preservation, and avoid trapped moisture.
What Insulation Upgrades Qualify for Grants or Tax Relief in Older Homes?
You’ll usually qualify for grants or tax relief with loft, cavity, solid-wall, and floor upgrades, plus draught-proofing and Modern insulation. Like Theseus’ ship, keep fabric intact; choose Eco friendly options, meet EPC rules.
How Do I Test Insulation Performance After Upgrades Without Invasive Inspections?
You can verify performance with thermal imaging during cold conditions and a blower door test to spot drafts and leakage. You’ll compare before/after readings, keep reports for compliance, and avoid disturbing protected historic fabric.