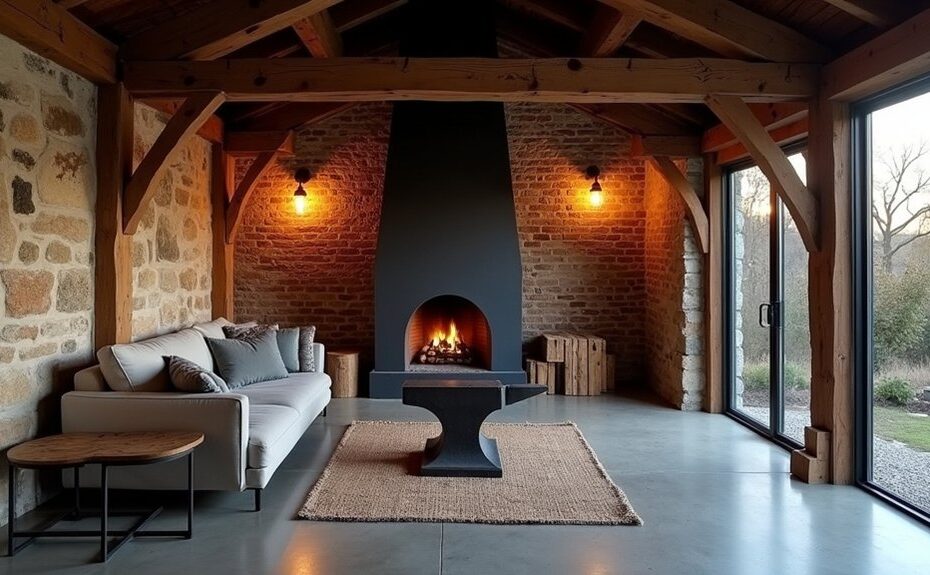
You’ll start by confirming change-of-use permits, zoning, and any listed-building consent, then commission a structural survey of masonry, trusses, and roof. Test ash, soot, and paint for lead or arsenic, and clean with HEPA vacuuming, dry brushing, and pH-neutral methods—never sandblast. Plan the layout around the cart door, hearth, and existing openings, then add airtight, vapor-open insulation, drainage, and mechanical ventilation. Reline flues, provide combustion air, and fit CO alarms. Keep going for the full checklist.
Key Takeaways
- Confirm zoning, permits, and listed-building consent before design, including parking, access, flood risk, and contamination requirements.
- Commission structural surveys of foundations, masonry, roof, and historic timber trusses before altering openings or removing load-bearing elements.
- Test and remediate soot, ash, and heavy-metal residues using HEPA cleaning and pH-neutral methods; avoid acids and abrasive blasting.
- Design the layout around existing hearths, cart doors, and window bays, adding insulated glazing and rooflights while preserving historic proportions.
- Upgrade electrics, plumbing, heating, and ventilation to code, ensuring sealed combustion, lined flues, adequate combustion air, and CO alarms.
Check If Your Smithy/Forge Conversion Is Feasible
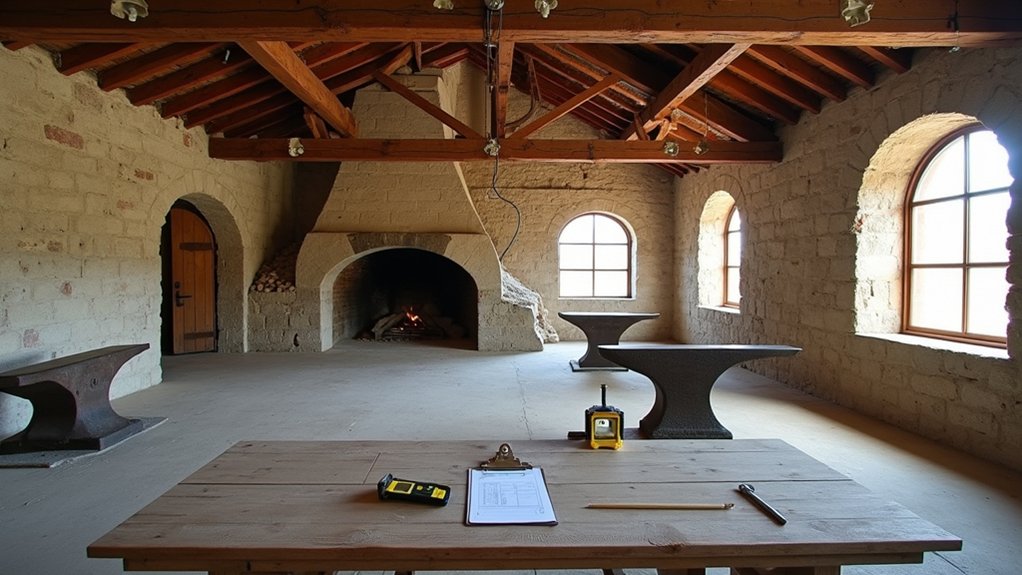
Before you sketch floor plans or pick finishes, you’ll need to confirm that your old smithy or forge can legally and safely become a dwelling. Begin with Historical preservation concerns: identify character-defining elements such as the hearth, forge hood, stone thresholds, and hand-hewn trusses, and note what must remain intact or reversible.
Next, commission a structural assessment. You’ll verify foundations for settlement, inspect masonry for heat-spalled brick, failed lime mortar, and concealed flue voids, and check timber for char, insect damage, and rot. Test roof framing for live-load capacity and lateral stability.
Document soot and heavy-metal residues around the forge and quench area, and plan containment and cleanup. Finally, map how you’ll meet minimum egress, stair geometry, and smoke separation without erasing historic fabric.
Permits, Listing Rules, and Change-of-Use Approval
Although your forge may look like “just a small outbuilding,” converting it into a dwelling triggers a formal change-of-use that you’ll need to clear with the local planning authority and building-control office. Any listing or conservation designation can add separate consent requirements.
Check zoning regulations for residential use, parking, access, and flood or contamination constraints, since many smithies sat near waterways or yards. If it’s listed, you’ll likely need listed-building consent and a Historical preservation statement describing retained fabric, methods, and reversible repairs.
Submit measured drawings, heritage impact notes, and a specification for fire safety, ventilation, insulation, drainage, and structural stability to meet current code. Don’t start work until you’ve got written approvals, conditions discharged, and inspection stages scheduled.
Design the Floor Plan Around Doors, Hearth, and Structure
Because a smithy’s openings and firebox were laid out for carts, bellows, and heat—not furniture—you’ll get a better result if you let the existing doors, hearth, and primary structure dictate the plan rather than forcing a standard house layout into the shell.
Start by mapping load-bearing walls, tie beams, and any trusses; don’t cut or notch historic timbers without an engineer’s detail.
Use the main cart door as your primary entry or glazed living frontage, and keep required egress clear at all times.
Build circulation to respect door swings and headroom, adding Decorative door designs only where they don’t reduce opening width.
For Hearth placement strategies, keep the original fireplace as the focal heat source, maintain clearances to combustibles, and route flues vertically through existing bays where possible.
Upgrade the Envelope: Insulation, Damp, and Airtightness
You’ll treat the old forge shell like a damp, heat-soaked outbuilding and start by controlling moisture: fix roof and guttering, add perimeter drainage where needed, and install a continuous capillary break and vapor control layer suited to your climate and local code.
Then you’ll build a continuous airtight insulation layer across walls, roof, and slab, taping and sealing every junction at sills, lintels, and service penetrations so the air barrier doesn’t break.
When you keep the assembly dry and the air barrier continuous, you’ll meet modern performance targets without trapping moisture in historic masonry.
Moisture Control Strategies
When you convert an old smithy or forge, moisture control has to come first, since decades of wet ash, lime mortar, and thermal cycling often leave masonry walls and slabs hungry to absorb and release water.
Start with a condition survey: map salts, spalls, and active leaks, then fix gutters, downspouts, and grading to move water away per local code.
Repoint with compatible lime where required, and avoid hard cement that traps moisture.
Inside, add a capillary break over the slab and at wall bases before finishes, and keep any new floor build-up clear of splash zones.
Provide mechanical ventilation sized to the dwelling for steady humidity regulation and mold prevention, and commission it.
Use vapor-open interior plasters and durable, washable finishes in wet rooms.
Continuous Airtight Insulation
Moisture work sets the stage for insulation, since a forge’s thick masonry will still buffer damp unless you control both heat loss and air movement through the envelope. You’ll get best results by creating a continuous air barrier and insulation layer, then tying it into existing stone, brick, and timber without trapping moisture.
On the interior, use a smart vapor retarder, taped seams, and airtight gaskets at joists and window bucks. Add mineral wool or wood-fiber boards for fire safety and capillary tolerance, then bridge to the roof with uninterrupted insulation and sealed service cavities.
Treat lintels, hearth penetrations, and flue thimbles with rated collars and noncombustible sealants. Verify with a blower-door test to meet energy code.
You’ll respect Historical preservation while supporting artistic restoration, conserving original surfaces.
Ventilation and Safe Flue/Chimney Solutions
Once you’ve tightened the old smithy’s envelope, you’ve got to provide dedicated combustion air and code-compliant venting so any stove, boiler, or range burns cleanly and drafts reliably.
You’ll typically reline the flue and chimney with a properly sized, listed liner, maintain required clearances to combustibles, and repair the crown and flashing to keep heat and moisture where they belong.
You also need to control smoke, carbon monoxide, and excess radiant heat with sealed appliances where feasible, continuous mechanical ventilation, and correctly placed CO alarms.
Combustion Air And Venting
Although an old smithy was built to shed heat and smoke quickly, you can’t assume it supplies safe combustion air or a code-compliant vent path for modern residential use. You should calculate appliance demand and provide dedicated outdoor air when the envelope gets tightened.
Maintain balanced air exchange so exhaust fans, range hoods, or bath vents don’t backdraft solid-fuel or gas appliances. Use listed direct-vent equipment where practical, and confirm combustion efficiency with manufacturer-required clearances, draft settings, and make-up air sizing.
For venting, you must route connectors with proper slope, support, and access for inspection, and keep runs short with minimal elbows. Separate appliance vents; don’t tie into old forge hoods or shared shafts.
Install CO alarms and verify draft under worst-case depressurization.
Lined Flue And Chimney
Because most forge chimneys were sized for open fires and intermittent heavy draft, you should treat the existing stack as an unlined masonry shell until inspection proves otherwise. Then add a code-listed liner sized to the appliance.
Have a sweep document flue geometry, offsets, and clearances. Then select stainless or cast-in-place systems listed to UL 1777 (gas or oil as applicable) and compatible with solid-fuel if you’ll burn wood.
Keep the liner continuous, insulated where required, and terminate with a listed cap and flashing kit.
Repoint joints with lime-appropriate mortar for Historic preservation, but don’t conceal cracks behind new plaster.
Add a cleanout door at the base and provide access panels for future service.
For artistic integration, you can expose original brick and discreetly box the connector.
Maintain required separation from combustibles throughout.
Smoke, CO, And Heat Control
If you plan to live with any working hearth, stove, or decorative forge fire, you must treat smoke, carbon monoxide, and excess heat as primary design loads—not afterthoughts. Size combustion air and exhaust together, and verify draft with a manometer after you’ve lined the flue.
Install a listed, sealed appliance where possible; if you keep an open forge display, add a dedicated hood, make-up air, and spark arresting screen.
Place UL-listed CO alarms on every level and outside sleeping rooms, and interlock a mechanical exhaust fan so it can’t backdraft the chimney.
Maintain code-required clearances to combustibles, use noncombustible heat shields with ventilated air gaps, and protect historic masonry while keeping industrial aesthetics and historical preservation intact.
Add Daylight: Windows, Rooflights, and New Openings
Once you’ve stabilized the shell, bring in daylight with openings that respect the forge’s original masonry, roof structure, and fire-safe character. Aim for natural lighting that supports workmanlike proportions and delivers aesthetic enhancements without erasing age.
Start by reopening bricked-in window bays where lintels and jambs still carry load. Repair with matching brick and lime mortar, and add insulated glazing set in steel or timber frames that echo period profiles. Keep sill heights and reveals consistent, and use tempered or laminated glass where impact is likely.
For rooflights, choose low-profile, noncombustible units between rafters, flash to code, and preserve any historic truss members. When cutting new openings, install properly sized headers, maintain required egress dimensions, and firestop gaps around frames to protect adjoining construction.
Bring Wiring, Plumbing, and Heating Up to Code
After you’ve opened the building to light and confirmed the structure’s sound, bring the electrical, plumbing, and heating systems up to modern code without fighting the forge’s heavy masonry and heat-scarred framing. Run new circuits in surface-mounted metal conduit where chasing brick would weaken it, add GFCI/AFCI protection, bond all metalwork, and install a modern service panel sized for loads—core Electrical safety.
For water, sleeve penetrations through stone, insulate supply lines, and vent drains correctly; choose durable plumbing fixtures and set cleanouts where you can reach them. Keep combustible clearances at chimneys, line old flues if you’ll vent appliances, and fit a sealed-combustion furnace or heat pump with proper combustion air, shutoffs, and code-required detectors.
Clean Up Soot/Slag and Keep Authentic Forge Character
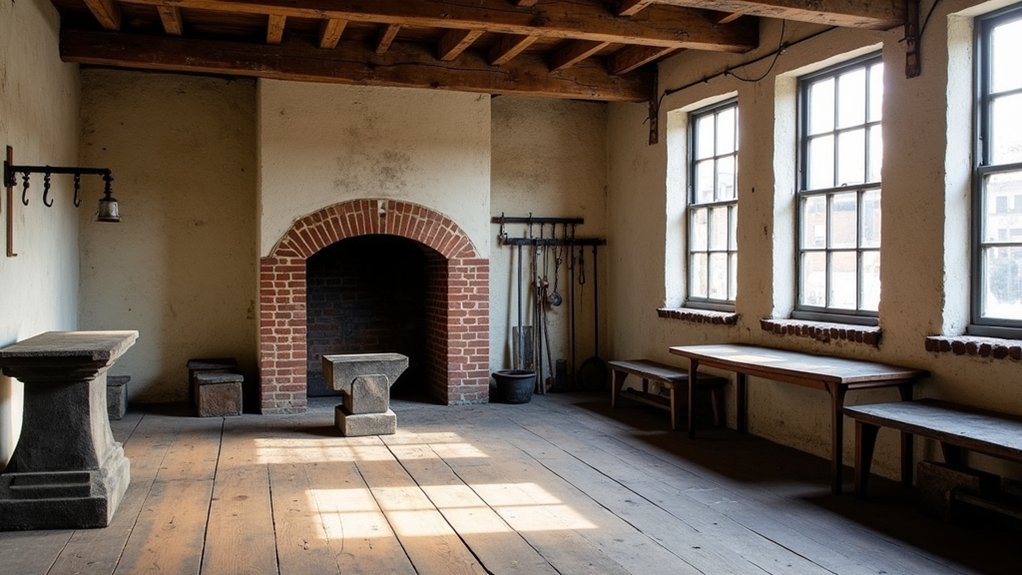
Although the forge’s soot, clinker, and slag read as honest history, you’ll need to remove loose contamination without erasing the shop’s working character. Start with HEPA vacuuming of rafters, brickwork, and the hood; dry brushing keeps acids out of historic mortar.
For Soot removal on masonry, use a conservation sponge and a mild, pH-neutral cleaner; don’t sandblast or you’ll spall brick and erase tool marks.
Bag and label clinker/slag; if you display it, seal it in a shadow box or under a clear, non-yellowing epoxy topcoat.
Test for lead and arsenic in ash and paint, and follow local hazardous-waste rules.
After cleaning, apply an intumescent-rated clear coating where required to preserve authentic charm.
Frequently Asked Questions
How Do I Insure a Converted Smithy, and Will Premiums Increase?
You insure it by disclosing the conversion, securing a specialist policy, and proving fire safety and building regulations compliance. Your premiums may rise for nonstandard materials, heritage fabric, or heating, but inspections can temper rates.
What Are Typical Resale Values for Smithy-To-Home Conversions?
Resale values vary like a bellows’ breath: you’ll often see 5–20% premiums over comps if rustic charm and historical preservation meet code-compliant electrical, egress, insulation, and documented permits; otherwise, you’ll discount for stigma.
Can I Legally Run a Small Business From the Converted Forge Home?
You can, if you follow Zoning regulations and secure Business licensing. Check permitted home occupations, parking, signage, and noise limits. Obtain occupancy, fire, and health approvals. Keep separate accounts, insurance, and records for audits.
What Furnishings Best Complement an Industrial Forge Aesthetic?
Choose sturdy steel stools, salvaged-wood tables, and leather lounge chairs—smoky, soot-stained, solid. Add rustic decor, tool-wall shelving, and vintage lighting with UL-listed fixtures. Keep clear egress paths and use fire-rated hearth rugs.
How Long Does a Smithy Conversion Usually Take From Start to Finish?
You’ll typically spend 6–18 months from surveys to final inspection. Historical preservation reviews, permits, and code-compliant structural, fire, and MEP work drive schedules; Environmental impact assessments and remediation can add 1–3 months.