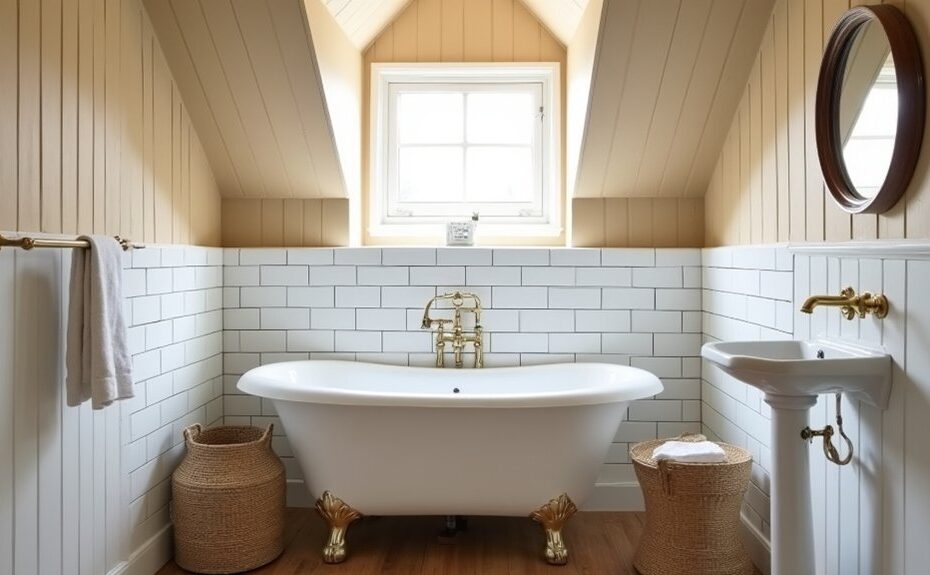
Start by measuring every constraint—door swing, ceiling slopes, windows, and existing supply/drain/vent runs—then draw a scaled plan and overlay code clearances. Keep the toilet close to the waste line, protect trap-arm slope for the shower, and run the vanity where hot/cold lines stay short. Choose compact fixtures, a shower-only footprint, and a pocket or outswing door. Add recessed niches and cabinets, use layered lighting and large mirrors, and waterproof wet zones with proper membranes, silicone at plane changes, and slip-resistant flooring. Keep going to see layout and finish strategies that prevent costly rework.
Key Takeaways
- Measure the room precisely, note obstructions, and draw a scaled plan with code clearances before moving any fixtures.
- Map existing supply, drain, and vent lines, then keep the toilet near the waste line to avoid costly offsets.
- Choose compact fixtures and doors—24–30 inch vanity, round-front toilet, 32×32 shower, and pocket or outswing door.
- Add storage without crowding by using wall niches, recessed cabinets, and vertical towers anchored to framing.
- Waterproof wet zones fully and use slip-resistant flooring (DCOF ≥ 0.42) with flush transitions and proper drain slope.
Measure and Map Your Cottage Bathroom Constraints
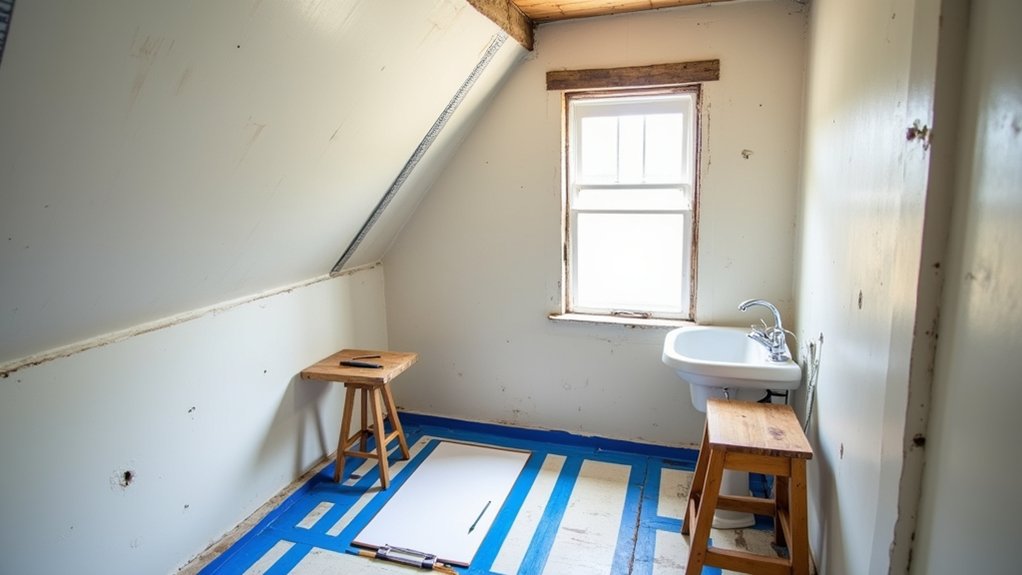
Before you choose fixtures or finishes, measure your cottage bathroom like you’re drafting a permit set: record the room’s length/width, ceiling height, door swing, window locations, and every rough-in and obstruction (supply/drain lines, vent stack, radiator, soffits, sloped ceilings).
Transfer all data to a scaled plan (1/4 in. = 1 ft.) and verify square by checking diagonals. Note finished wall build-ups, tile thickness, and baseboard returns so your cottage bathroom dimensions reflect true clearances.
Overlay code minimums: door clear width, required headroom, and fixture clear floor space.
Photograph each wall straight-on and label dimensions for quick referencing. These space utilization strategies let you spot pinch points early and choose compact, compliant assemblies without rework.
Plan Zones and Plumbing Before Moving Anything
You’ll map functional zones first—wet area, dry area, and required clearances—so circulation and access stay code-compliant in a tight footprint.
Then you’ll trace existing supply, drain, and vent lines and verify slopes, venting, and shutoff locations before you commit to any layout changes.
Finally, you’ll set fixture placement priorities around the main stack and joist direction to minimize relocations, protect structure, and reduce rough-in complexity.
Map Functional Bathroom Zones
If you map functional zones first, the cottage bathroom’s layout can meet code clearances while keeping plumbing runs short and serviceable. Start by sketching the wet zone (tub/shower), dry zone (vanity), and the toilet zone, and keep them aligned to a single wall when possible to minimize offsets.
Reserve a 30-inch minimum clear width at fixtures, 21 inches minimum in front of the toilet, and protect door swing or pocket door clearance. Place the ventilation and lighting zones so you can meet local exhaust requirements and keep switches out of splash ranges.
Use compact fixtures, wall-hung vanities, and recessed storage to preserve circulation. Then layer Vintage charm and rustic accents without stealing clearance. Verify accessibility where required.
Trace Existing Plumbing Lines
Once you’ve mapped the wet, dry, and toilet zones, trace the existing supply, drain, and vent lines so your new layout stays inside practical code limits without triggering a full replumb.
Start at the shutoff and meter, then follow hot and cold runs to each stub-out, noting pipe size, material, and any reducers.
In the floor or crawlspace, mark drain diameters, wye locations, cleanouts, and the vent’s path to the roof; keep trap-arm lengths and vent distances consistent with your local code.
Use a borescope, magnetic stud finder, or access panel to confirm routing before you open walls.
Log valve locations for plumbing maintenance and run pressure and dye tests for early leak detection.
Photograph everything and label.
Set Fixture Placement Priorities
With your supply, drain, and vent routes documented, set fixture placement priorities so the new plan stays inside workable pipe runs and code limits without forcing a full repipe.
Anchor the toilet first: keep it closest to the existing 3–4 inch waste line, maintain required clearances, and verify venting distance to the stack.
Next, place the shower/tub where you can preserve trap arm slope and access for the mixing valve.
Then position the vanity to simplify hot/cold runs and avoid overlong branch drains.
For spatial optimization, zone wet fixtures along one “plumbing wall,” keep door swings and circulation paths clear, and align centers to minimize offsets.
Validate fixture placement against minimum room dimensions, required ventilation, and cleanout access before you demo or order fixtures.
Choose Space-Saving Cottage Bathroom Fixtures
Because cottage bathrooms often squeeze circulation, storage, and clearances into a tight footprint, you’ll get the best results by selecting fixtures that maintain code-required access while reclaiming floor area.
Start with compact fixtures: a 24–30-inch vanity or a wall-hung sink keeps the required clear floor space at the lav while improving toe-kick clearance.
Specify a round-front toilet or a 10-inch rough-in model if framing allows, and confirm the centerline and side-clearance requirements before you set the flange.
For bathing, choose a shower-only footprint; a 32×32 or 36×36 receptor with a curb-lean profile reduces trip risk without encroaching on door swing.
Use pocket or outswing doors and lever handles for space-saving designs.
Add Storage to Niches, Studs, and Vertical Walls
Space-saving fixtures free up inches, but you still need storage that doesn’t steal required clearances or crowd door swings. Build it into the envelope: recess cabinets between studs (typically 3-1/2 inches deep) so the face stays nearly flush.
Place niche shelving in wet zones only with a continuous waterproofing membrane, proper slope to the drain, and corrosion-resistant fasteners. Keep niches outside required shower clearances and don’t penetrate vapor barriers without sealing.
Use vertical storage where floor area is limited: wall-mounted towers, over-toilet cabinets, and towel bars with integrated hooks. Anchor all units to framing, not just drywall, and verify load ratings.
Maintain access to shutoffs, cleanouts, and GFCI-protected receptacles; don’t block the ventilation path or the door’s swing arc.
Use Lighting, Mirrors, and Color to Open It Up
Even if you can’t move walls, you can make a cottage bath read larger by layering code-compliant lighting, sizing mirrors to bounce light without glare, and using a tight, high-reflectance color palette to reduce visual breaks.
Start with ambient lighting on a dedicated switch: a sealed ceiling fixture or recessed cans rated for the location, with warm, high-CRI lamps for accurate color. Add task lights at the vanity, centered on your face, and keep fixtures symmetrical to calm an awkward footprint.
Plan mirror placement to amplify daylight and sightlines: run the mirror close to the side walls, or use a tall cabinet mirror to extend vertical lines. Keep paint and trim in one light value, and limit contrast to hardware so edges disappear.
Pick Durable, Cottage-Friendly Finishes for Wet Areas
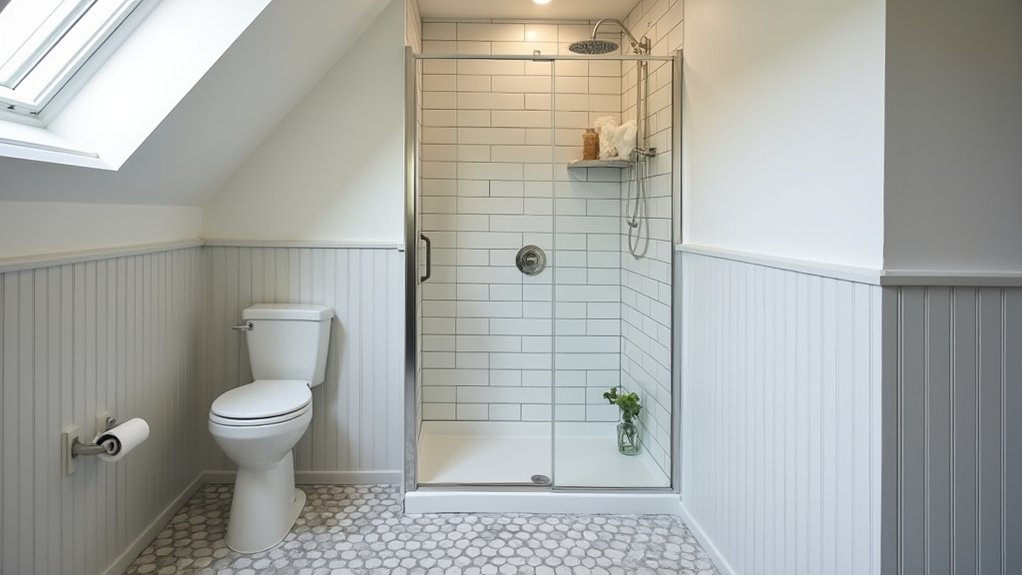
In wet zones, you’ll spec water-resistant wall finishes—cement board with a waterproofing membrane and sealed tile or a rated panel system—so the assembly meets manufacturer instructions and local code.
On the floor, you’ll choose slip-resistant, cottage-appropriate surfaces like matte porcelain, textured stone, or LVT with documented DCOF. Then control junctions and slopes to keep water contained.
You’ll keep grout, sealants, and trim minimal and serviceable, tightening joints to protect framing while preserving a simple cottage look.
Water-Resistant Wall Finishes
Because cottage bathrooms see frequent splash and steam, you’ll get the most code-smart durability by treating wet-zone walls like a tile-ready assembly: use cement backer board or a waterproof foam board in tub/shower areas, seal seams with a listed waterproofing membrane, and finish with glazed ceramic/porcelain tile, solid-surface panels, or troweled microcement rated for continuous moisture.
Outside the wet zone, keep your wall build thin: moisture-resistant drywall where allowed, then a Class III vapor retarder strategy that pairs with continuous exhaust. Use moisture barriers only where the manufacturer specifies; don’t trap water between layers.
For tight layouts, run tile to the ceiling at the sink and toilet to reduce repaint cycles and wipe down quickly. Choose waterproof paints (bath-rated acrylic enamel) for remaining walls, and caulk all plane changes with 100% silicone.
Slip-Resistant Cottage Flooring
Where do most cottage bathrooms get dangerously slick—right at the shower/tub exit and the vanity run—so start your flooring plan by prioritizing traction in those splash paths.
Choose porcelain tile with a DCOF ≥ 0.42 for level, interior wet areas, or specify mosaic sheets (2″ or smaller) to increase grout joints for slip safety.
Favor textured surfaces or matte finishes over polished stone; if you love natural stone, seal it and avoid high-sheen honed marble.
Keep transitions flush to reduce trip hazards in tight layouts, and hold floor height to existing thresholds.
Slope the substrate 1/4″ per foot to drains where required, and use a waterproof, crack-isolation membrane under tile.
Use grout with stain resistance.
Frequently Asked Questions
How Do I Estimate Renovation Costs for a Small Cottage Bathroom?
Estimate costs by itemizing demo, plumbing, electrical, waterproofing, fixtures, ventilation, and finishes, then add permits and 10–20% contingency. Use Cost planning and Material selection to price code-compliant assemblies, labor rates, and waste.
Do I Need Permits or Inspections for Moving Plumbing Fixtures?
Yes—you’ll need a little paperwork: get plumbing permits when relocating supply or drain lines. Schedule fixture inspections for rough-in and final. You’ll meet code, protect clearances, and avoid rework when venting, slopes, shutoffs change.
How Long Does a Typical Small Bathroom Renovation Take?
You’ll typically finish a small bathroom renovation in 2–4 weeks. You’ll spend time on rough-ins, waterproofing, Bathroom flooring cures, and Shower enclosure choices. You’ll pass inspections, verify clearances, and optimize layout for code compliance.
What Ventilation Upgrades Prevent Mold in an Older Cottage Bathroom?
Like a chimney drawing smoke, you’ll prevent mold by installing code-rated ventilation systems: a quiet, correctly sized exhaust fan ducted outdoors, sealed backdraft damper, insulated duct, and timed/humidity controls for moisture control.
How Can I Preserve Original Cottage Character While Modernizing the Bathroom?
You preserve Cottage charm by restoring trim, beadboard, and original doors while upgrading behind walls to code. Choose Vintage fixtures with efficient valves, add GFCI/AFCI, waterproofing, and slim storage, so you keep character without clutter.