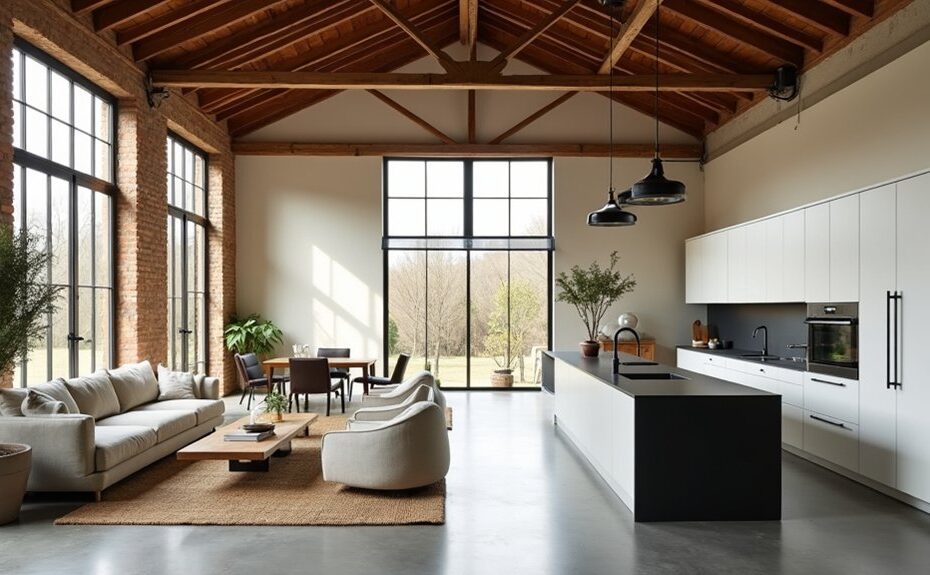
Start by surveying slab levels, wall plumb, roof deflection, and moisture, then cost-model envelope, services, insulation, glazing, and fire upgrades with a structural engineer and MEP designer. Secure change-of-use permission and Building Regs compliance early. Map load paths before removing walls; use temporary propping, needle beams, padstones, and bracing. Weatherproof first—repair roof, repoint, clear gutters, and add French drains. Add airtight, breathable build-ups, MVHR, and calibrated glazing to control light, heat, and condensation. Keep going for the key sequencing and detailing.
Key Takeaways
- Survey structure, moisture, and levels early, and budget for intrusive tests to confirm the grain store is viable for conversion.
- Secure change-of-use planning and Building Regulations compliance, covering access, fire safety, drainage, ventilation, and thermal performance.
- Map load paths before removing walls, and design beams, padstones, bracing, and safe propping sequences to maintain stability.
- Make the envelope watertight first by repairing roof and flashings, sealing penetrations, and improving gutters, ground falls, and perimeter drains.
- Create open-plan daylight with strategically sized glazing and rooflights, while maintaining airtightness, condensation control, and balanced MVHR ventilation.
Check Feasibility, Cost, and Pro Help (Grain Store)
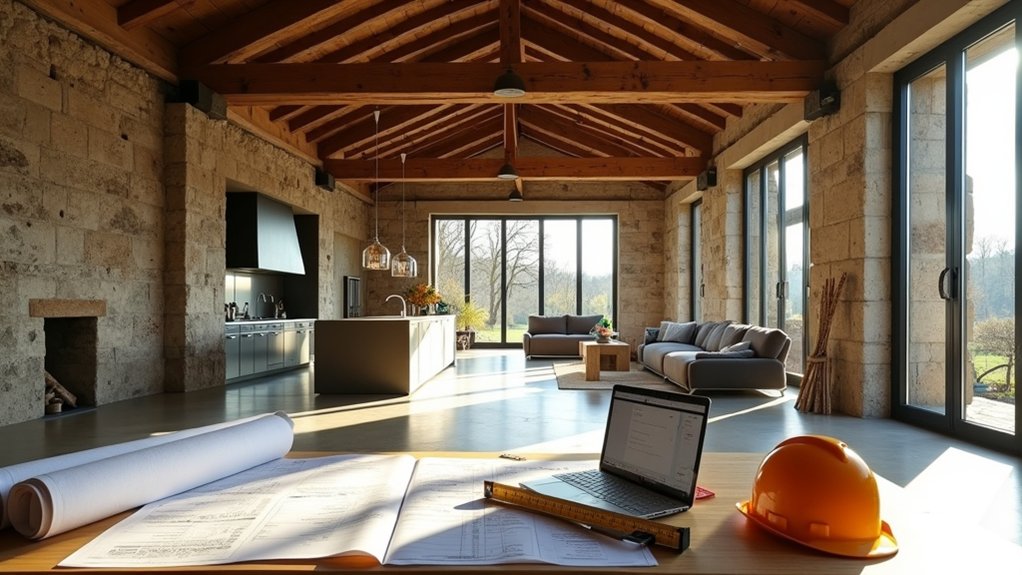
Before you draw up an open-plan layout, you’ll need to confirm that the grain store can legally and structurally support habitation, and that the numbers still work once you price in the high-risk items.
Start with a measured survey: slab levels, wall plumb, roof deflection, and moisture mapping through walls and floor. Grain stores often hide sulfate attack, corrosion at lintels, and rodent-compromised cavities, so budget for intrusive openings and lab tests.
Build a cost model around envelope upgrades, new services runs, insulation thickness, glazing, and fire separation.
For Historical preservation, document existing fabric and specify reversible interventions.
Bring in a structural engineer, building surveyor, and MEP designer early; coordinate them with your interior design brief to avoid rework and undersized plant rooms.
Planning Permission and Building Regs You’ll Need
You’ll need to secure change‑of‑use approval before you treat a grain store as a dwelling, because the planning authority will assess policy compliance, access, and site constraints.
You’ll also have to demonstrate Building Regulations compliance, covering structure, fire safety, insulation/airtightness, ventilation, drainage, and electrical safety.
If you align both tracks early—consents plus technical sign‑off—you’ll reduce redesign risk and keep your programme predictable.
Change Of Use Approval
Although a grain store may look like a straightforward shell to refurbish, converting it into a dwelling triggers a formal change‑of‑use process that ties planning permission to Building Regulations compliance. You’ll need to confirm whether the site sits within Green Belt, AONB, flood zones, or agricultural occupancy constraints, because these designations dictate principle-of-development tests and supporting reports.
You should pre‑app with the local authority, then submit a full application or pursue permitted development where eligibility is proven by prior agricultural use and lawful status. Your package must cover access, parking, ecology, drainage strategy, noise, and heritage impact.
Frame decisions around Historical preservation and aesthetic integration so massing, openings, and materials read as a conversion, not a new build. Secure conditions discharge before starting.
Building Regulations Compliance
Once planning permission (or permitted development) sets the principle of residential use, Building Regulations control how the grain store actually performs as a safe, durable, energy‑efficient home—so you’ll need a clear compliance route from the outset.
Use Full Plans for complex fabric upgrades, or a Building Notice only if details are straightforward and risk is low.
You’ll have to prove structure (A), fire safety and means of escape (B), moisture/contaminants (C), ventilation (F), drainage (H), electrics (P), and thermal performance (L) with U‑values, airtightness strategy, and junction detailing.
Coordinate Interior lighting with Part L efficacy and Part P certification.
Choose flooring options that meet damp control, acoustic separation, and slip resistance, and document products, test data, and inspections for sign‑off.
Open Up the Structure Safely (Grain Store Conversion)
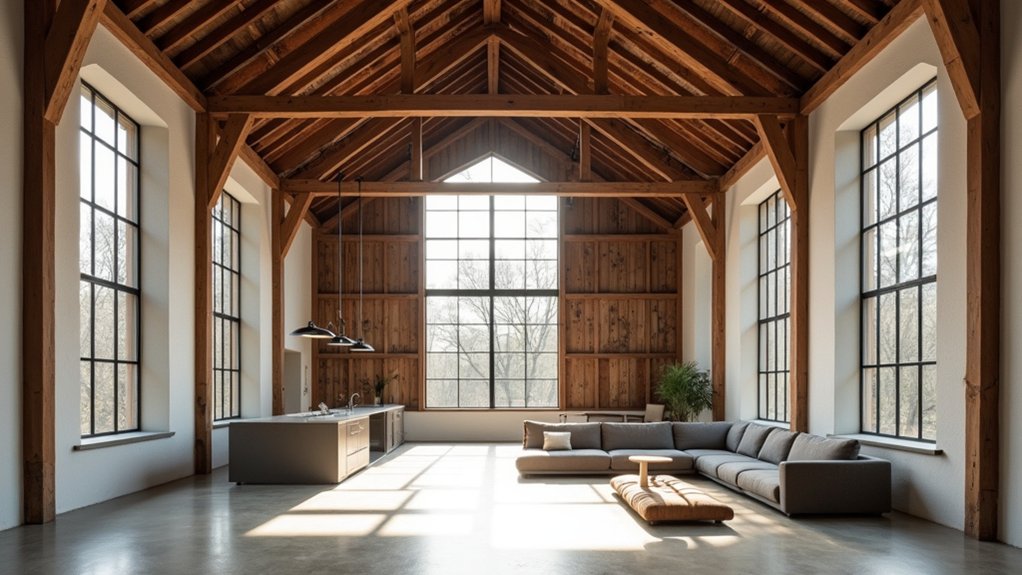
Before you chase open‑plan spans, you’ll assess every load‑bearing element—frames, posts, lintels, and roof ties—so you don’t compromise the primary load path.
You’ll then specify structural reinforcement (typically steel beams/portals, padstones, and lateral bracing) sized to the new openings and verified against deflection and stability criteria.
When you remove walls, you’ll sequence temporary propping, isolate services, and cut in stages so the structure stays supported throughout.
Assess Load-Bearing Elements
Because a grain store’s frame was designed for dense, static loads rather than wide domestic spans, you must identify every load path before you remove walls, cut new openings, or strip out bins.
Start by mapping roof-to-foundation force transfer: rafters or trusses into purlins, into posts or masonry piers, into slab edges or strip footings.
Verify which elements resist lateral loads—bracing bays, shear walls, portal frames—and flag any corrosion at connections or rot at bearing seats.
Probe slabs for thickened pads under columns and check settlement cracks that indicate overstress.
Don’t let proposed Decorative accents or Interior lighting chases tempt you to notch joists or cut ties.
Document member sizes, spacing, species/grade, and joint details so your engineer can sign off on safe sequencing.
Add Structural Reinforcement
Even if the existing shell looks overbuilt, you’ll need targeted reinforcement to replace the stiffness and load paths you remove when you open the plan. Add new steel or engineered timber beams to span wider bays, and specify proper bearing seats, padstones, and corrosion protection for an agricultural environment.
Stitch cracked masonry with helical bars, or add reinforced concrete ring beams to tie walls and control racking under wind. Upgrade floor diaphragms with plywood overlay, blocking, and metal straps so lateral loads reach braced panels or portal frames.
Check column bases, anchor bolts, and foundations for uplift and eccentricity. Coordinate reinforcement with interior decor and furniture arrangement so posts, soffits, and bracing land in logical zones and don’t fight circulation.
Document tolerances, temporary propping, and inspection points.
Ensure Safe Wall Removal
When you start removing internal walls to create an open plan, you’re also deleting load paths and lateral bracing that may be doing more work than the drawings suggest. Before demolition, you’ll trace roof, mezzanine, and lintel reactions to the foundations, then mark any wall acting as a diaphragm or shear return.
Install temporary propping and needle beams to carry dead and construction loads, and sequence cuts so you never leave unsupported masonry. Treat every opening as an engineered change: specify padstones, bearing lengths, and corrosion-protected steel.
Wall reinforcement may mean adding posts, portal frames, or plywood sheathing to restore racking resistance. Apply safety precautions: isolate services, control dust, check for asbestos, and enforce exclusion zones during lifts.
Weatherproof First: Roof, Damp, and Drainage Basics
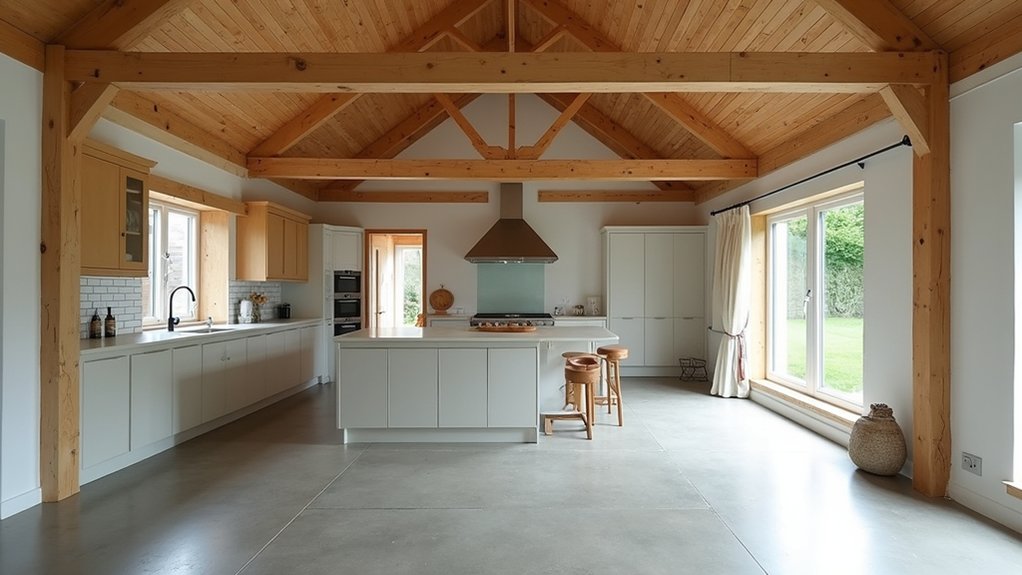
Before you touch layouts, glazing, or insulation, you need to make the grain store watertight and manage moisture at the building scale. Start at the roof: inspect purlins, fix sagging sheets, replace failed flashings, and reinstate missing ridge caps. Use Weatherproofing techniques that respect historical preservation—repair rather rather than overclad, and match profiles so runoff behaves as intended.
Next, control damp at junctions: rake out friable mortar, repoint with compatible lime, and seal penetrations with properly dressed collars, not surface mastic. Establish a drainage strategy: clear gutters, add leaf guards, extend downpipes to gullies, and grade surrounding ground away from walls.
If you need sub-surface relief, install a perimeter French drain with geotextile and rodding access points.
Insulate and Ventilate Without Trapping Moisture
How do you add warmth and airtightness to a grain store without turning it into a moisture trap? Start by mapping vapour drive and identifying cold bridges at slabs, steel frames, and junctions.
Choose insulation strategies that keep the structure warm: continuous external insulation where feasible, or internal linings with thermal breaks and limited penetrations.
Install a smart vapour control layer on the warm side, tape every seam, and gasket services to manage air leakage.
For moisture control, keep a capillary break at the floor and specify breathable, water-shedding wall build-ups where the substrate can’t dry inward.
Provide balanced mechanical ventilation with heat recovery, commission airflow rates, and maintain slight extract in wet zones.
Add humidity sensing and access panels for inspection and future maintenance.
Add Daylight With Glazing, Rooflights, and Openings
Although a grain store can feel cavernous, you’ll get the best daylight by treating openings as a calibrated system—orientation, aperture size, glazing spec, and reveal geometry—rather than scattering windows at random.
Use larger south-facing glazing for deep Natural lighting, then specify low‑g glass or external shading to control solar gain and glare.
Add north-facing rooflights for soft, high CRI illumination; choose insulated upstands and warm-edge spacers to cut condensation risk.
Form deep reveals with splayed soffits to spread light laterally, and detail head flashings and cavity trays to maintain weather tightness.
Where you cut new openings in masonry or cladding, install lintels, restraint straps, and movement joints.
Finish with slim frames and aligned mullions for aesthetic enhancement without compromising airtightness.
Plan the Open‑Plan Layout and Finishes Together
Once you’ve set the daylight strategy, lock in the open‑plan layout and finishes as one coordinated package so circulation, acoustics, services routes, and visual sightlines all reinforce each other.
Map primary paths from entry to kitchen, dining, and lounge, then align ceiling zones for ductwork, lighting tracks, and sprinklers without crossing structural bays.
Use floor shifts—polished slab, timber pods, or rugs—to define “rooms” while keeping level changes minimal for accessibility.
Specify absorptive surfaces early: perforated timber, acoustic plaster, and upholstered panels prevent grain-store reverberation.
Coordinate interior decor with durable, breathable materials that respect moisture dynamics.
Test furniture arrangement at 1:50 with clearances, power points, and radiator positions so the plan stays flexible under real use.
Frequently Asked Questions
How Do You Reduce Echo and Improve Acoustics in a Large Open‑Plan Space?
You reduce echo by adding absorption and diffusion: thick rugs, upholstered seating, and wall/ceiling panels. Apply soundproofing techniques like sealed gaps and decoupled drywall. Choose acoustic treatment options with NRC ratings.
Which Underfloor Heating Systems Work Best for Converted Agricultural Buildings?
You’ll get best results with hydronic UFH in low-profile screed over rigid insulation; I’ve seen 35°C flow run like a calm tide. You’ll balance historic preservation and insulation strategies, plus heat pumps; avoid electric mats.
How Can You Incorporate Smart‑Home Wiring Without Damaging Original Structure?
You’ll route low‑voltage cabling through existing voids, surface‑mounted raceways, and reversible conduit runs, avoiding chases. Prioritize Historical preservation, coordinate insulation techniques with service zones, and use wireless endpoints where penetrations risk joists.
What Furniture Layouts Suit Long, Narrow Grain‑Store Footprints?
You’ll suit long, narrow footprints by zoning linearly: float a compact sofa to form a corridor, use slim consoles, align dining centrally, and anchor ends with Rustic decor, Vintage furnishings, and built-in storage.
How Do You Handle Pest Prevention and Proofing After Conversion?
You’ll stop pests by sealing all penetrations, adding mesh vents, and maintaining dry, clean perimeters—rodents enter 20% of homes yearly. Integrate Pest control with Structural reinforcement: capillary breaks, concrete repairs, door sweeps.