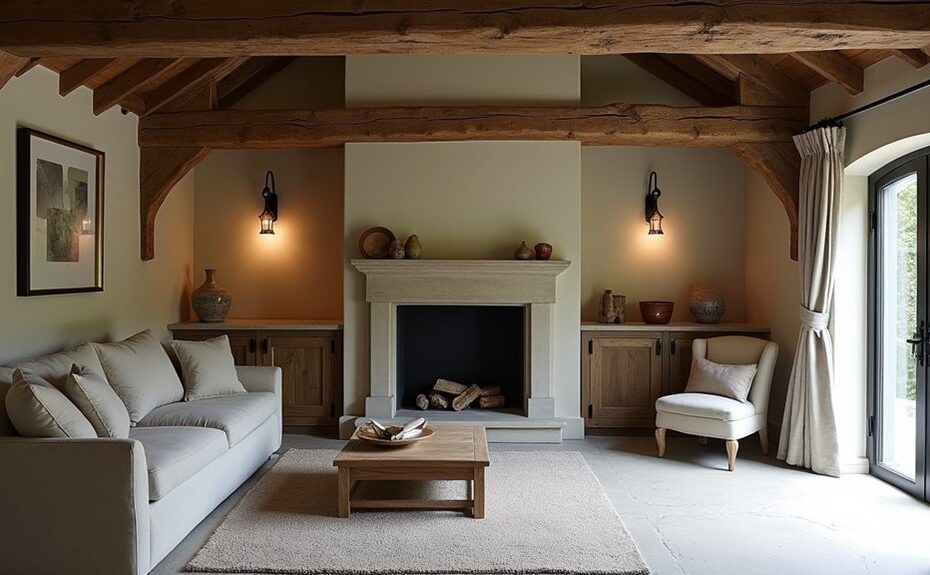
Start by surveying and documenting the timber frame, then repair joints, pegs, and decayed sections with minimal, reversible intervention that supports consents. Plan every upgrade around moisture: keep lime renders and vapour-open finishes, stop splashback, and ventilate wet rooms and roof voids. Insulate with woodfibre, hemp-lime, wool, or cork, and detail eaves and sills to avoid cold bridges. Add low-temperature heating, tidy surface wiring, and heritage-lit kitchens and bathrooms. Keep going for practical details.
Key Takeaways
- Survey and document the timber frame, then repair with minimal, reversible methods that retain historic fabric and satisfy consent requirements.
- Manage moisture with breathable lime or clay finishes, good rain-shedding details, and avoid cement pointing or impermeable layers that trap water.
- Improve warmth using vapour-open insulation (woodfibre, hemp-lime, wool, cork) and careful junction detailing to prevent cold bridges and condensation.
- Add modern services discreetly with reversible wiring and low-temperature heating, keeping original features like beams, hearths, and joinery visible.
- Preserve rustic character with simple ironmongery, muted natural materials, and thin, natural oak finishes that protect without looking overly new.
Check the Timber Frame and Get Approvals
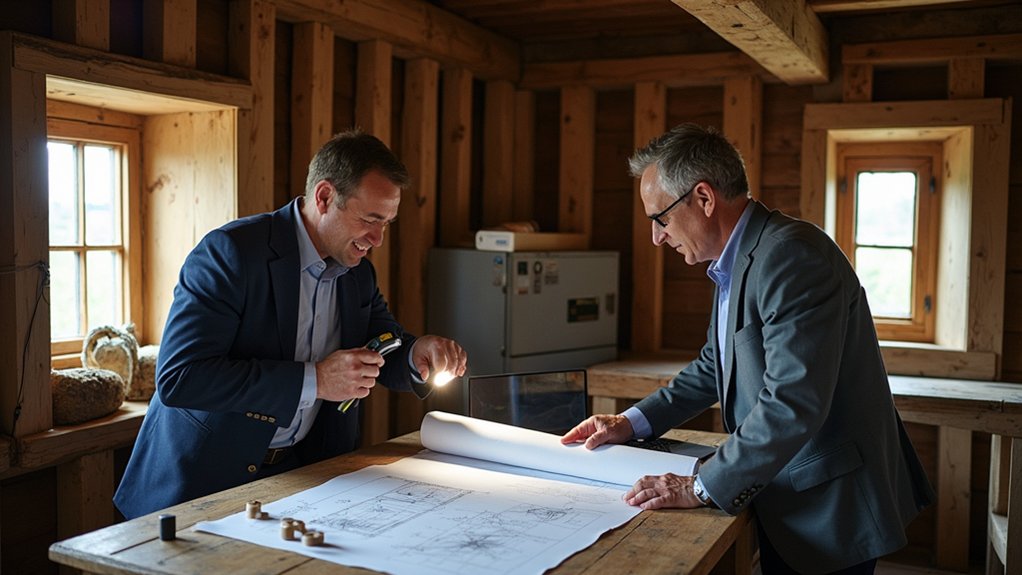
Before you change a single finish or reroute a service, inspect the timber frame as a historic structure in its own right. You’ll map bays, braces, and joints, then record tool marks, carpenters’ numerals, and earlier repairs.
During timber inspection, probe for insect flight holes, soft sapwood, loose pegs, and joint spread, and note any distortion that suggests long-term movement. You should photograph elevations and critical nodes, label findings on a measured sketch, and keep samples only if essential.
Next, you’ll align your proposals with listing and conservation-area controls, or building-control expectations where relevant. Start the approval process early: present your survey, a schedule of minimal interventions, and like-for-like repair methods.
You’ll gain consent faster when you show you’ll retain fabric and reversibility.
Plan Upgrades Around Breathability and Moisture
Although modern services and insulation can make a timber‑framed cottage far more comfortable, you’ll only get durable results if you plan every upgrade around how the building manages moisture.
Start by mapping moisture paths: rain shed at the roof and eaves, splashback at the plinth, and vapour movement through walls and floors.
Keep traditional lime render, limewash, and clay-based finishes working as intended, and avoid hard cement pointing that traps water in the oak.
Treat moisture barriers with suspicion unless you can prove they won’t block drying; where you must use them, detail laps and junctions so water can’t pool behind.
Ventilate kitchens, baths, and roof voids, and balance extract with make-up air to protect indoor air quality.
Add Breathable Insulation Without Trapping Damp
When you insulate a timber‑framed cottage, you’re changing how the whole envelope dries, so choose materials and details that keep vapour moving rather than locking it in.
Start by keeping the historic frame visible where you can, and insulate the infill or lining instead of smothering timbers.
Use vapour‑open insulation materials such as woodfibre, hemp-lime, sheep’s wool, or cork, paired with lime plaster or clay finishes that buffer humidity.
Avoid foil-backed boards and hard cement renders; they act like moisture barriers and drive damp into oak, pegs, and wattle-and-daub.
If you need a membrane, specify an intelligent vapour control layer on the warm side, tape it carefully, and maintain ventilation voids.
Detail junctions at eaves, sills, and corners to stop cold bridges.
Upgrade Heating Quietly (UFH, Radiators, Stoves)
Because a timber‑framed cottage holds heat differently from a modern sealed box, you’ll get the best result by upgrading the heating in a way that stays low‑temperature, reversible, and kind to old fabric.
Choose wet underfloor heating only where you can lift floors without cutting joists; use low‑profile panels over existing boards, and keep flow temperatures gentle to protect lime and oak.
For silent heating, consider high‑output, low‑temp radiators or slim fan‑assisted units run quietly, and plan radiator placement so you warm external walls and counter downdraughts without blocking shutters or panelling.
If you add a stove, pick a clean‑burn model sized to the room and line the flue with minimal disturbance, keeping hearths breathable and original where possible.
Update Electrics and Lighting Without Chasing Plaster
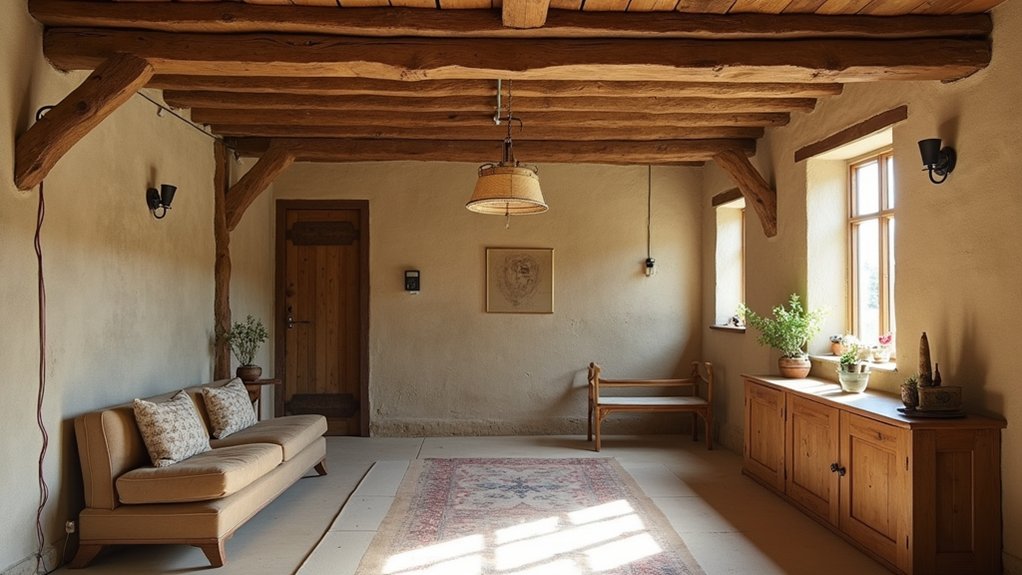
When you update electrics in a timber‑framed cottage, you don’t need to chase fragile lime plaster or cut into studs that may still be doing structural work. You can run surface‑mounted wiring in neat mini‑trunking, painted conduit, or timber mouldings that follow existing skirtings and beams, keeping the fabric readable and reversible.
Then you can upgrade lighting with heritage‑friendly fittings—warm, low‑glare LEDs in period‑appropriate shades and discreet switches—so the room reads historic while performing like a modern home.
Surface-Mounted Wiring Solutions
Although your cottage’s lime plaster and oak frame can’t tolerate the disruption of chased-in cables, you can still modernise electrics neatly by running surface-mounted wiring that respects historic fabric.
Choose surface mounted systems that remain reversible: painted mini-trunking on secondary walls, or traditional round conduit set neatly along skirtings and beam lines. Where you can’t avoid crossings, route at junctions and corners so the run reads as intentional rather than improvised.
Use existing voids—behind skirting, in cupboards, or above ceilings—for short concealed wiring links between rooms, keeping intervention minimal. Fix into mortar joints or sacrificial timber battens, not sound medieval oak.
Keep accessories simple, align them with historic joinery, and label circuits for future caretakers and electricians alike.
Heritage-Friendly Lighting Upgrades
If you treat lighting as a reversible layer rather than a built‑in service, you can upgrade a timber‑framed cottage dramatically without chasing lime plaster or disturbing the oak frame.
Choose heritage lighting that echoes candle and early gas fittings: simple brass, blackened steel, or painted shades, not oversized downlights. Use warm LEDs (2200–2700K), high CRI, and dimmers so you get period illumination without glare on wattle‑and‑daub.
Hang pendants from existing joists with discreet hooks, or fix sconces to timber infill panels where you can plug and patch. Prefer surface pattresses, conduit, and plug‑in transformers in cupboards.
Keep cable runs in corners and along beams, and label everything for future reversibility and safe maintenance.
Modernise the Kitchen While Keeping Period Features
A timber‑framed cottage kitchen can feel more like a scullery than the heart of the house, yet you can modernise it without erasing its age. Keep the hearth, bread oven niche, or original range as your anchor, and plan new runs around them. Repair, don’t replace: re‑wax timber beams, retain thumb‑latch doors, and patch quarry tiles with salvaged matches.
For Vintage charm and modern comfort, choose inset cabinetry with beaded frames, limewashed colours, and discrete pulls that echo ironmongery. Hide induction and extraction behind a canopy styled like a simple oak bressummer. Use slim worktops in honed stone or oiled timber, and run services through existing voids so you don’t cut historic studs.
Add layered task lighting under shelves, not across beams.
Update Bathrooms With Good Ventilation and Waterproofing
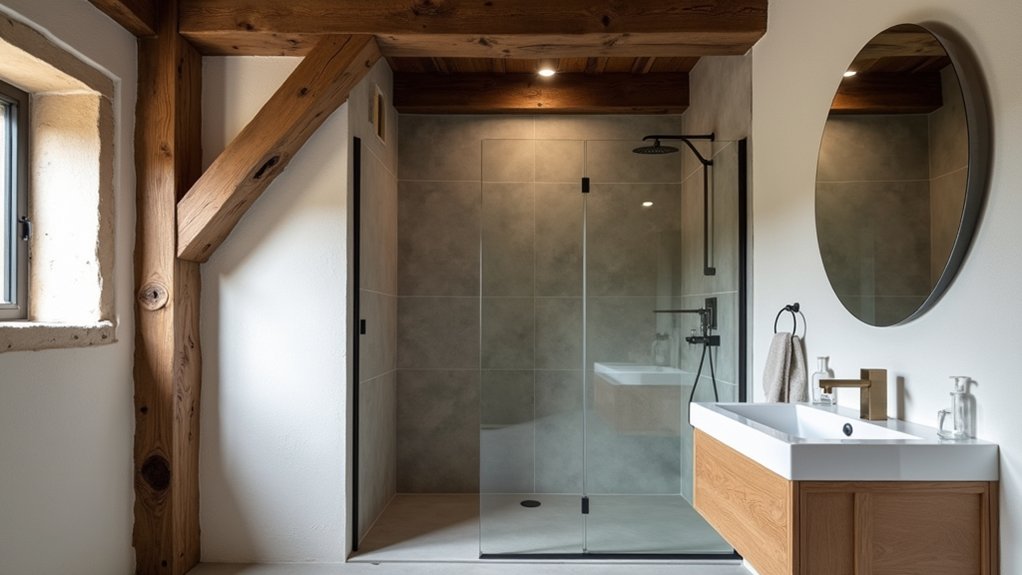
Because timber frames and lime‑based walls breathe, you need a bathroom that sheds moisture quickly and seals only where water actually strikes. Fit quiet, humidity‑sensing Ventilation systems that extract at source and vent outside through a discreet roof tile or soffit grille, not into the loft.
Keep background airflow with an undercut door and clear air path to a passive vent, so the frame doesn’t sit in damp air.
Use Waterproofing techniques that respect the building’s vapour movement: tank only showers, baths, and splash zones with a compatible liquid membrane, taped corners, and proper falls to the drain. Leave other walls in lime plaster or breathable paint.
Detail joints: upstands behind basins, sealed penetrations, and a removable access panel, so leaks get spotted early.
Improve Layout, Storage, and Finishes That Suit Lime and Oak
While you can’t move posts and braces without changing the cottage’s structural story, you can still modernise the bathroom by tightening the plan around the frame: keep plumbing runs short, put the shower or bath on an external wall where ventilation works hardest, and use fitted storage that reads as joinery rather than cabinetry.
Work with the bays: tuck a WC into a shallow recess, and build an oak-faced linen cupboard between studs, leaving a discreet service void.
Choose finishes that breathe with lime plaster—limewash, clay paints, and tile set on vapour-open backers—so moisture doesn’t trap against timbers.
Keep oak honest: soap finish or hardwax oil, not thick varnish.
Use simple ironmongery, slim beaded trims, and muted stone floors to keep Rustic charm and historical authenticity intact.
Frequently Asked Questions
How Do I Insure a Timber‑Framed Cottage After Modernisation Work?
Insure your timber‑framed cottage by documenting upgrades, commissioning a conservation‑minded survey, and disclosing materials and methods. Seek specialist cover for Historic preservation, noting Insurance considerations: listed status, reinstatement value, craftsmanship, and nonstandard construction.
Can I Install Solar Panels Without Harming the Cottage’s Historic Character?
Yes—you can, if you tread like a careful restorer on old floorboards. Choose low-profile, rear-slope arrays, avoid visible fixings, and document reversibility. Historic preservation guides siting; Renewable integration works when you respect sightlines.
What Budget Range Should I Expect for a Sensitive Full Modernisation?
Expect roughly £50k–£200k+ for a sensitive full modernisation, depending on scope, access, and fabric repairs. You’ll prioritise historic preservation, commission lime and oak work, and tighten budget planning with phased services.
How Can I Soundproof Rooms Without Compromising Breathability?
Like a velvet curtain for silence, you’ll use soundproofing techniques that stay vapour‑open: fit breathable insulation (hemp, woodfibre), add resilient bars and double plasterboard, seal gaps with lime‑based caulk, avoid polyethylene membranes.
Will Modernisation Increase Resale Value, or Risk Devaluing the Property?
You’ll usually raise resale value if you modernise with Historic preservation and Energy efficiency in mind; you’ll devalue it if you strip original fabric. Retain joinery, repair timber, use reversible upgrades, document work, respect listings.