
Start by surveying cracks, bulges, roof lines, lintels, and joists, then build a line-item budget with a 15–25% contingency. Fix moisture at the source first: repair gutters and downpipes, confirm outfalls, and drop exterior ground levels 150–200 mm below floors with a 1:40 fall. Insulate with breathable materials and lime plasters, not impermeable foams. Repoint in matched lime mortar, and route services through existing voids. Keep going to see the full, low-risk sequence.
Key Takeaways
- Start with a detailed condition survey of structure, roof, moisture, and timbers to prioritize repairs and budget accurately.
- Fix gutters, downpipes, drainage, and ground levels first to control damp without trapping moisture in stone walls.
- Use breathable materials—lime mortar, lime plaster, wood fibre or cork insulation—to preserve drying paths and prevent decay.
- Repair stonework gently: hand-rake joints, match original lime mortar, and use recessed or flush pointing to protect arrises and character.
- Upgrade services discreetly: route wiring and plumbing through accessible runs, minimize chasing, and choose low-temperature heating for efficient comfort.
Survey Your Stone Farmhouse: Structure, Roof, Damp, Services
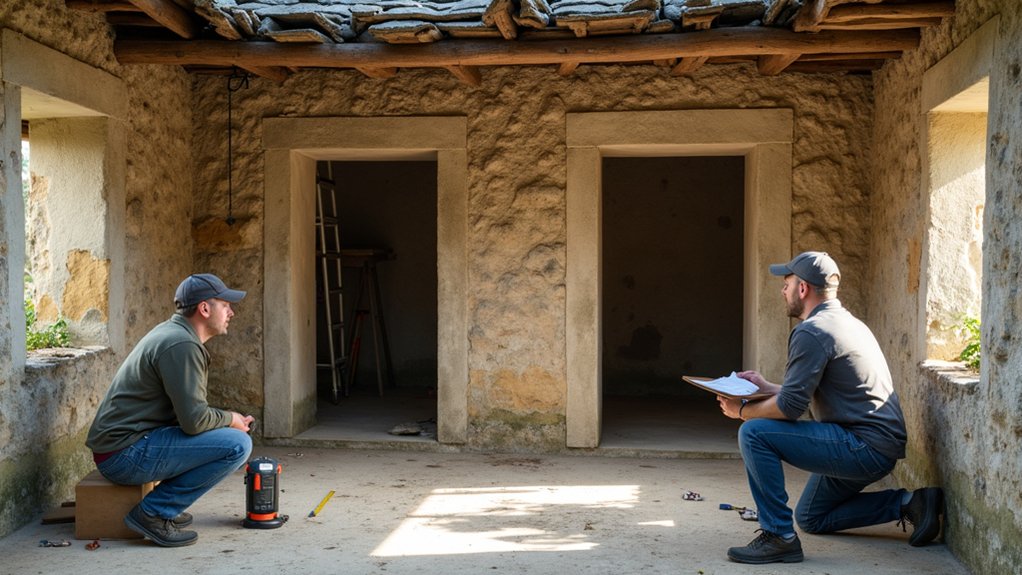
Before you plan any repairs, you should survey the farmhouse methodically so you’re working from evidence, not assumptions. Start with structure: map cracks, bulges, and differential settlement, and note stone type and mortar hardness to guide Stone preservation. Check lintels, wall ties, and floor joists for rot or beetle exit holes, and record deflection with a straightedge.
Move to the roof: inspect ridge lines, slipped slates/tiles, flashing, gutters, and sarking for daylight or staining. For damp, trace moisture paths—ground levels, bridged vents, failed pointing, and internal salts—using a moisture meter plus visual indicators, not guesswork.
Finally, test services: fuse board capacity, earthing, pipe condition, pressure, and drainage falls. You’ll target Aesthetic enhancements without masking defects later.
Plan the Stone Farmhouse Renovation: Budget, Permits, Sequencing
Once you’ve logged what’s structurally sound and what’s failing, you can turn that evidence into a renovation plan that won’t unravel halfway through. Build a line-item budget from measured quantities, lab reports, and quotes, then add a 15–25% contingency for hidden voids, irregular walls, and access constraints.
If Historic preservation applies, meet the conservation officer early, document significance, and agree on repair methods before you design finishes. Secure planning permission, listed-building consent, and building regulations approval in parallel where possible, and schedule inspections into your timeline.
Sequence work to protect fabric: stabilize, then services rough-in, then insulation and airtightness, then joinery, then finishes. Define where Modern amenities belong so routes stay discreet and reversible later.
Fix Damp at the Source: Drainage, Gutters, Ground Levels
Although rising damp gets the headlines, most stone farmhouses stay wet because bulk water reaches the wall base from outside. So you’ll get better results by fixing drainage, gutters, and ground levels first.
Start with roof runoff: broken downpipes, undersized gutters, and overflowing valleys can dump hundreds of litres beside foundations in a storm. Therefore, schedule strict gutter maintenance, add leaf guards where justified, and extend downpipes into gullies or soakaways.
Next, regrade: keep finished ground at least 150–200 mm below internal floors and slope it away 1:40 for the first metre. Don’t trap walls with hard paving; use gravel margins or permeable paths.
For drainage solutions, add French drains only after confirming outfalls and avoiding undermining shallow footings.
Insulate Old Stone Walls Without Trapping Moisture
Good drainage and sensible ground levels keep most of the liquid water off a stone wall, but insulation changes the wall’s drying behaviour and can still create cold, wet zones if you choose the wrong build-up.
Start by assuming the masonry holds seasonal moisture and needs a drying path to the interior or exterior.
Use breathable insulation (wood fibre, cork, calcium silicate, or mineral wool with a capillary-active plaster) so vapour can diffuse and redistribute rather than condense at the stone/insulation interface.
Avoid impermeable foams unless you’ve modelled hygrothermal risk; field studies and WUFI simulations show they can push the dew point into the wall.
If you add Vapor barriers, place them only where calculations justify them, and keep them continuous around joists, sockets, and reveals.
Ventilate well.
Repair Stonework Properly: Lime Mortar, Pointing, Timber Ends

Because old stone walls manage moisture by moving it through the joints as much as through the stone, you’ll get a longer-lasting repair if you treat mortar, pointing, and embedded timber ends as one moisture system rather than separate defects.
Rake out failed joints by hand to a consistent depth (often 2–3× joint width) and avoid grinders that spall arrises. Match lime mortar to the original: similar sand grading, color, and permeability; keep cement out so the wall can dry.
Use proven pointing techniques—compact in thin lifts, finish slightly recessed or flush, and brush back to open texture.
Around timber ends, cut back rotten wood, isolate with a breathable capillary break, and repoint to shed water, not seal it.
Upgrade Heating, Plumbing, and Wiring With Minimal Disruption
When you upgrade services in a stone farmhouse, plan the heating, plumbing, and wiring as a single routing problem so you can cut once and preserve as much historic fabric as possible.
Start with a measured survey: map joists, hearths, chimneys, and damp zones, then choose shared chases along existing voids, stair strings, or former flues.
For heating, favor low-temperature systems sized by a room-by-room heat loss calculation; you’ll reduce pipe diameters and disturbance.
Run plumbing in accessible service runs, add isolation valves, and protect masonry with vapor-permeable sleeves.
Upgrade wiring with surface-mounted conduit in discreet zones where chasing would harm historic preservation.
Specify eco-friendly materials like PEX with certified fittings and halogen-free cable insulation.
Document every intervention for future maintenance.
Choose Finishes That Suit a Stone Farmhouse (Floors, Walls, Joinery)
With the heating, plumbing, and wiring routes set and documented, you can choose finishes that protect the masonry and keep the farmhouse’s character intact.
For floors, prioritize breathable, repairable materials: limecrete or stone flags over impermeable slabs; use wood on joists with a vapour-open underlay to avoid trapping moisture.
On walls, keep cement renders and vinyl paints out; specify lime plaster and mineral paint so salts can migrate and surfaces can dry.
Where you insulate internally, pair wood fibre or calcium silicate with lime finishes to reduce condensation risk.
For joinery, copy existing profiles, glazing bars, and panel proportions; use seasoned timber and microporous coatings.
Choosing authentic finishes means you’ll read the building’s movement, while blending modern comforts stays discreet and durable.
Frequently Asked Questions
How Can I Keep the Farmhouse’s Character While Meeting Modern Accessibility Needs?
You’ll preserve character by adding discreet ramps and widened doorways; think TikTok, but timeless. Use warmer Interior lighting for visual contrast, and plan Exterior landscaping with graded paths, firm surfaces, and handrails guided by ADA research.
Will Renovating Affect My Home Insurance, and When Should I Notify Them?
Yes, renovations can change premiums, coverage, and risk classifications—key Insurance implications. You should notify your insurer before work starts, at major scope changes, and after completion for accurate underwriting; that’s best-practice Notification timing.
How Do I Manage Pests Like Rodents or Woodworm During Renovation?
You’ve got to nip pests in the bud: seal entry points, remove food sources, and set monitored traps for rodent prevention. Get a survey, then apply targeted, label-approved woodworm treatment; replace compromised timbers, document results.
What’s the Best Way to Reduce Renovation Noise and Dust for Neighbors?
You’ll cut neighbor impact most by scheduling loud work daytime, using soundproofing techniques like temporary acoustic blankets and sealed doors, and applying dust containment methods: zip-wall barriers, HEPA air scrubbers, negative pressure, and regular damp-cleaning.
How Can I Source Reclaimed Materials That Match the Original Farmhouse Style?
Hunt like a historian: you’ll source matches by photographing profiles, measuring dimensions, and testing patina. Visit architectural salvage yards, demolition auctions, and local barns for Reclaimed wood and Vintage tiles; verify provenance, moisture content, and wear.